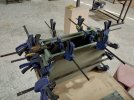
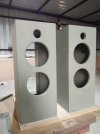
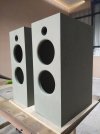
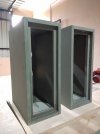
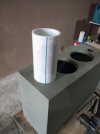
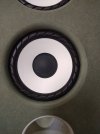
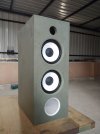
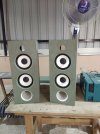
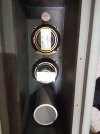
I have taken over a Project for budget friendly bookshelf with separate amplifier. Since this is a budget friendly project no exotic components will be used. The bookshelf will be in "T-M-M" configuration. The Mid bass woofers are from "SONY" and a tweeter, this tweeter was from set of Blaupunkt component speakers which I got from a car accessories shop. One of his customer took just the speakers. He didn't wanted the tweeters so he left it there, I was lucky to get them. Crossovers will be designed by our FM @Aniket
This speakers are for one on my friend who is not so audiophile guy and doesn't care for the aesthetics. The complete cost of this project including amplifier should not exceed 20K, it's but oblivious that I will not be considering my labor charges to keep it within budget.
Budget allocation is as under.
Mid Bass Speakers : Rs. 1,400/- for 4 Nos
MDF Sheet : Rs. 1,200/- (Only half sheet was used as the speakers were small)
Tweeters : FOC
Glue, Color, Mounting hardware, crossover components and other accessories : Rs. 6,000/- max
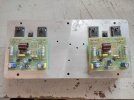
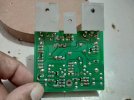
Amplifier Module 100 + 100 Watts : Rs 1500/- for both.
Transformer and Power Supply Bank : Rs. 4000/-
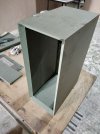
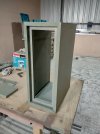
Enclosure : FOC (He has his own sheet-metal shop so he will supply it)
RCA & other Hardware : Rs. 2000/- (Allocated)
This is the main budget for now. There may be some missing items which I will need to cover up in balance amount.
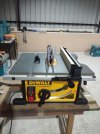
Today I started the project, So lets begin with some update of my tools collection. This tool was one of my dream. My recent purchase is table saw 'DEWALT DWE7492", This is one of the best table saw and good value for money. However this table saw dose not comes with cutting blade. I have purchased blade separately which is from "MAKITA" having 32 Teeth for fast cutting. I have also purchase 60 teeth Blade which is from "Bosch" for smoother cuts but it cuts little slow.
It is necessary to adjust the blade & table fence parallel to each other, After watching some videos on you-tube i was able to set it very accurate within 0.02mm (used a dial gauge for setting which has 100 divisions for 1 mm). I also set the riving knife accordingly by watching videos on you-tube. Now I was ready to cut some wood so lets start with the project.
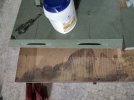
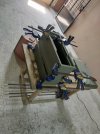
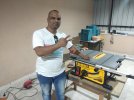
Sharing some Photos of my table saw & today's work. Below is me with my new table saw.
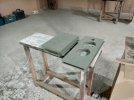
In the extreme right of below photo the cut pieces can be seen. Those pieces were already cut at my friends shop, he owns Makita table saw.
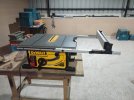
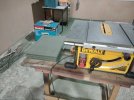
In below photo i have attached the safety attachment provided to cover the blade. This is very good safety feature.
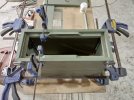
Today I did the 45 deg cut on the edges of already cut pieces. What an accuracy of this machine. I am already in love with this tool.
I will keep on updating. In next post I will post photos of Amplifier module, Right now i don't have it in my cellphone.
This speakers are for one on my friend who is not so audiophile guy and doesn't care for the aesthetics. The complete cost of this project including amplifier should not exceed 20K, it's but oblivious that I will not be considering my labor charges to keep it within budget.
Budget allocation is as under.
Mid Bass Speakers : Rs. 1,400/- for 4 Nos
MDF Sheet : Rs. 1,200/- (Only half sheet was used as the speakers were small)
Tweeters : FOC
Glue, Color, Mounting hardware, crossover components and other accessories : Rs. 6,000/- max
Amplifier Module 100 + 100 Watts : Rs 1500/- for both.
Transformer and Power Supply Bank : Rs. 4000/-
Enclosure : FOC (He has his own sheet-metal shop so he will supply it)
RCA & other Hardware : Rs. 2000/- (Allocated)
This is the main budget for now. There may be some missing items which I will need to cover up in balance amount.
Today I started the project, So lets begin with some update of my tools collection. This tool was one of my dream. My recent purchase is table saw 'DEWALT DWE7492", This is one of the best table saw and good value for money. However this table saw dose not comes with cutting blade. I have purchased blade separately which is from "MAKITA" having 32 Teeth for fast cutting. I have also purchase 60 teeth Blade which is from "Bosch" for smoother cuts but it cuts little slow.
It is necessary to adjust the blade & table fence parallel to each other, After watching some videos on you-tube i was able to set it very accurate within 0.02mm (used a dial gauge for setting which has 100 divisions for 1 mm). I also set the riving knife accordingly by watching videos on you-tube. Now I was ready to cut some wood so lets start with the project.
Sharing some Photos of my table saw & today's work. Below is me with my new table saw.

In the extreme right of below photo the cut pieces can be seen. Those pieces were already cut at my friends shop, he owns Makita table saw.

In below photo i have attached the safety attachment provided to cover the blade. This is very good safety feature.

Today I did the 45 deg cut on the edges of already cut pieces. What an accuracy of this machine. I am already in love with this tool.


I will keep on updating. In next post I will post photos of Amplifier module, Right now i don't have it in my cellphone.


