Lenco L75 Build

santhosh

Well-Known Member
Joined
Jul 8, 2009
Messages
2,589
Points
113
Location
Bangalore
Hi,
As some of you may know, I acquired a Lenco L75 recently and have a few things lined up for it including a new plinth build. This thread will be about my build.

I am not a basshead but I am a big fan of bass from a Transmission Line Speaker and bass from an idler drive TT and always wanted to own both. So I was on the lookout for a Garrard 301 or a Lenco L70/L75 for sometime and suddenly I became an owner of a Lenco when Rajiv decided to let go his L75. Here are some pics of the stock Lenco:

F6D658F1-8CC9-4AF6-AE4C-ABA59D595B3B-1798-0000020942CBCF89.jpg


0B3C34DE-EE9A-44CF-8096-36F047907EFE-1798-0000020A412B655B.jpg


76251AF2-A928-4542-8062-F10C34158D28-1798-0000020936EA7178.jpg


Some pics of internals:

Platter removed:
5B2A1C9C-A38F-4697-ACB1-90BBF6AFB587-1798-000002096B34795A.jpg


Below the top plate:
3DFB04AC-E932-4993-AEED-2C5D804EF6A8-1798-00000209DE6346F7.jpg


Idler wheel:
0C2D6244-E841-4BAD-89FE-6B633FA88D09-1798-00000209AF3620D3.jpg


.....to be contd
 
Last edited:
contd....
So, now that I had the Lenco, I discussed with knowledgable members here and also my reading on Lencoheaven suggested that the stock box plinth and the tonearm were the Lenco's weakest links. So I planned to fix these issues, tweak things a bit and make this my primary source for my Altec A7s.

This will be a total DIY effort (including woodwork) and here are some of the thing I want to do:
Make a multi-layered plinth using CLD (Constrained Layer Damping) approach
Have 2 tonearms - a 9 incher with a MM cart and a 12 incher with a MC cart - like a Ortofon SPU or a Denon DL-103
Service the motor and lubricate all the parts
Improve/change wiring and also add earthing to the top plate

I like to build/re-build things in a phased manner as it is easier on my pocket & time and also I can listen and learn at every step.

Like I mentioned above, I wanted two tonearms and I wanted the 9 incher to go into the standard location while the 12 incher would be isolated from the plinth. The rationale behind two arms is to have the ability to have two different presentations - vintage sound as well as hi-fi/high res sound depending on the genre.

So for the vintage sound, I bought a 9 inch Jelco ST-250. Apart from being a well made arm, it also fulfilled another criteria which was that should fit into the Lenco's stock tonearm slot. This arm has the same geometry as the Lenco's stock arm (also shares geometry with Linn and Project arms). Here is a link with some specs and also says nice things about the arm :)
Jelco Tonearm

So, the arm arrived yesterday from US eBay -> Borderlinx.

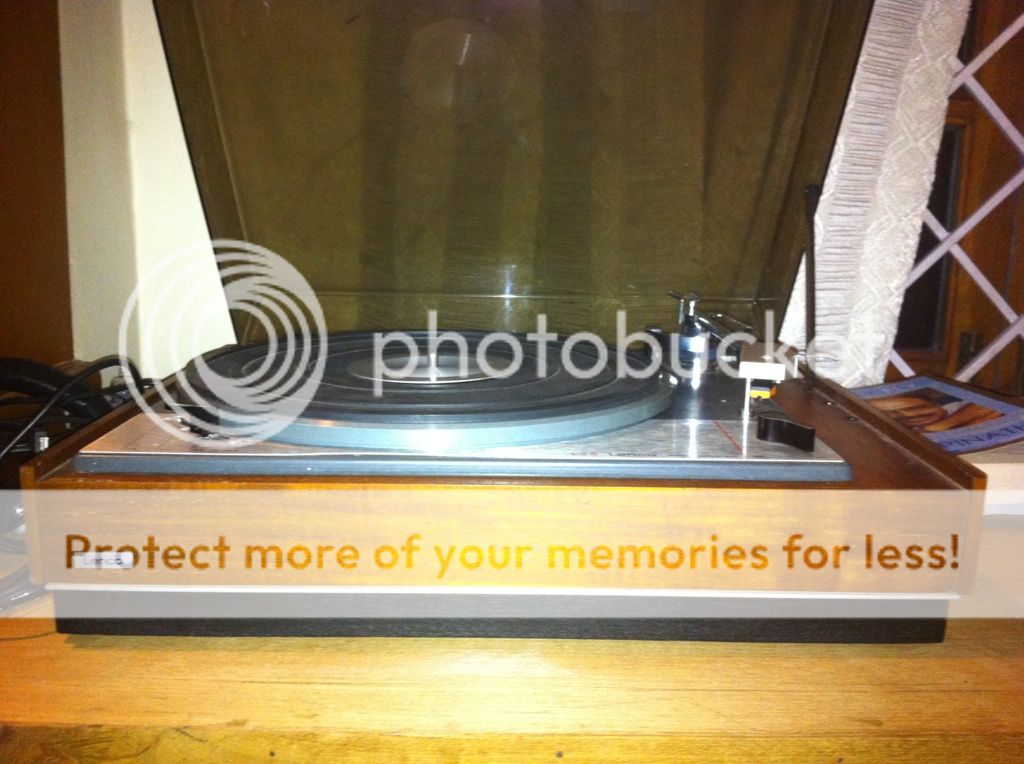
Lenco L75 Build :: 6830550C-A0D8-4C32-9979-45A4F00EEE79-1798-000003E900E77D9E picture by diyable - Photobucket

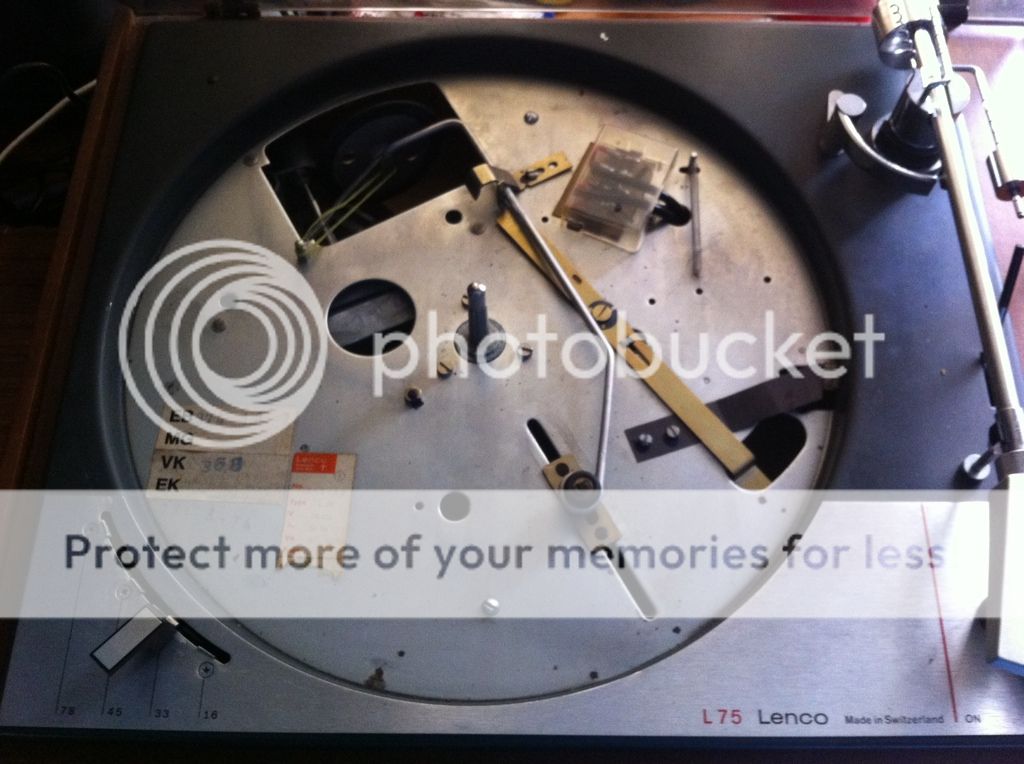
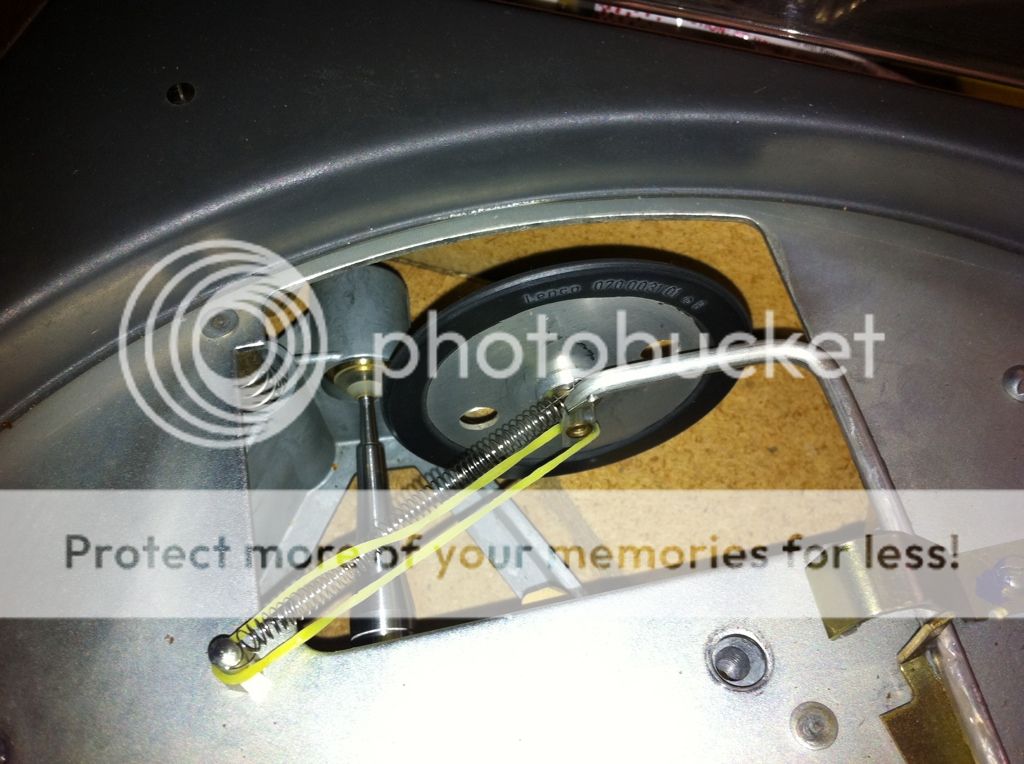
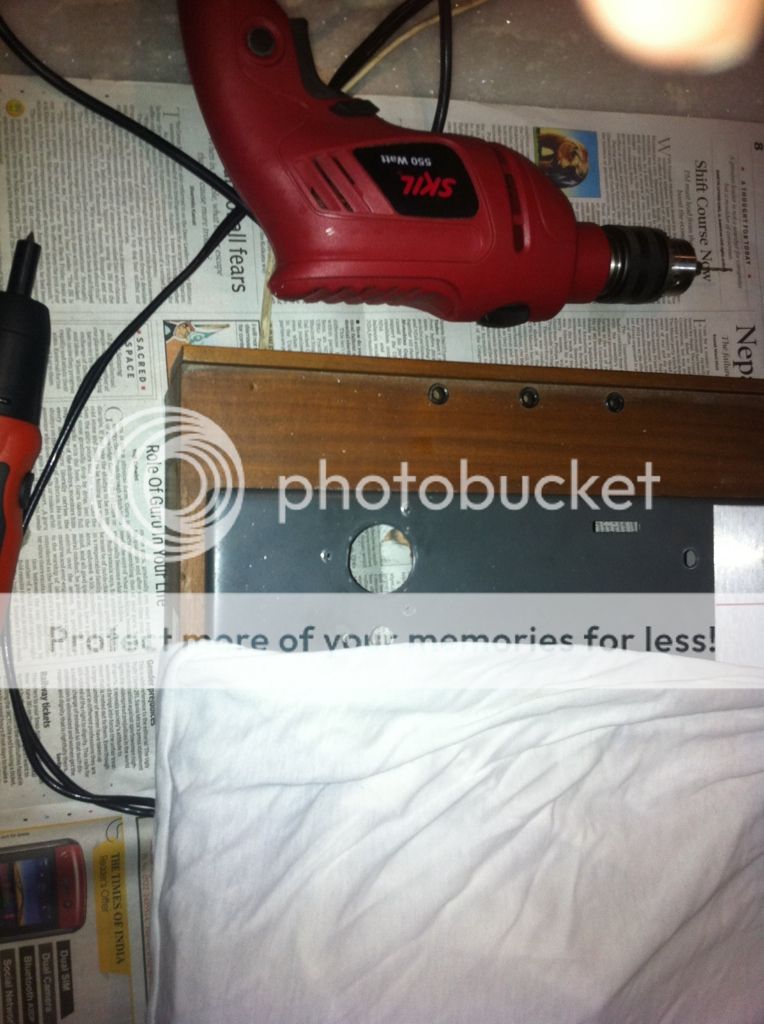
I dismantled and removed the stock tonearm and all the related mechanism like lift/drop mechanism etc and tried to drop in the Jelco tonearm but it wouldn't because though the hole is of the correct size, it was in the shape of a slight 'D' while the tonearm shaft was circular:sad:
F3936695-E573-4505-A0BD-99D234CB9A61-1798-0000020A09047F5C.jpg


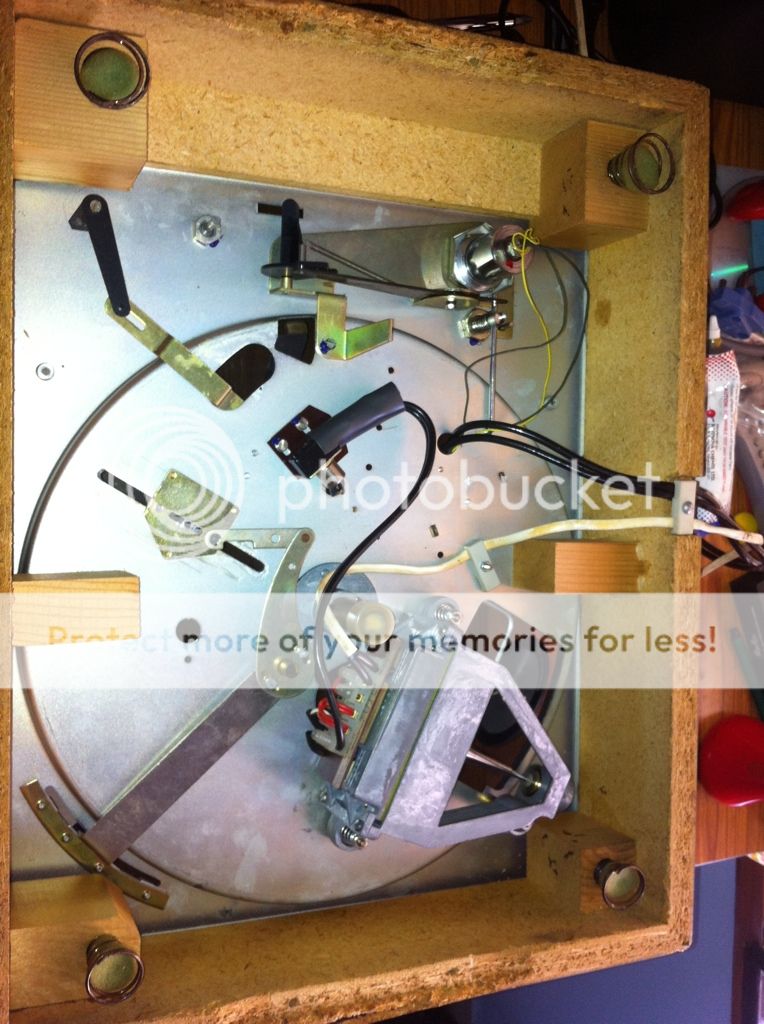
Nothing that a simple file cannot fix. So, fixed the transport screws so the motor or anything else was not affected by the vibrations from filing and the subsequent drilling that was to follow. Since I had removed the platter, I covered it with a cloth so fine metal shavings, burr etc would not get into the mechanicals as IMO this can cause seizure. I made sure that I only filed as much was required, so the D shape is still maintained if there is a need for stock tonearm to be fitted again.
FAA3E5C7-F682-4C2D-87D5-DA46F317B1E2-1798-0000020A13540364.jpg


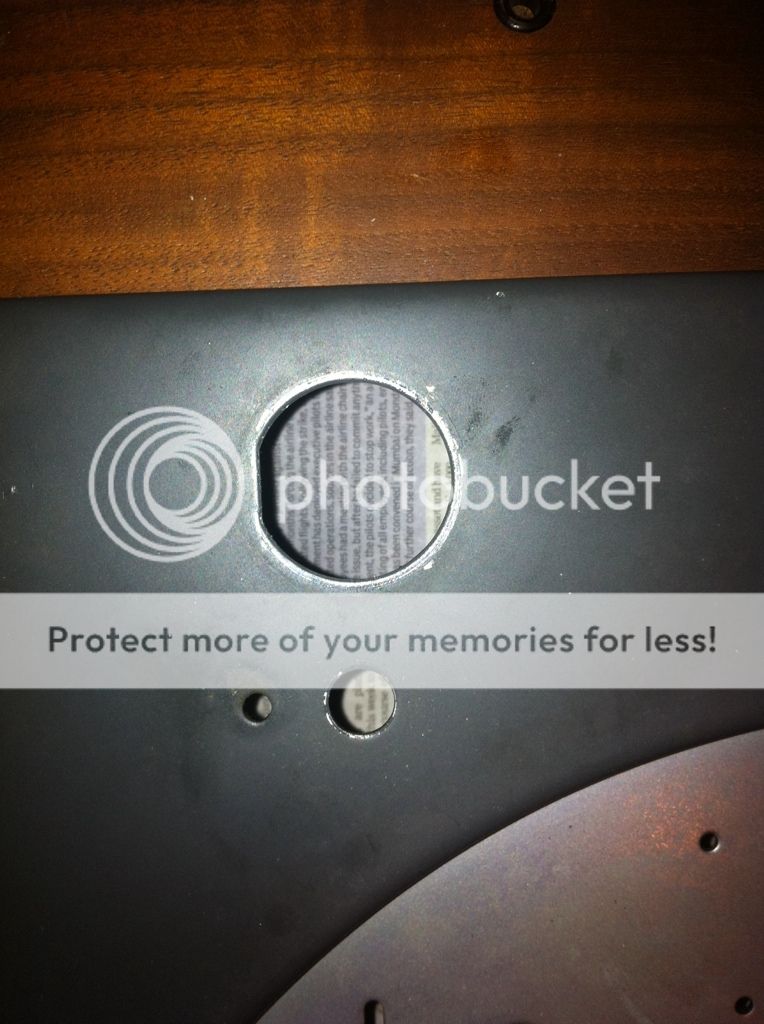
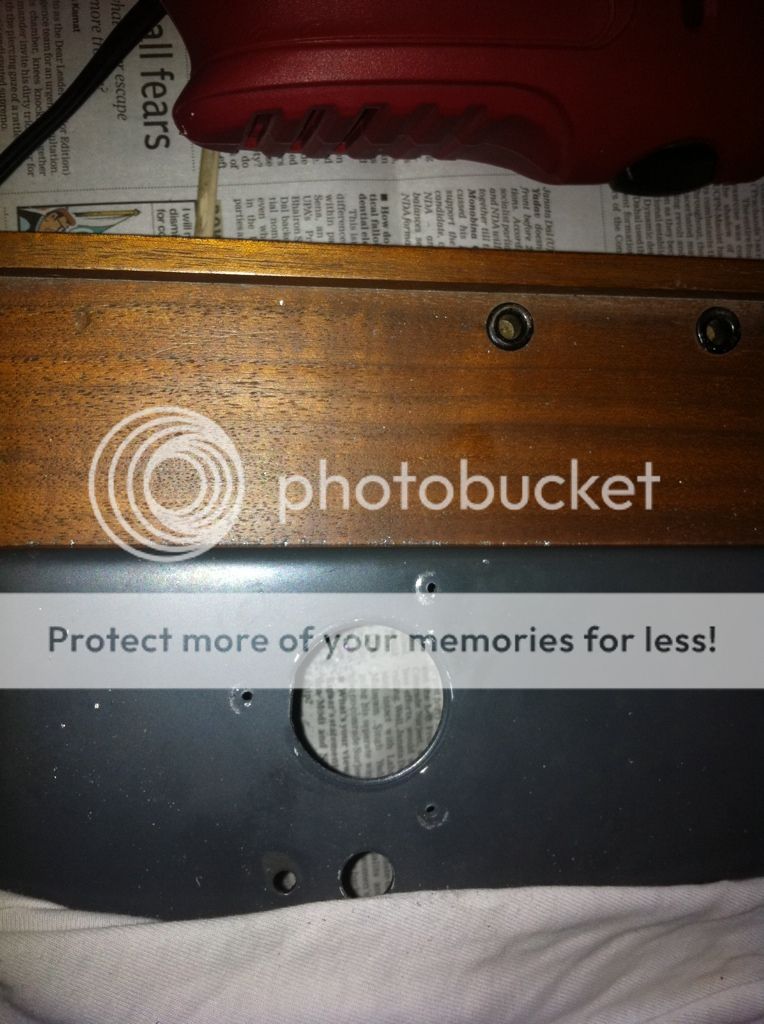
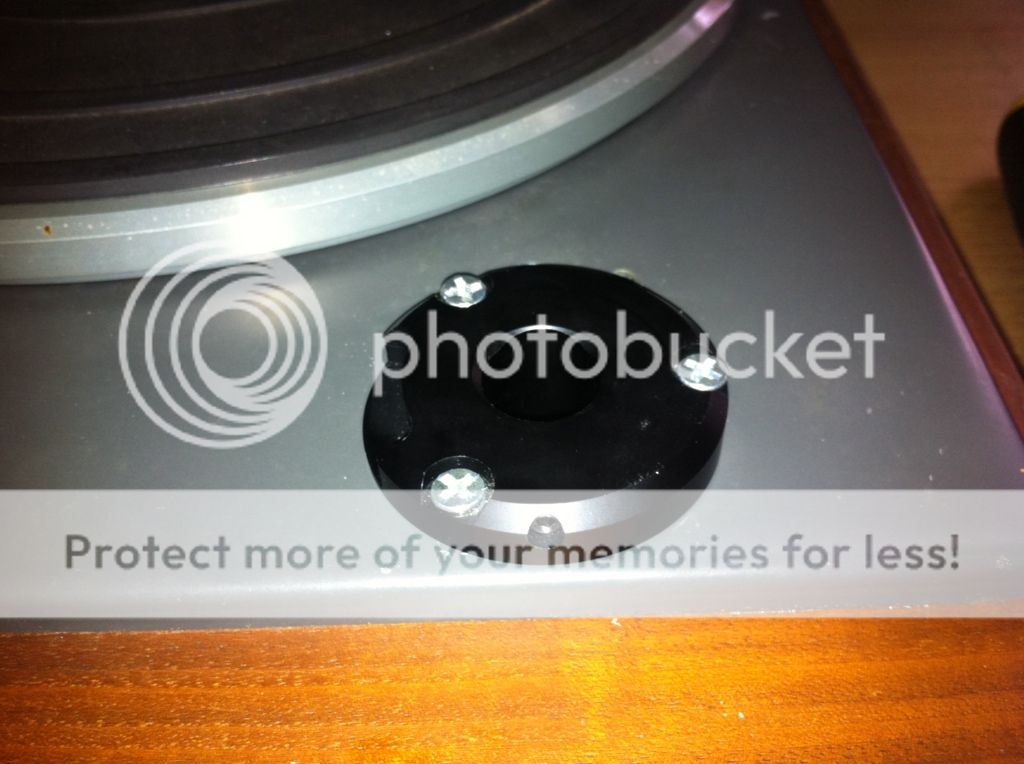
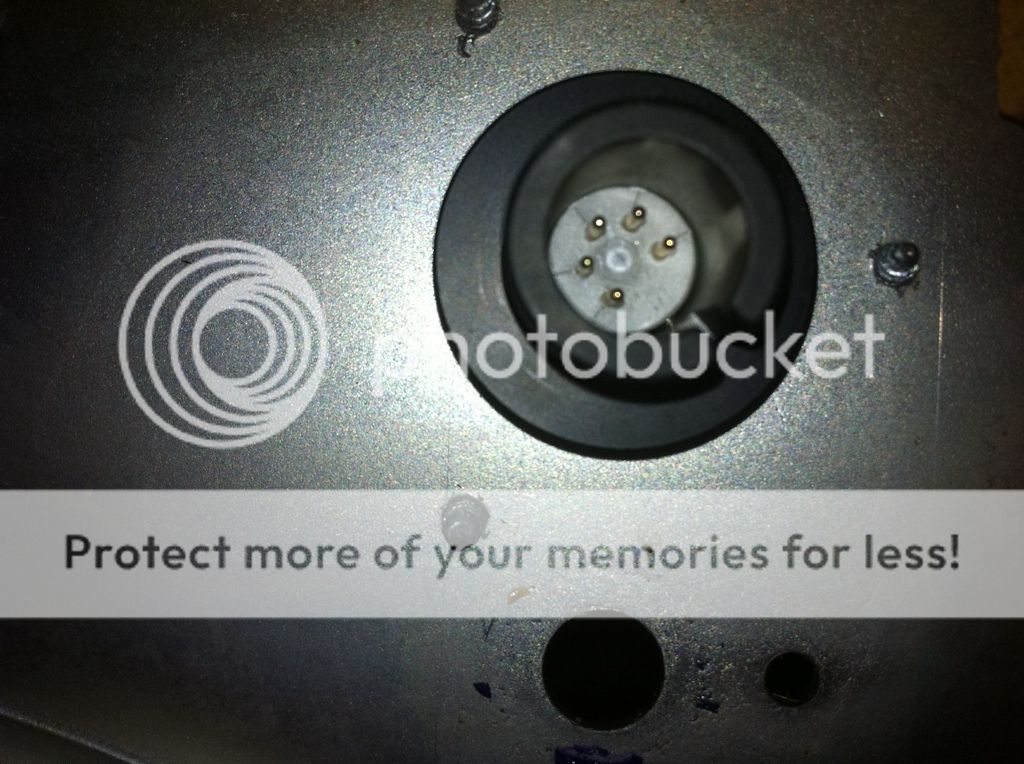
Then I drilled 3 holes so the tonearm base can be fitted:
43C1EEB8-FE9A-4FC4-ADCF-62A8B12C65D7-1798-0000020A1E63B279.jpg


CD40F682-3472-49EB-A542-7708905B6A09-1798-0000020A2E4BF766.jpg


Tonearm base was then fitted:
4389CD57-4000-4B63-A076-425DC4A587C0-1798-000003E909DA8A6E.jpg


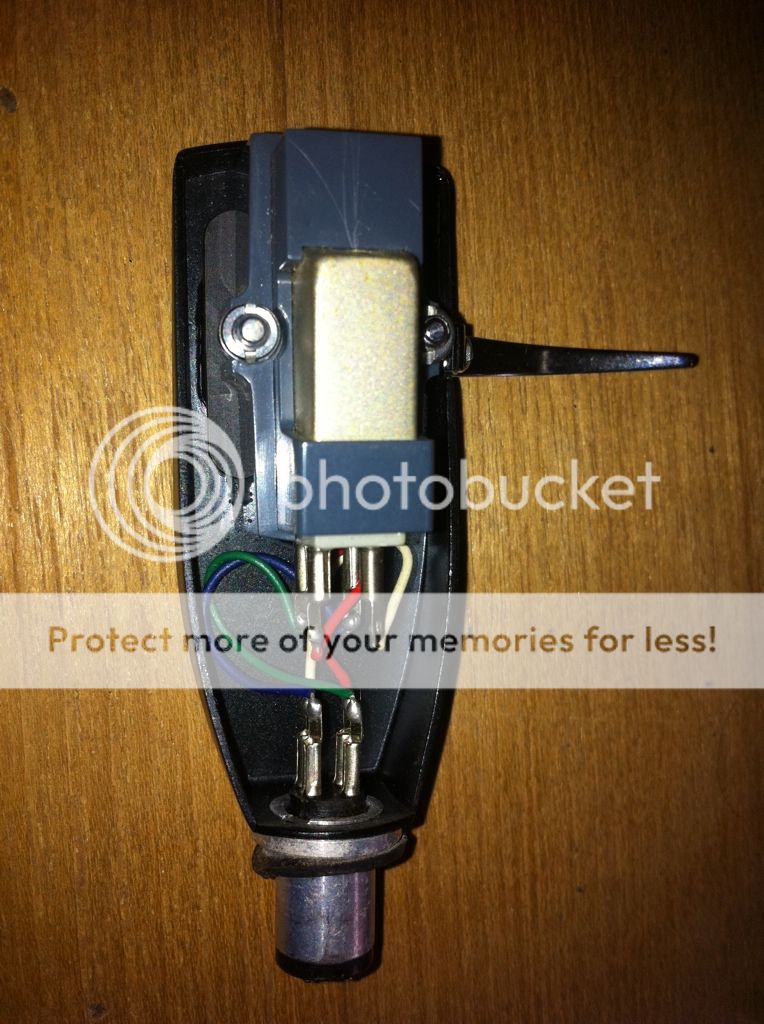
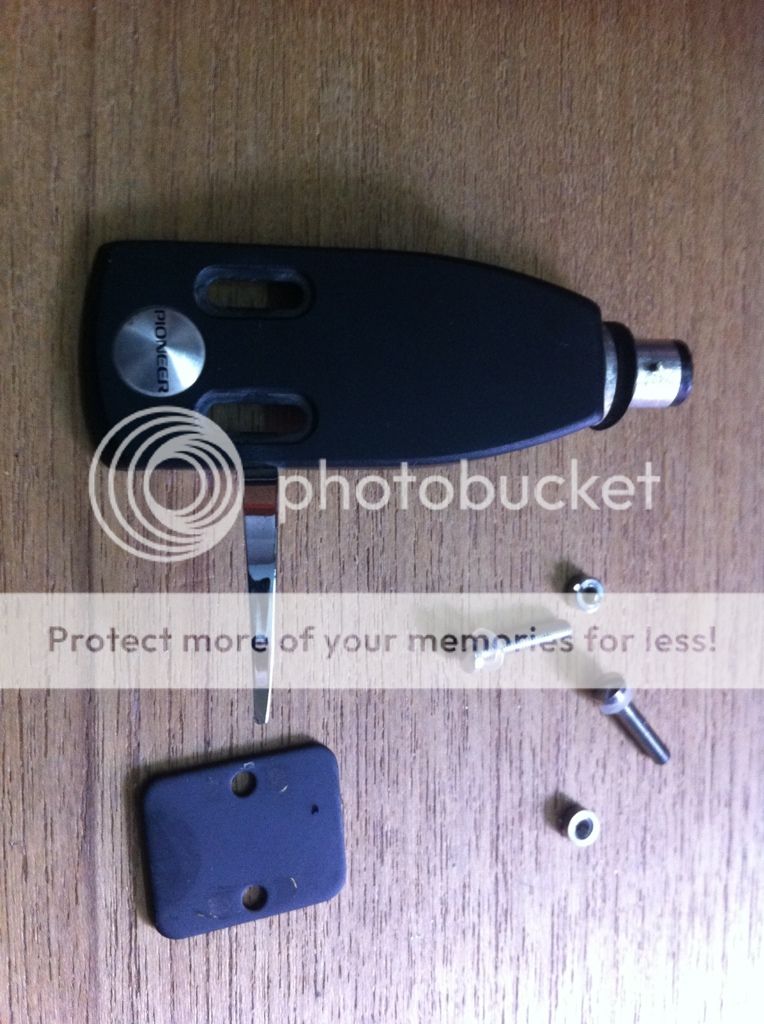
The Jelco headshell does not have leads for the cartridge, since I did not have any other, I used the cartridge leads from my Pioneer TT. I also plan to use the stock Pioneer PC-11 MM cart temporarily(?) as it is a very musical cart and also also JICO makes a SAS stylus for this cart.

3F575155-6E87-48CF-876C-AE2D0194E616-1798-000003E921AA8A94.jpg


Pioneer PC-11
A739F852-6012-44F3-A722-0447842BFE40-1798-00000209F446F794.jpg


69089642-F854-4C15-9E0F-0D17B6539747-1798-000003E9146404D4.jpg


It came with a shim. I decided to use it since the Jelco can handle the extra 1.5 grams that the shim weighed. I will experiment with and without it and leave it if it sounds better with it
735EDFF1-C9E3-457D-BEC1-BA570344C32F-1798-000003E92CE14A5F.jpg


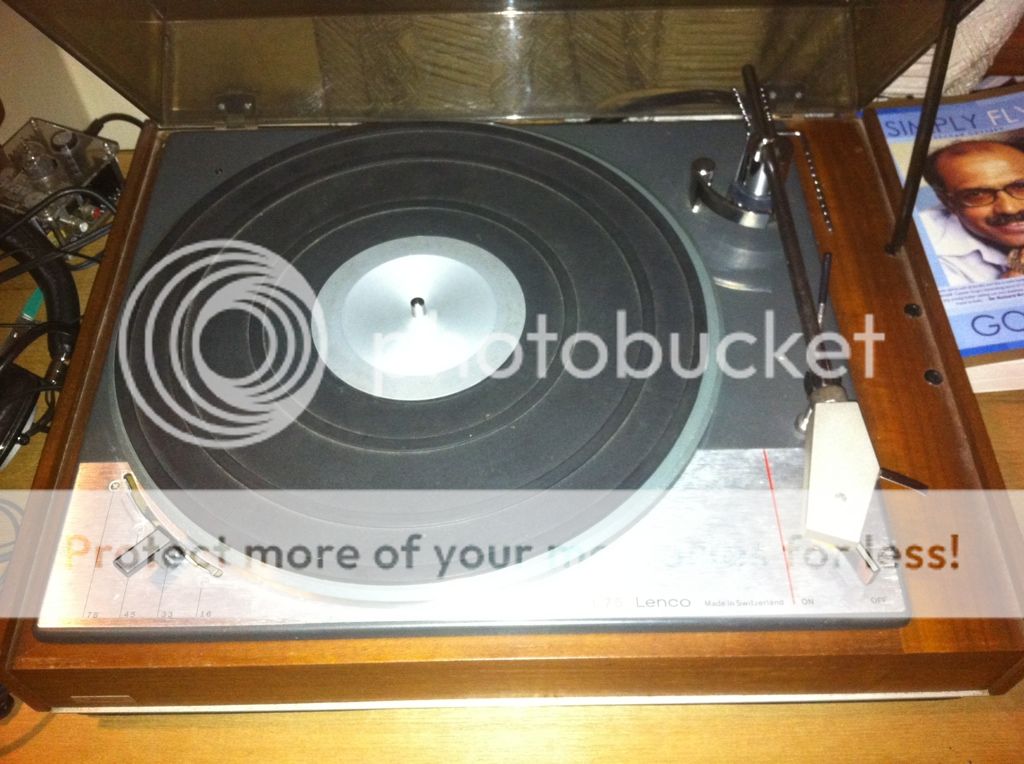
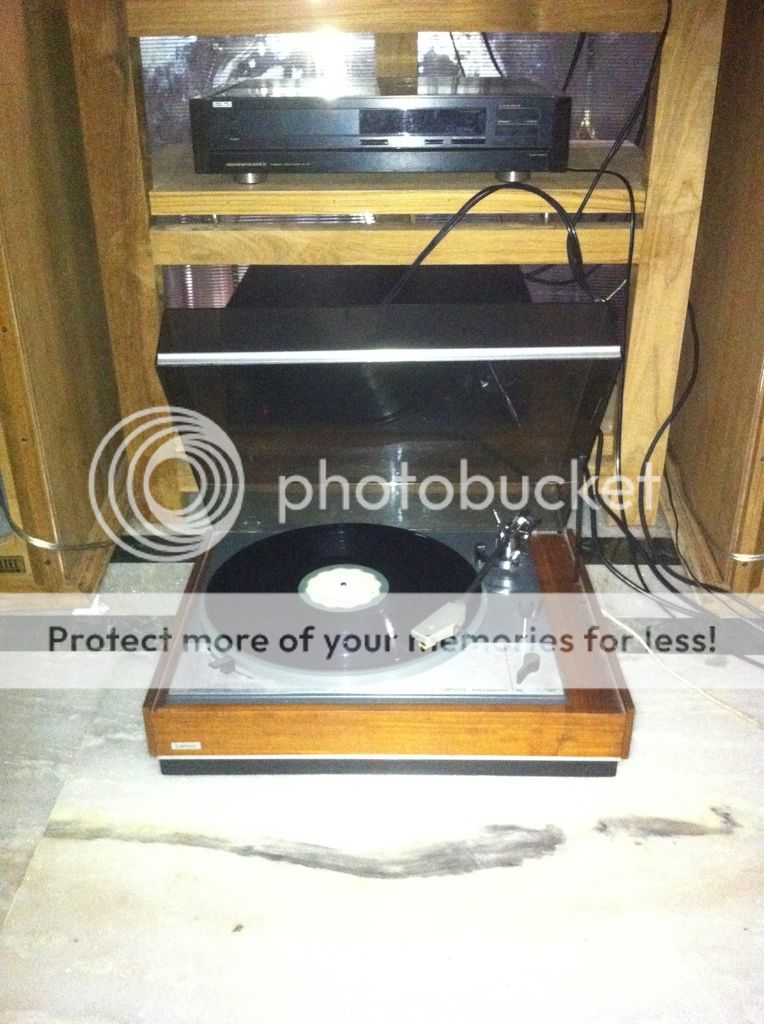
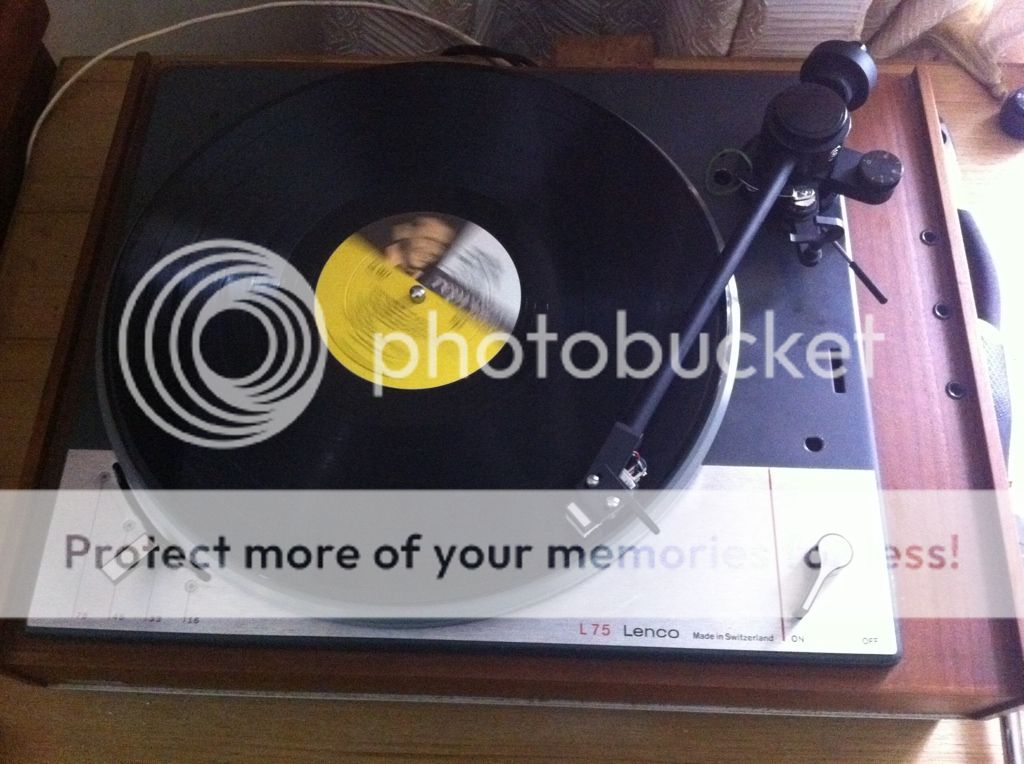
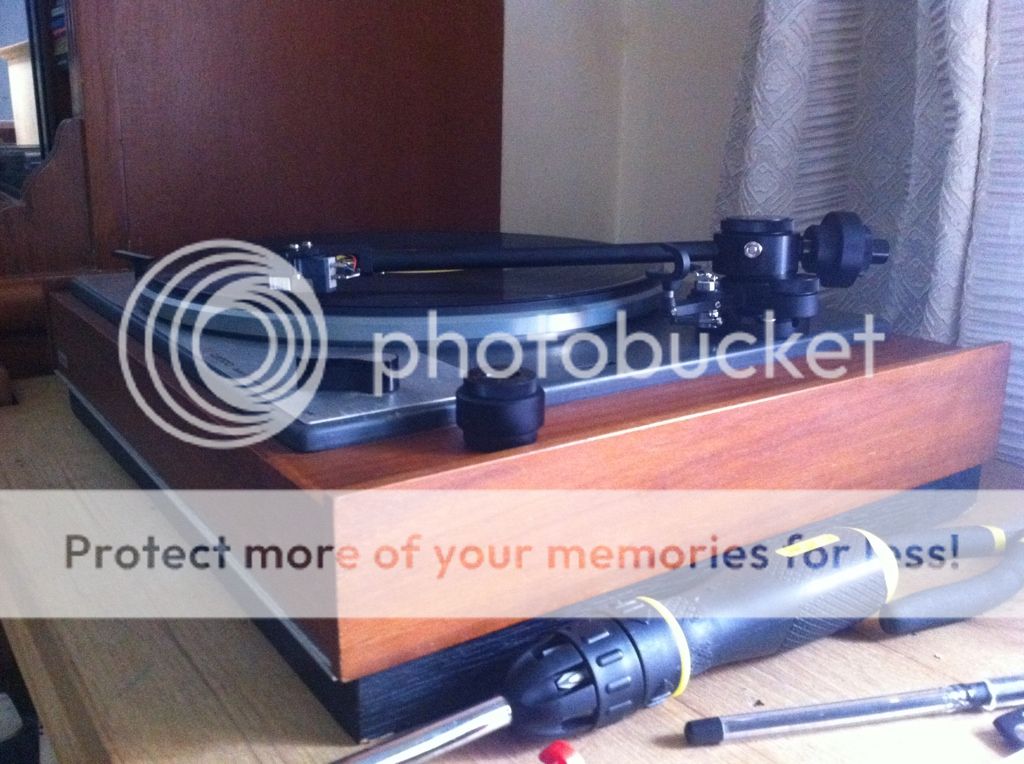
Some pics of the deck after mounting the tonearm, fixing and aligning the cart:
141EE964-AE46-4178-9F41-E385619893DC-1798-000003E938712EA7.jpg


2FF03CEF-5959-417B-BEFD-255B27D73DAA-1798-000003E9429D9D13.jpg


0149F13F-411B-4912-8194-3D8EDE05F399-1798-000003E94DAF27F2.jpg
 
So, how does it sound? :cool:

Dunno yet because Jelco does not provide the Tonearm to RCA cable. I have ordered a cable from ebay but will receive it only after 10 days. I'll check in SP Road to see if I can do some Jugaad to get it working but chances are bleak ...so I am told.

I would really appreciate it if someone can loan me their 5-din tonearm cable for a day or two so I can get an idea of how it sounds before proceeding to the next step which is to reinforce and add mass to the existing plinth. The reinforced plinth is a temporary arrangement as work commitments will not allow me to make my layered plinth for atleast two months.
 
Thanks for the step by step explanation with pics, Santhosh!
Btw, seems like you didnt waste much time once you got the tonearm! Hope you get the tonearm wire soon too.
 
Excellent work!

Keep 'em pictures flowing.

The chip board plinth is in a darned good condition. Mine was literally 'chipping' off when I got it (not that I'd encourage you to keep it for the long term, though - CLD is the way forward).

Motor and bearing rebuild can be done at a later stage, or even at this stage if you face some wobbles and rumbles. Rajiv had recommended Joel's rebuild kit.
 
Santhoshbhai,
Man you work fast :D.
I can understand with things infront of you (Specially TTs like Lenco) one can not help. I will collate things I would like (Subjective ofcourse :)) and post.
Regards
 
Congrats Santhosh. Nice detailed pictures....

Have heard about the famous Lenco L75. Best of luck with this re-build.
 
Hi Santosh,
nice pics,I really liked Joshua's plinth design(TD124?).I think you will need a suspended design for L75.

Regards,
Sachin
 
~ See if you can make the plinth same size as the dust cover. Dust cover are important to protect TTs. I know Audiophiles dont listen with dustcover on but you can put little rubber dots on plinth or dustcover itself to isolate it. My Pionner TT has them and dust cover rest on them.
~ Some minor play in the mechanism occurs with repeated operation of speed adjuster/setting, see if it is tight, otherwise minor speed drift may occur.
~ Use as much volume of wood as possible for the plinth, sp. for idler wheel.
~ If possible rest the motor on Thin rubber vicer. it will reduce vibration.
~ Level the platter with accurate spirit level, than in the same position level the tone arm base. (Very important)
~ I know motors have self adjusting spherical bush but before dismantling motor I mark parts joined by screws which make aligning when assembling easy.
Possible upgrade :
~ If possible replace socket tonearm with soldered wire, A phono stage near the tonearm would be nice.

regards
P.S. That Jelco tone arm is black beauty. :)
 
Interesting. At the moment, is the motor completely noiseless (stethoscope check) and showing correct and stable speed during long runs without heating etc?
Hi GTM,
The motor is in very good condition and is absolutely noiseless. There is no play on the spindle also, I have not done the stethoscope test yet nor have I played it with a good cart yet.

By servicing the motor, I meant dismantling and lubricating the bearings, shaft etc. I intend follow procedures mentioned in Lencoheaven:
http://www.lencoheaven.net/forum/index.php?topic=2087.0
http://www.lencoheaven.net/forum/index.php?topic=2022.0

I was tempted to do it yesterday itself, but like I mentioned I would like to observe and learn the effect each step has on the turntable because I am new to this TT and idler drives.

Thanks for the step by step explanation with pics, Santhosh!
Btw, seems like you didnt waste much time once you got the tonearm! Hope you get the tonearm wire soon too.
Yes mate, was pretty excited and couldn't wait to get started. Actually hoping it will contain the tonearm cable as well. Thankfully, the wait will only be until tomorrow as I contacted cmsajith since he had a Linn Basik tonearm. He has kindly agreed to lend me his cable till I receive mine:clapping:

Excellent work!

Keep 'em pictures flowing.

The chip board plinth is in a darned good condition. Mine was literally 'chipping' off when I got it (not that I'd encourage you to keep it for the long term, though - CLD is the way forward).

Motor and bearing rebuild can be done at a later stage, or even at this stage if you face some wobbles and rumbles. Rajiv had recommended Joel's rebuild kit.
Thanks buddy. The TT overall is in very good condition and has hardly been use - as per my biased assessment:p. I love the period looks of that stock plinth and have half a mind to try and build the CLD within it - but I don't want to be limited by its dimensions. I will definitely try to improve it for use until such time that I don't build the CLD.
 
Santhosh, I would suggest doing one thing at a time. That way you can track individual factors causing improvements carefully.
 
I think you will need a suspended design for L75.

It is best to retire the springs and consign them to the dust bin:)

The top plate must mate, as intimately as possible, to the second layer of the plinth. This is to help drain off motor vibrations from the motor to the plinth, where it gets dissipated.
 
The motor is in very good condition and is absolutely noiseless.
If it is please don't dismantle it. Because factory set stator and rotor space will be perfect otherwise one side will have little more induction.
Use syringe to put few oil drops taking care they dont drop on windings (though they are insulated).
Regards
 
It is best to retire the springs and consign them to the dust bin:)
I have already removed the springs and also the bottom cover. I have some plywood pieces and mdf left from my A7 and subwoofer builds. I will use them and reinforce and add mass to the stock plinth. Also, I noticed that the top plate is fastened to the plinth only using two screws (to the two wooden blocks in pic below). I plan to add 2 more holes to couple it to the plinth better.

http://i1150.photobucket.com/albums...3-AEED-2C5D804EF6A8-1798-00000209DE6346F7.jpg

If it is please don't dismantle it. Because factory set stator and rotor space will be perfect otherwise one side will have little more induction.
Use syringe to put few oil drops taking care they dont drop on windings (though they are insulated).
Regards
Thanks for the tip(s) Hitenbhai, will keep this in mind.
 
Last edited:
Anyone knows where we can buy a tonearm connector in India? I don't need one at the moment, but am sure will be useful to have this information as one can make their own tonearm cable quickly if this was available.

Pic below is what was found in my Jelco tonearm and it almost seems to be a standard. What is required is female version that will fit the connector in pic below:

C8FFC84E-9E9E-4957-AFFA-BE39741A1BC9-1798-000003E9658937B1.jpg

Hi Santosh,
I think In your tone arm you need two cables. One is tonearm cable and the other is phono cable. The picture you have provided there you need a phono cable to make a connection to the pre amp.puremusicgroup - WSS Silver Line Phonocable.
I think Jochen stocks WSS cables.
Thanks.
 
Wharfedale Linton Heritage Speakers in Walnut finish at a Special Offer Price. BUY now before the price increase.
Back
Top