saikatbiswas82
Well-Known Member
Hi All,
First of all I would like to let you know that few days earlier I started one thread Need contact details for CNC wood cutting. I am thankful to everyone who posted/visited my thread. This thread was mostly related to some query. So for my build process I am creating a new thread so that it makes more sense.
Background
-----------------------------------------------
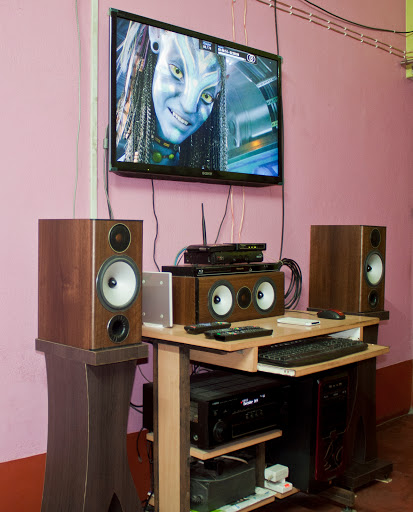
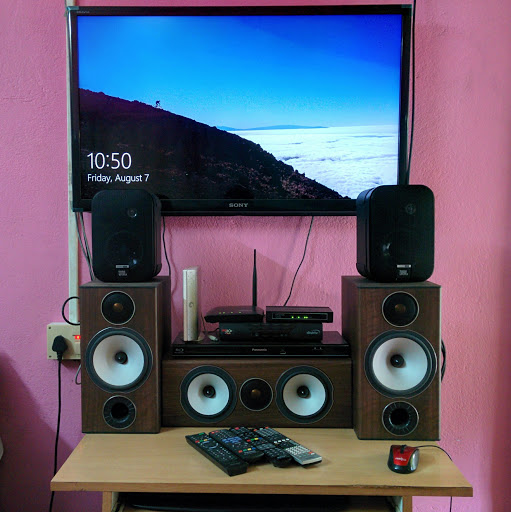
Few days back we (me and my wife) thought that we need speaker stands simply because my tiny computer table was not able to accommodate my center channel and bookshelves. You can see the space constraint here:
Design - Phase 1
-----------------------------------------------
I initially started with this design:
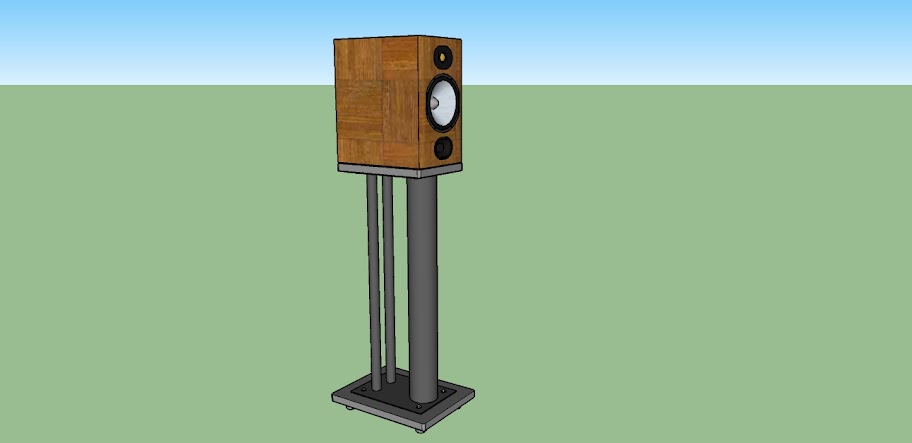
But, wife said no - as they don't look gorgeous. Then we started to find beautiful") )) speaker stands in google images and finally she selected this one:
)) speaker stands in google images and finally she selected this one:

(image courtesy google image search and foter.com). I liked the design as well and started the design with sketchup immediately.
Design - Phase 2
-----------------------------------------------
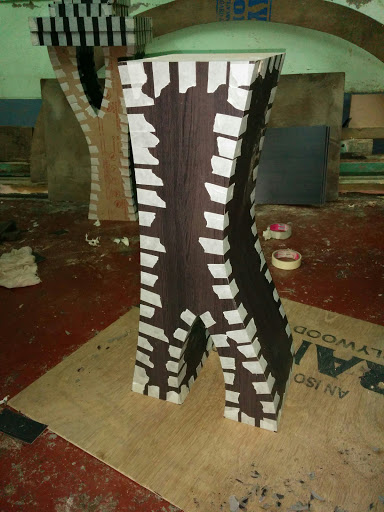
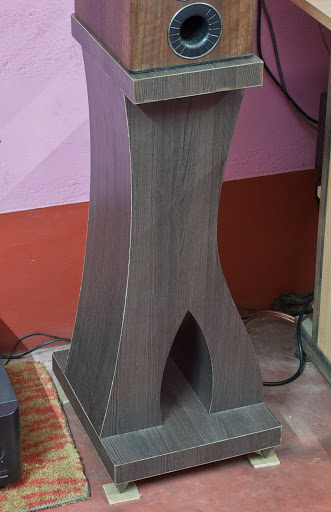
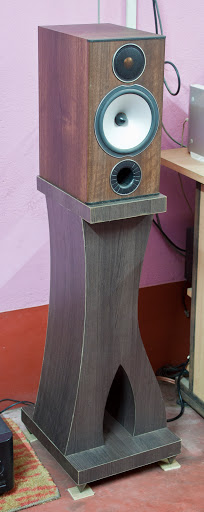
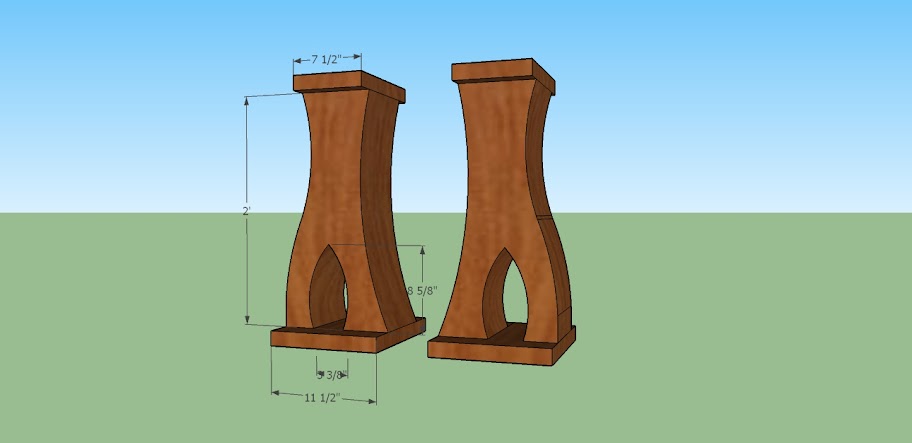
Finally, I came up with this design and it literally 'put a smile on her face' :yahoo:
Next thing was to look for a place where I could do CNC cutting. HFV members helped me a lot to find it.
Build - Phase 1
-----------------------------------------------
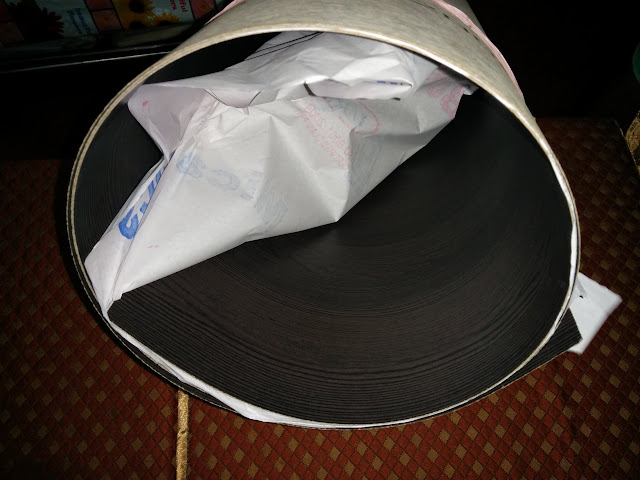
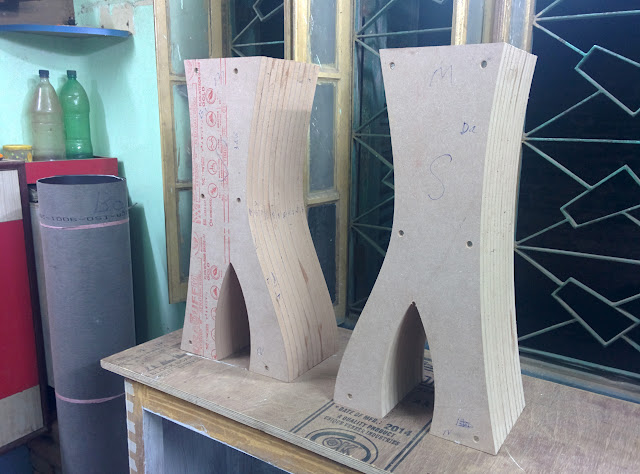
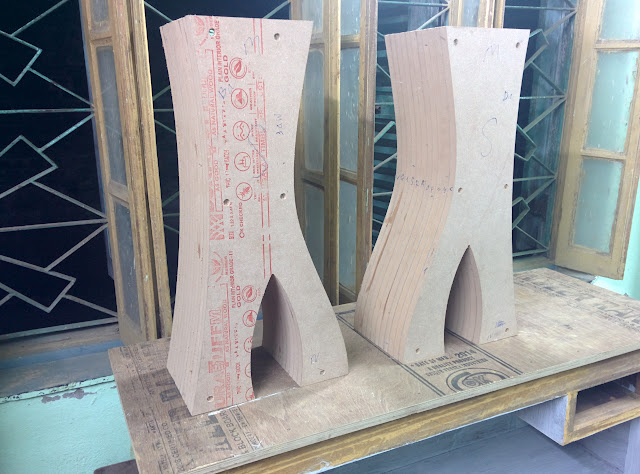
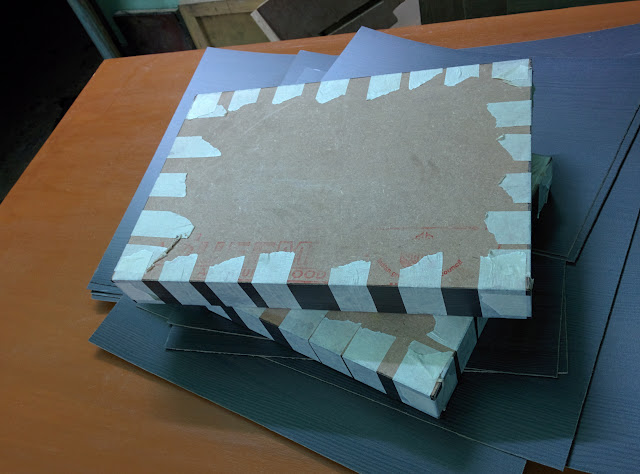
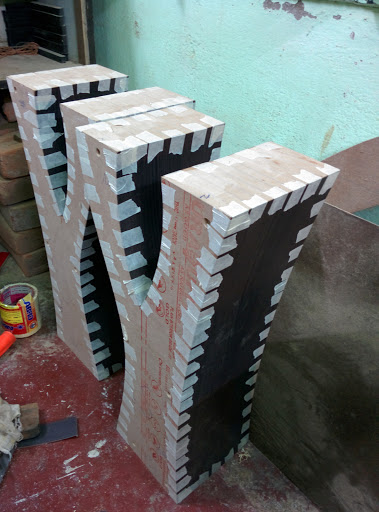
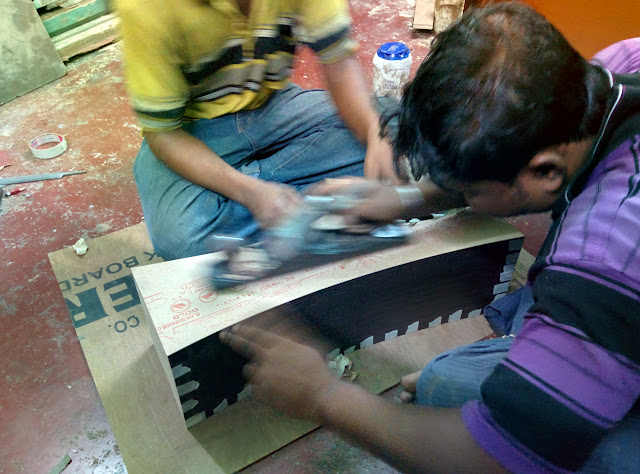
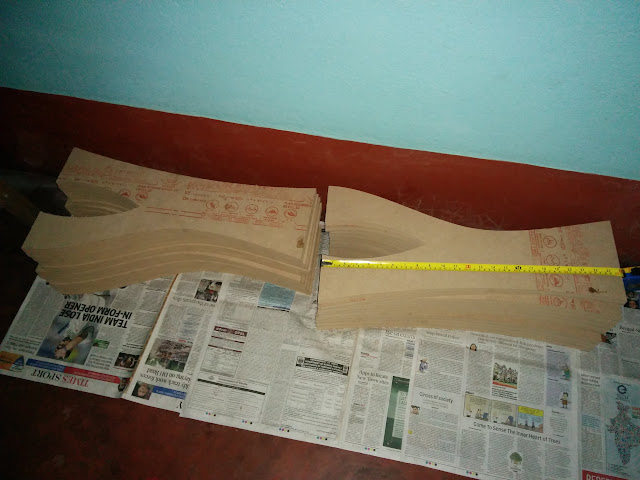
Build phase was basically locating the CNC workshop and provide them the design, raw meterial (17mm 8'X4' MDF boards - i purchased two of these) and of course the advance payment)). The final sliced pieces were delivered today evening. Here are the images:
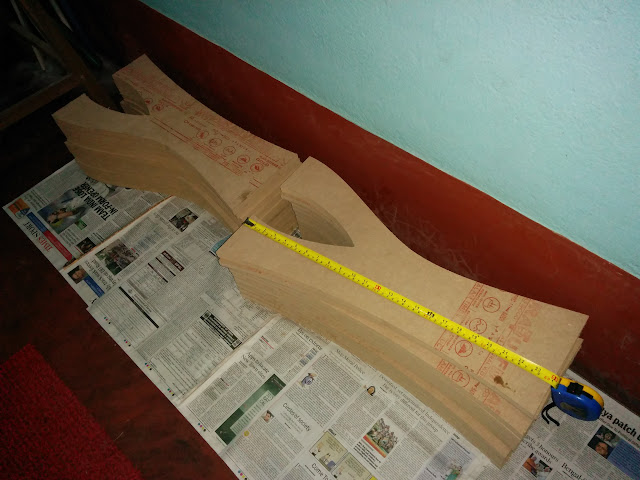
There are total 22 slices of following dimensions:
Height: 24"
Bottom Width: 11.5"
Top Width: 7.5"
If I paste 11 slices together, the depth would be close to 7.5" - which is exactly my desired dimension.
This is the update so far. And the story continues...............
First of all I would like to let you know that few days earlier I started one thread Need contact details for CNC wood cutting. I am thankful to everyone who posted/visited my thread. This thread was mostly related to some query. So for my build process I am creating a new thread so that it makes more sense.
Background
-----------------------------------------------
Few days back we (me and my wife) thought that we need speaker stands simply because my tiny computer table was not able to accommodate my center channel and bookshelves. You can see the space constraint here:
Design - Phase 1
-----------------------------------------------
I initially started with this design:
But, wife said no - as they don't look gorgeous. Then we started to find beautiful
)) speaker stands in google images and finally she selected this one:
(image courtesy google image search and foter.com). I liked the design as well and started the design with sketchup immediately.
Design - Phase 2
-----------------------------------------------
Finally, I came up with this design and it literally 'put a smile on her face' :yahoo:
Next thing was to look for a place where I could do CNC cutting. HFV members helped me a lot to find it.
Build - Phase 1
-----------------------------------------------
Build phase was basically locating the CNC workshop and provide them the design, raw meterial (17mm 8'X4' MDF boards - i purchased two of these) and of course the advance payment
)). The final sliced pieces were delivered today evening. Here are the images:
There are total 22 slices of following dimensions:
Height: 24"
Bottom Width: 11.5"
Top Width: 7.5"
If I paste 11 slices together, the depth would be close to 7.5" - which is exactly my desired dimension.
This is the update so far. And the story continues...............