DIY Room Treatment

anirudhchandrashekar

Active Member
Joined
Feb 12, 2014
Messages
100
Points
28
Location
Bangalore
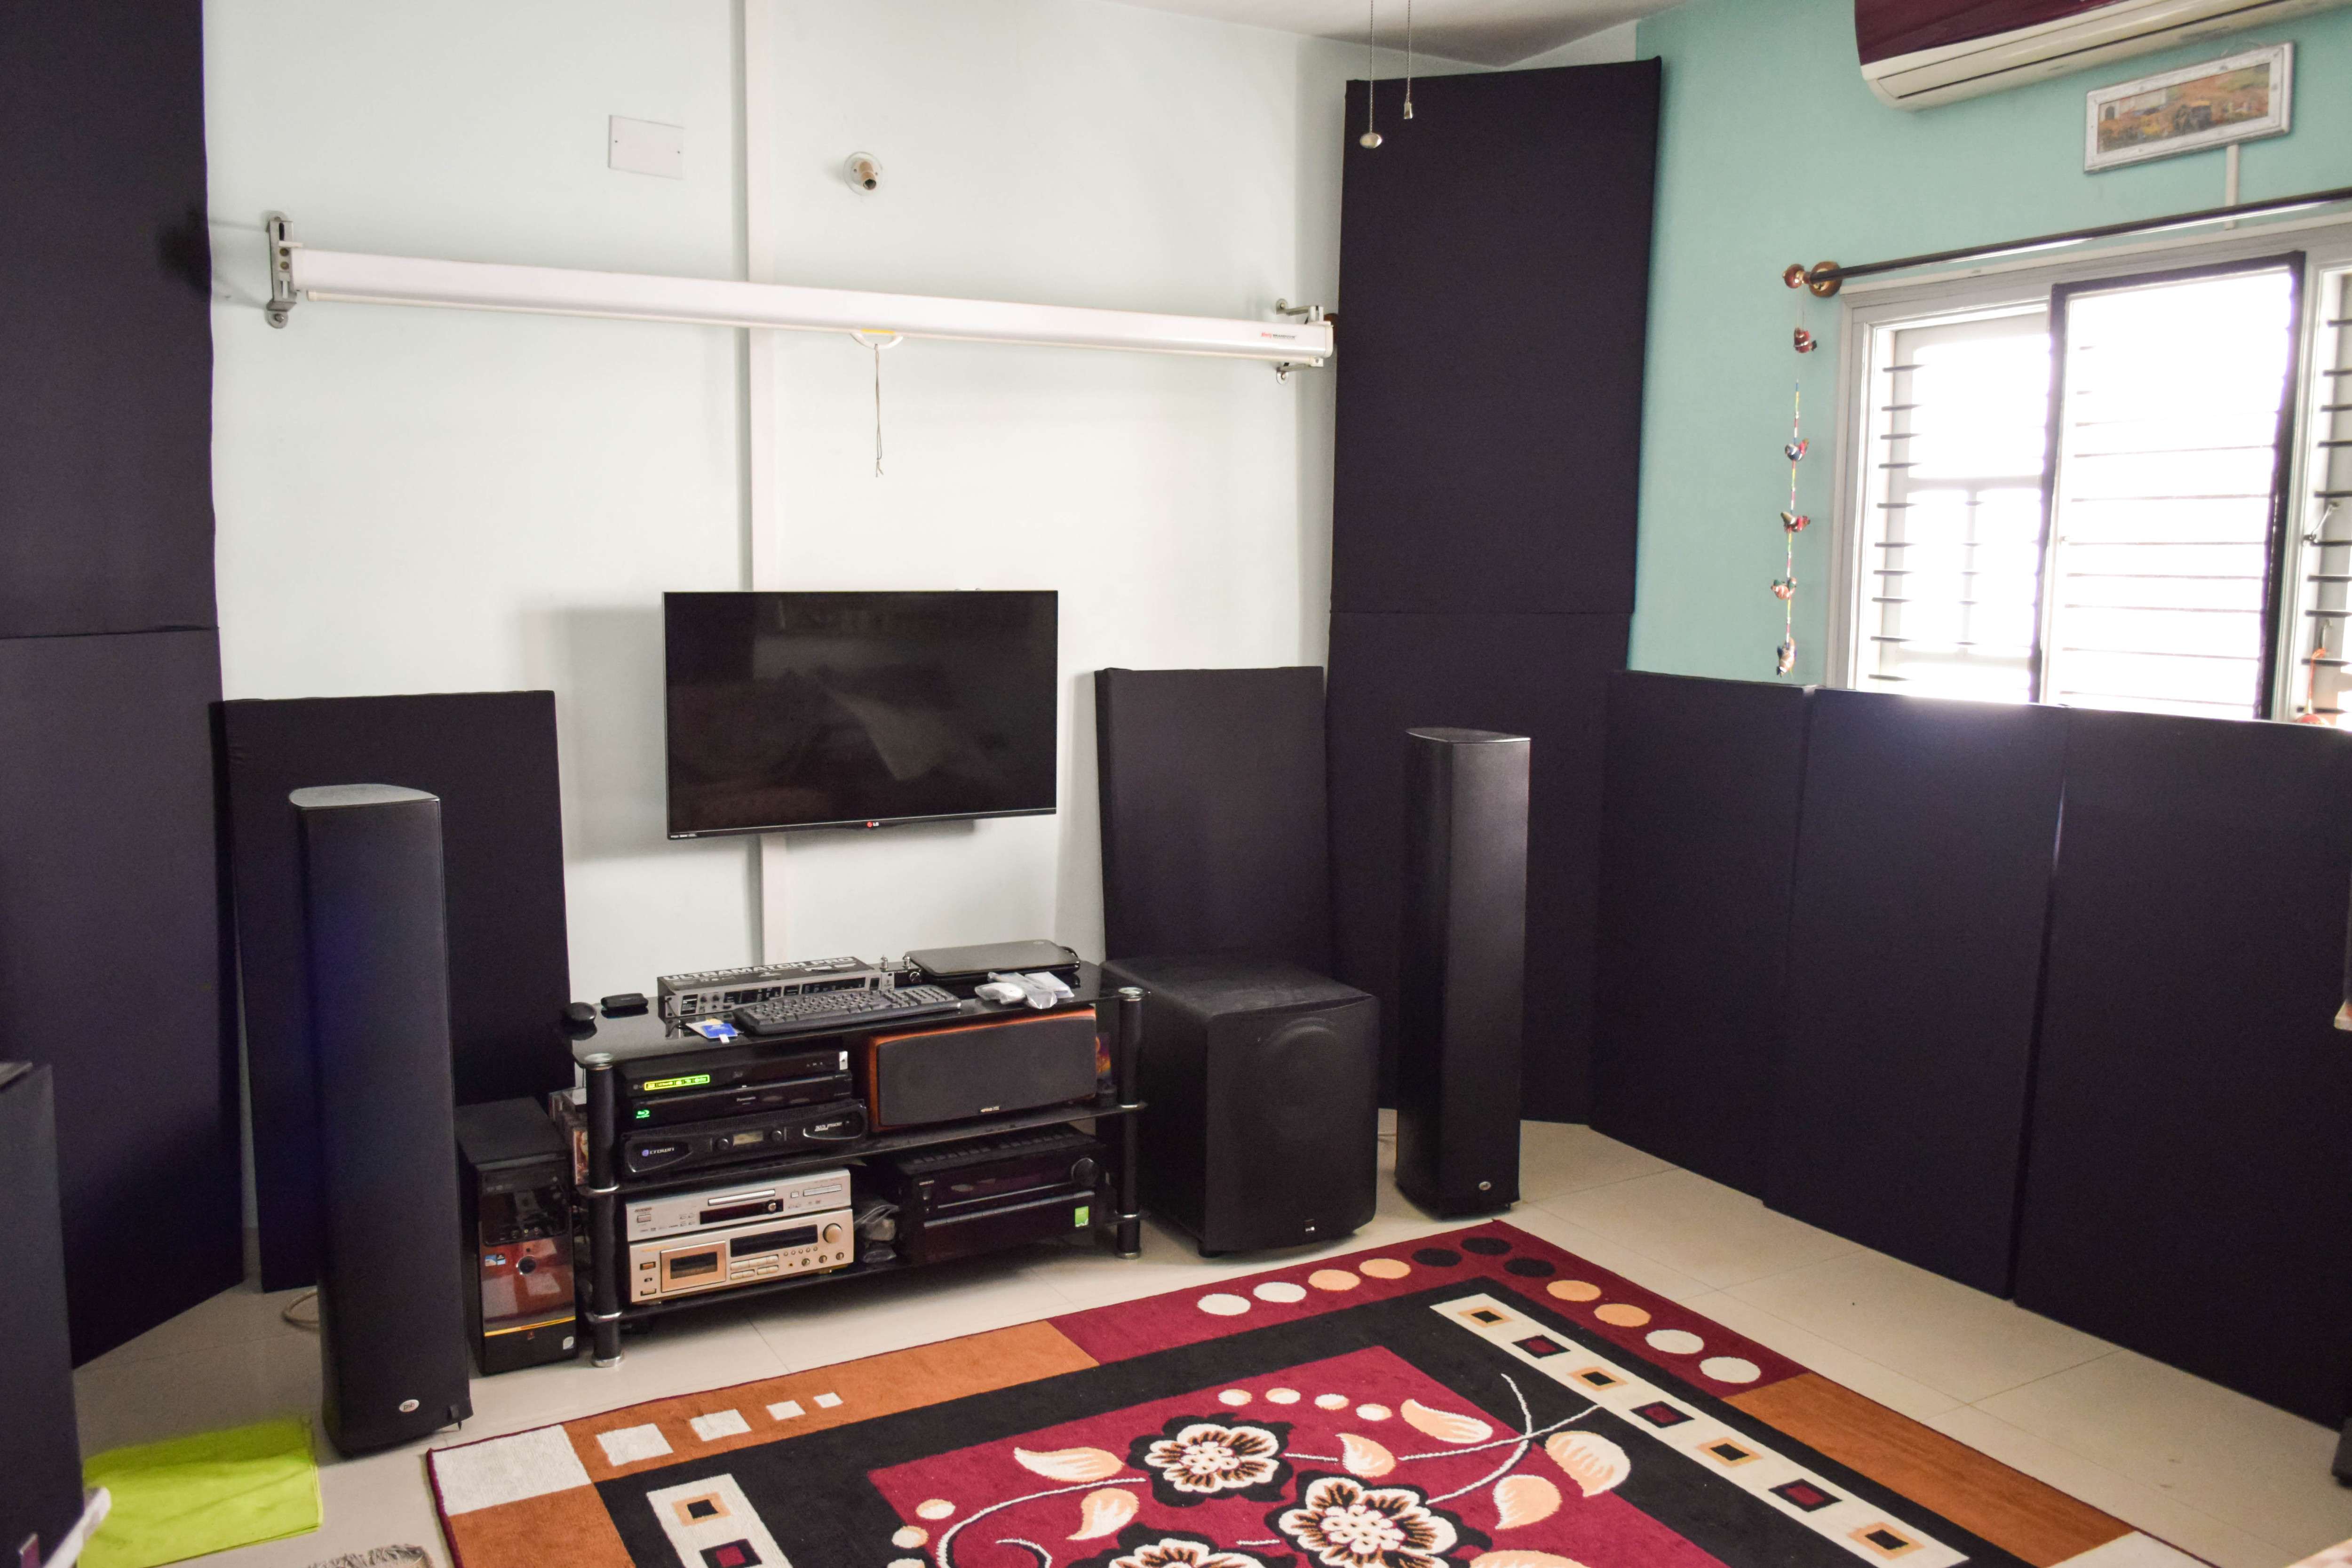
Hi all. I present to you the first phase of my room treatment.

Took me 3 days to finish the project. This is completely based on FM @Santy's detailed guide which is here.

Thanks a lot to FM @Santy for the detailed pictures. Made my job a lot easier.

dsc_8669-2-jpg.36092


View attachment DSC_8669-2.jpg
(Stands mighty tall considering PSB Synchs are tall speakers and the PB2000 is a fat sub!)

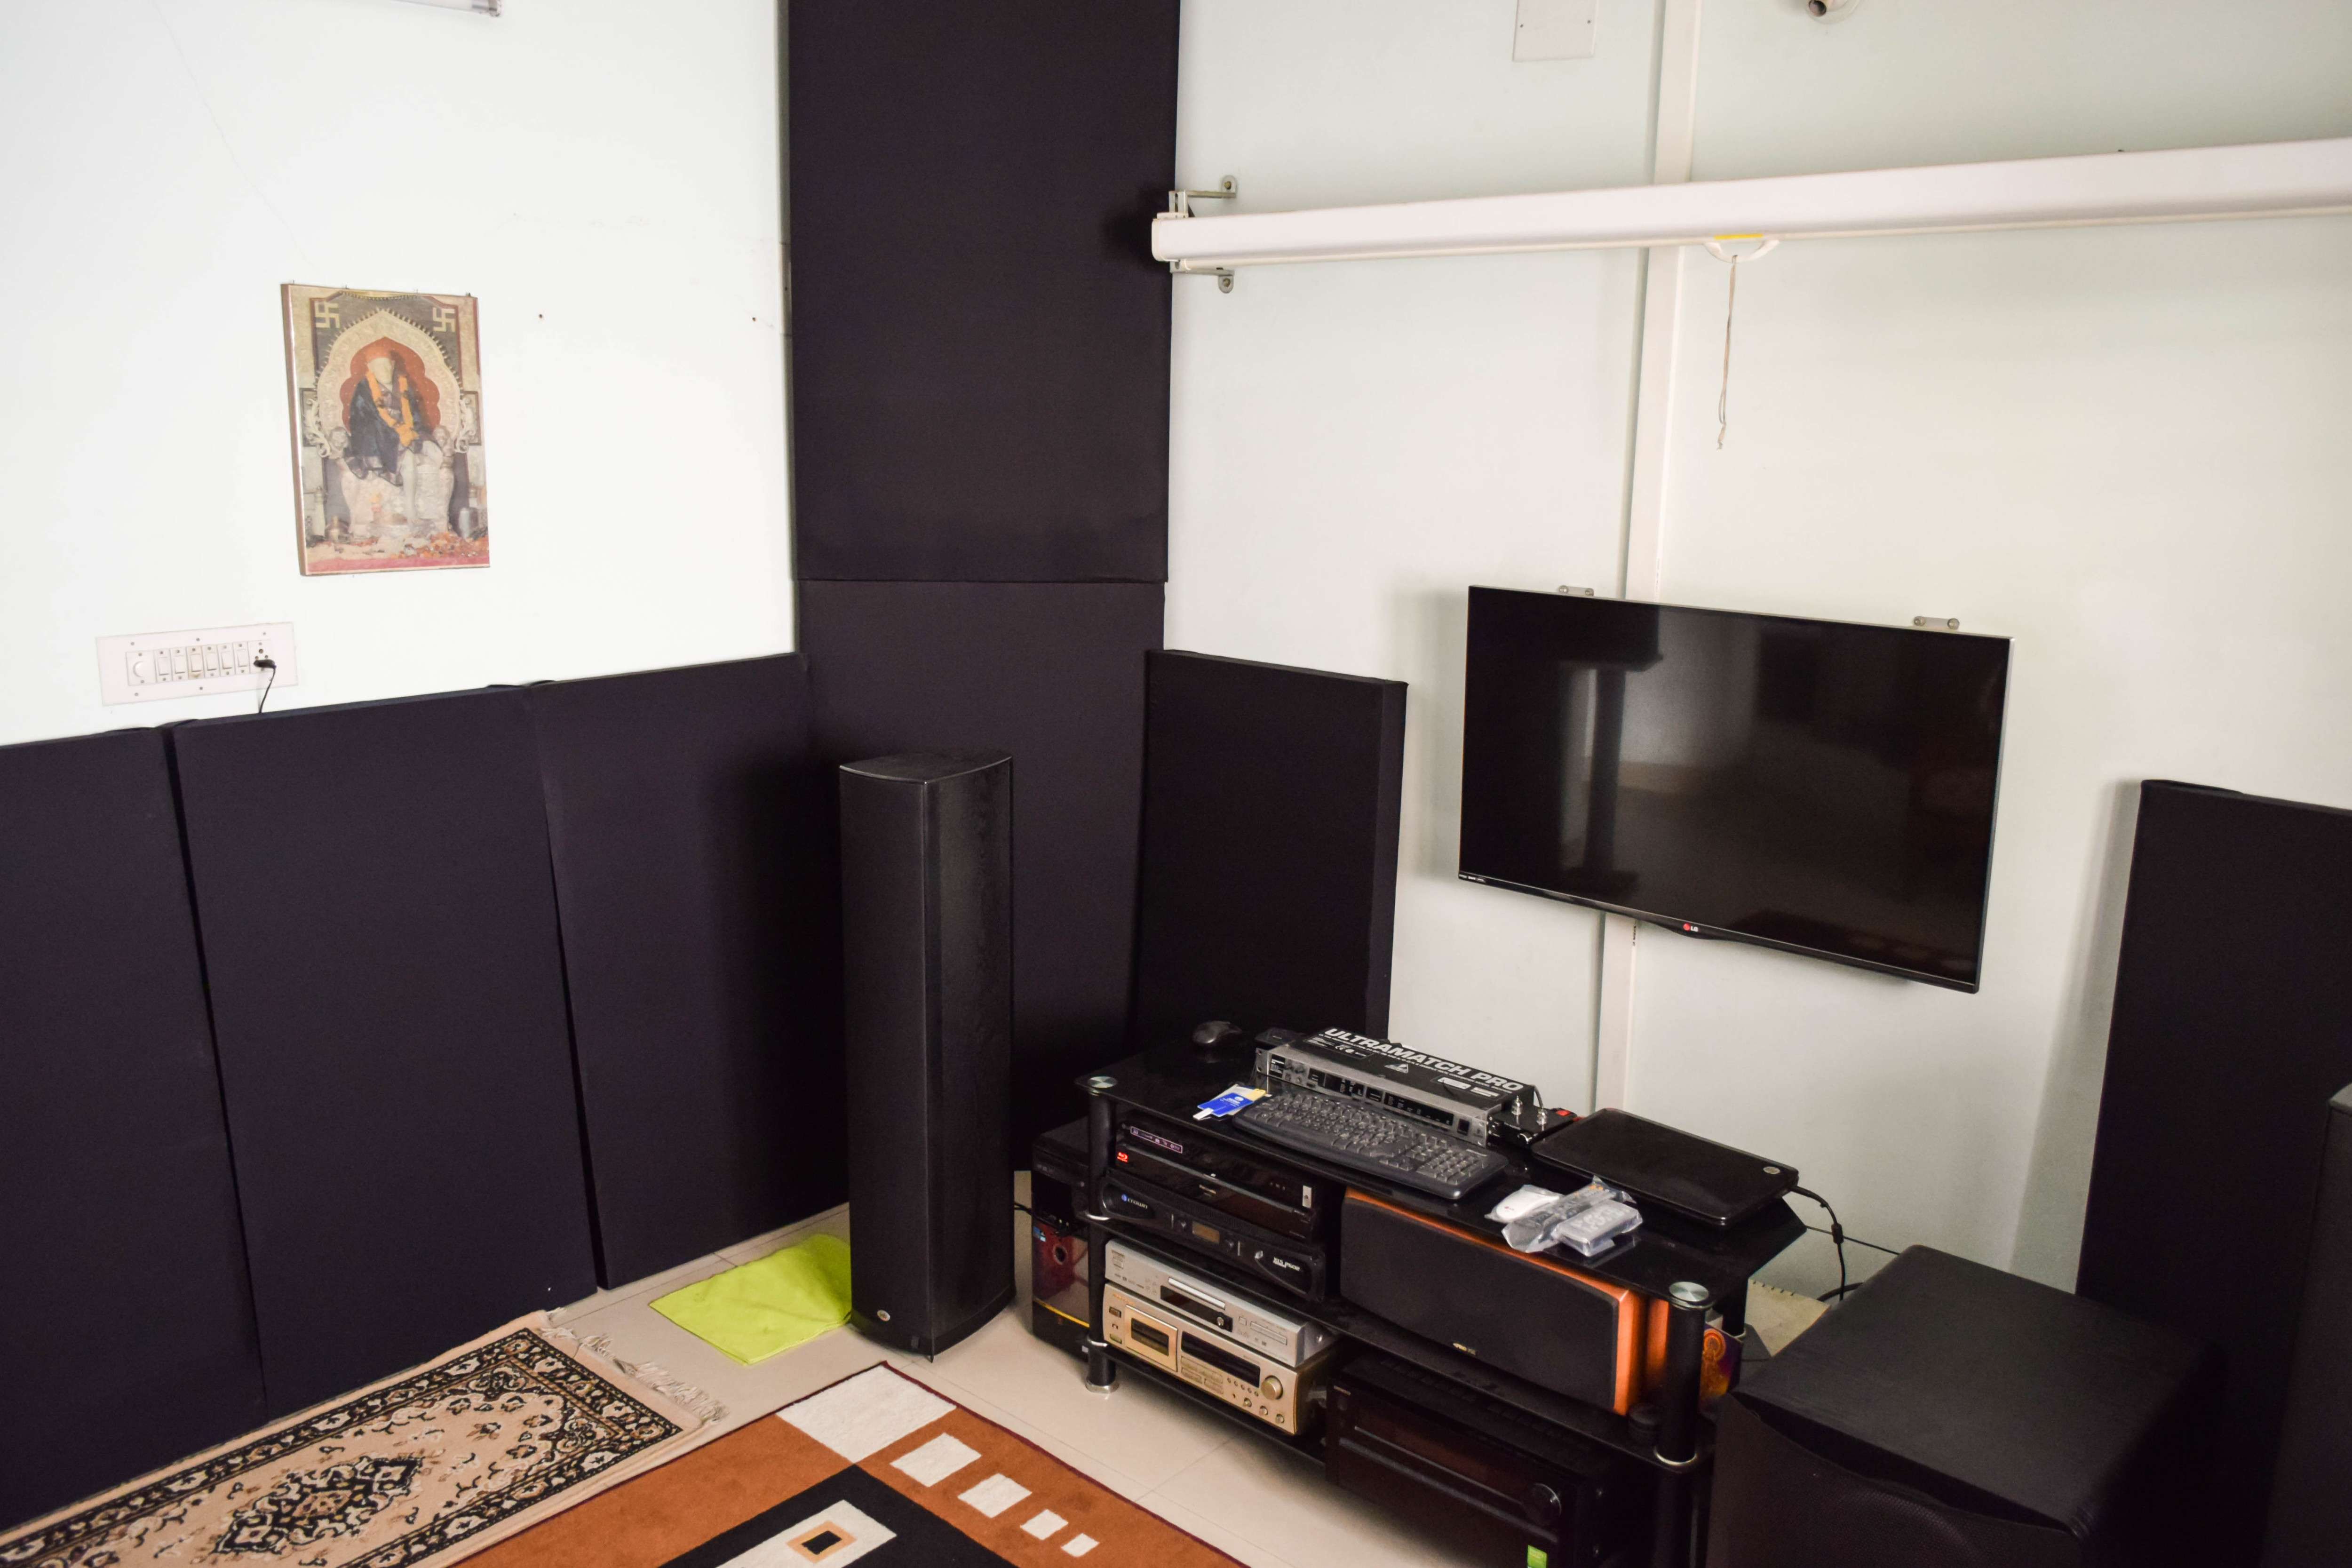
Face width is about 31 inches and each of them stand at 4.5ft in height. Found a Rockwool supplier very close by and I was able to source everything I need within about an hour.

dsc_8670-2-jpg.36091


View attachment DSC_8670-2.jpg

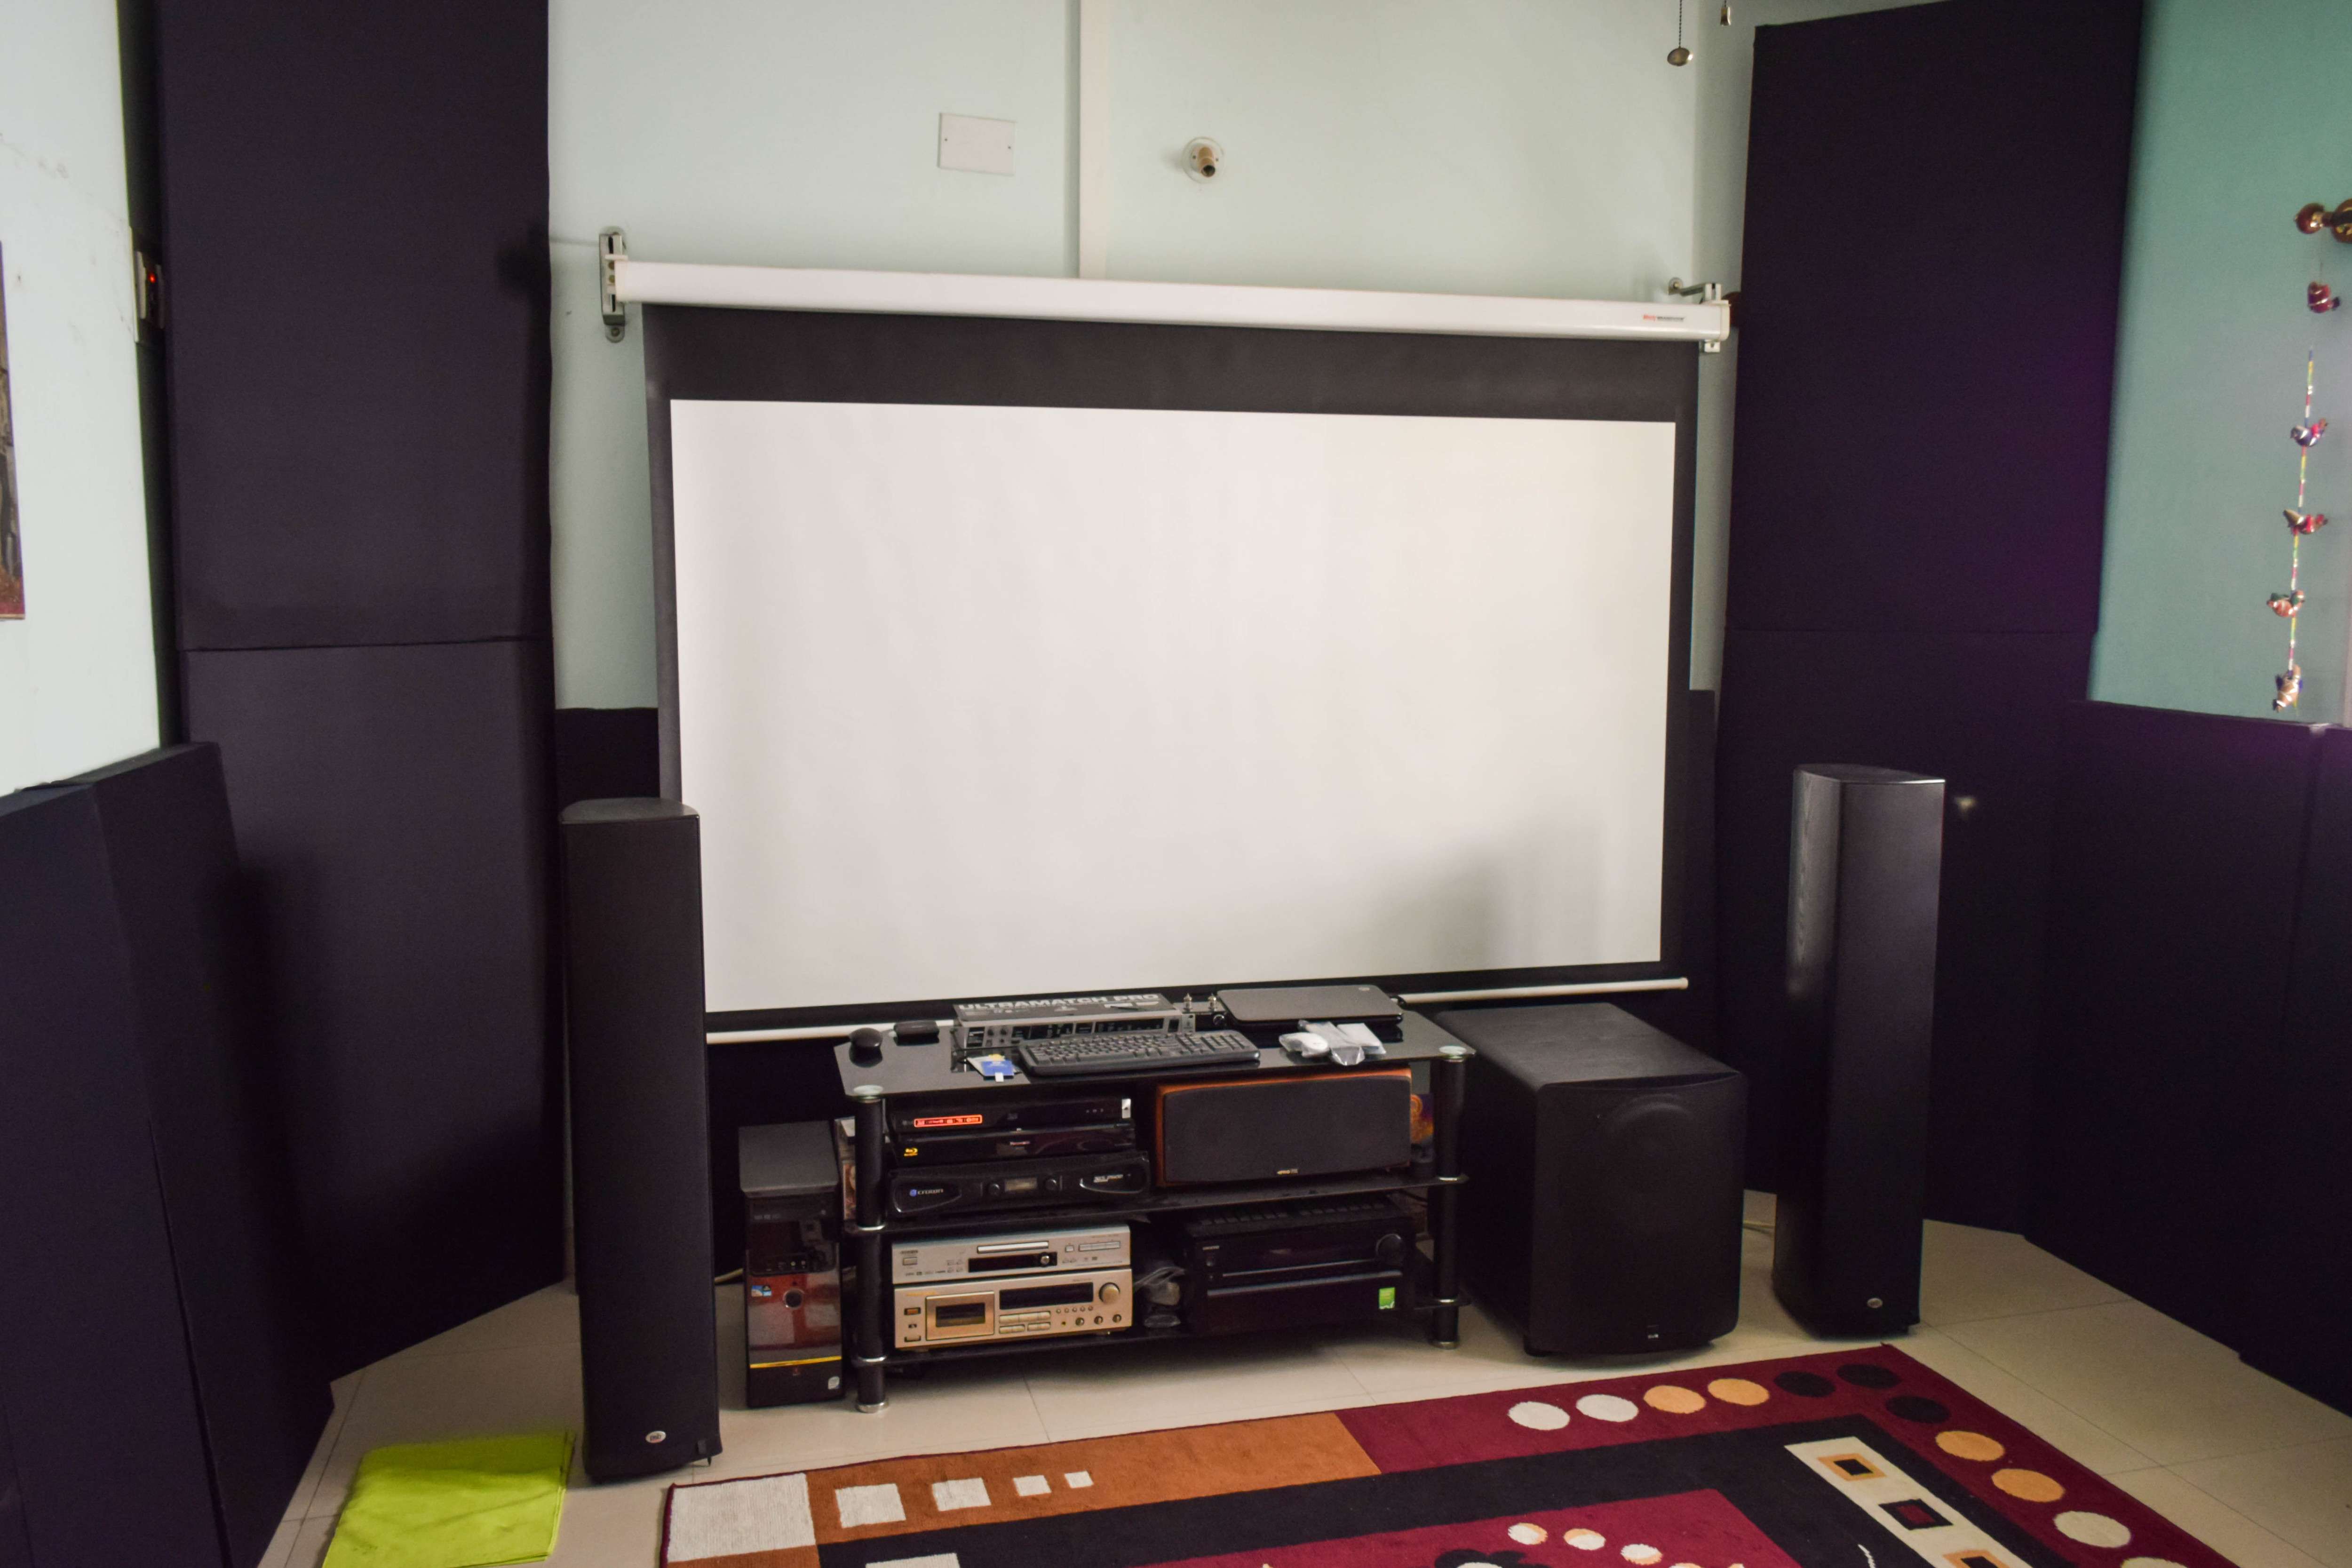
This is how it looks with my 120 inch projector screen pulled down.

Initial Impressions: The entire annoying boomy bass decay is gone for good. Everything until the mids are TIGHT. To be honest, I am not sure why I waited all this while to start treating the room.

My advice to all is, no matter how good your equipment is, your room modes will always mess things up to a certain extant. Just these 2 primary trappings have made a day-night change for me. Let us see what comes next. Looking into more treatment and even a MiniDSP with REW or DIRAC.

Will surely post a detailed review after listening to the setup for a few days.

Next up is DIY Acoustic Panels!

Cheers :)
 
Last edited by a moderator:
Excellent. Best to start by clearing up the bass.
The mids and highs are much easier.
If you have the space, try putting up diffusors behind the screen. Will give you image focus and depth.
Later you could add some absorption on the sides and behind the listening position.
This has always worked for me.
Step by step treatment is the way to go.
 
That's an imposing visual!!

Sure is! I first had my doubts if it would look aesthetic. But now, I have no two thoughts about it. When the entire room is dark and watching a movie, the black corners actually add to the brightness of the screen IYKWIM.

Looks good. Love seeing DIY stuff. Good luck with the panels.

This was a bit tedious but I nevertheless enjoyed the project. I am guessing the panels will be less labor intensive as compared to this.

Wow. They look almost tucked away. In a couple of weeks you won't even notice it visually.
Glad that SQ has improved.
Cheers,
Raghu

Let me finish up fixing the room completely, then we can try having another session. Special thanks to you @raghupb, you have taken your time off and carried your equipment many times to my place to help me! I really appreciate it!


Excellent. Best to start by clearing up the bass.
The mids and highs are much easier.
If you have the space, try putting up diffusors behind the screen. Will give you image focus and depth.
Later you could add some absorption on the sides and behind the listening position.
This has always worked for me.
Step by step treatment is the way to go.

I felt the same too. Clearing up the LF will give us a definitive direction to head toward cleaning up the mids and HF. Yes, I can tuck in panels around the TV ( I anyway don't pull out the projector screen for stereo listening but, when I do, imaging improves a lot - So, treating the front wall surely will help. Slow and steady,I will keep the forum posted with my updates.

If anyone has any queries or need any help in doing the same, you are free to contact me anytime :)

Cheers!
 
Hi guys. Will be starting on panels soon. Had a quick question - Will I need to use Ply for it or can I get away with using the particle board for it? Since it won't be lifting anything heavy (Rockwool is pretty light). @Santy would love your view on this as well.

All help appreciated!
 
When the entire room is dark and watching a movie, the black corners actually add to the brightness of the screen IYKWIM.

Absolutely. The way your panels are positioned in your room, you'll get the effect you describe. Colors "popping" more than before and all that. I felt the same way after my ceiling panels (black fabric on the surface) went up. Noticeable difference.

Fantastic job on the DIY panels and glad you can hear the difference. It's almost like getting new speakers ;)
I concur. The addition in contrast is easily discernible. Also, did you DIY the panels? If so, would love to see them!
 
Wow, that surely looks amazing. Wish you were slightly closer to my place.

MaSh
Yeah, would've been nice to try that NAD! As of the room treatment, I am working on the panels for the reflections and probably will hang a couple off the ceiling too. Don't know what I am supposed to do for the back wall!
 
Great job! If it doesn't work wonder what else will.

Not sure about the strength of particle board but given your previous DIY of making massive corner traps I am sure the panels you will make will be heavy too :)

BTW When you compete a big panel rockwool can get quite heavy IMO
 
Yeah, would've been nice to try that NAD! As of the room treatment, I am working on the panels for the reflections and probably will hang a couple off the ceiling too. Don't know what I am supposed to do for the back wall!

Oh yes, that would be good.

He lives close to my place. And you are due here :)
Cheers,
Raghu
Ahh then have to plan a visit to that side of the town soon.

MaSh
 
Heh. My DIY skills are somewhere between zero and none!
I beg to differ, it looks so elegant. The room, the panels. Good job!


Great job! If it doesn't work wonder what else will.

Not sure about the strength of particle board but given your previous DIY of making massive corner traps I am sure the panels you will make will be heavy too :)

BTW When you compete a big panel rockwool can get quite heavy IMO

It is doing a massive job in helping. Cheers to your detailed guide! So, do you suggest using 0.75 Ply to make the frames,or, is there anything else I can consider?
 
Hi all. Finally done with the panels. Each panel is 2x4ft and at the moment nothing has been fixed to the walls yet. Just placed it to click a couple of photos.

Here are some pictures of this DIY journey:

sNmLZN.jpg


UTcZj5.jpg


0V1NVl.jpg


In the meantime, I would appreciate placement tips and/or any other treatment tricks that has worked out for you guys.

First impressions and detailed review coming soon!

Regards.
 
Purchase the Audiolab 6000A Integrated Amplifier at a special offer price.
Back
Top