ShaQ.Blogs
Active Member
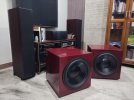
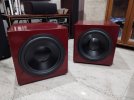
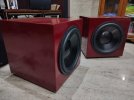
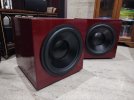
Just completed my 2 sealed subs with Rss390hf-4 15.
I used Russian birch ply for the build.
Painting / polish is pending.
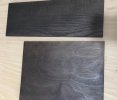
Looking for suggestions / ideas for finishing.
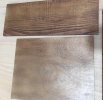
I like the dark cherry and rosenut finish. But not sure if it will come out like I am imagining it
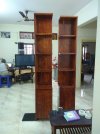
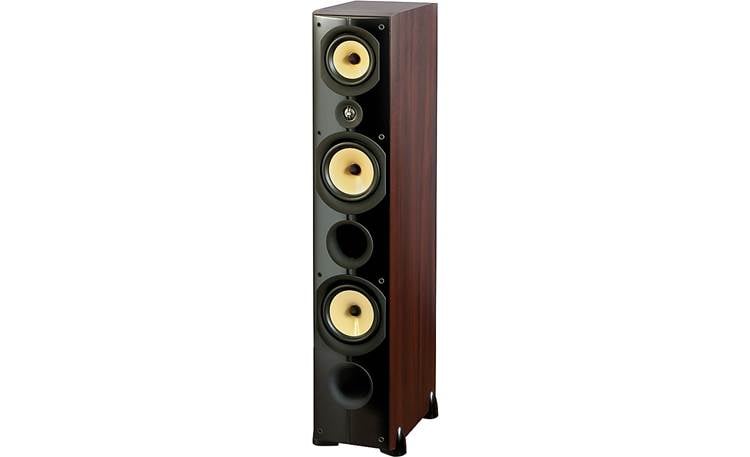
My towers have dark cherry finish
This HSU sub has a rosenut finish.

 www.hsuresearch.com
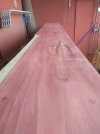
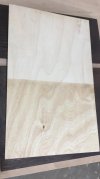
The top of the subs have the plywood layers visible. Not sure what impact that will have on the finishing.
Here is one of my subs...


I used Russian birch ply for the build.
Painting / polish is pending.
Looking for suggestions / ideas for finishing.
I like the dark cherry and rosenut finish. But not sure if it will come out like I am imagining it
My towers have dark cherry finish

This HSU sub has a rosenut finish.
ULS-15 MK2 Subwoofer :: Affordable Sealed Subwoofer
Introducing the ULS-15 MK2 subwoofer, the renowned musical 15" subwoofer that has garnered immense popularity because of it's sealed subwoofer technology. The best, affordable sealed subwoofer HSU Research.
The top of the subs have the plywood layers visible. Not sure what impact that will have on the finishing.
Here is one of my subs...