Hello,
I have finally started work on my FAST speaker project and decided to open a thread to document my progress and also take help from the community,since this is my first such build.
Now,I have some experience helping a relative in his furniture manufacturing shop but that was 18 years ago,so I am starting afresh.
I always wanted to have a speaker system of my own and came across the this cheap driver,the TC9FD18-08 on DIYAUDIO.The plan was to have a running system speakers,amp and all for under 10k.but,it turned out that making a decent looking cab would cost me a decent amount in itself and the cheap amp from ebay never arrived.
So,I decided to upsize and was attracted to the FAST speaker concept.Then came along this thread
https://www.diyaudio.com/forums/full-range/273524-10f-8424-rs225-8-fast-waw-ref-monitor.html
So,I went ahead and purchased the woofers,but one of them arrived damaged. A replacement woofer was requested but it took six months to arrive. Still,not too bad. Then,the miniDSP required for the active crossover was lost in transit and the amp I meant to use for bi amping was never built,and the entire project was forgotten for a few years.
Then,I saw a couple of threads here where chaps actually completed the same project,though in different configurations and I got the itch to restart my project after fellow DIY-er soundnovice asked to buy the woofers off of me.
Luckily,another fellow DIY-er Sadik was kind enough to provide me with the panels in cut form and my project is going to finally start!
woo hoo!
So the drivers are these
Full range-Tymphany TC9FD18-08
Woofer -Dayton RS225-8
I will be making the passive crossover version as I dont want to spend $ on getting the miniDSP again, though the speaker binding posts have provision for bi amping.
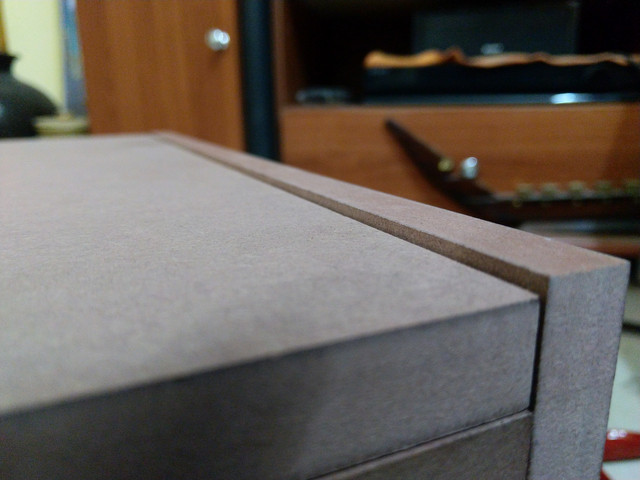
The cabinet will be sealed.Assembling the cabinet should be easy enough but finishing them to look good seems to be my main challenge now.
Anyhow,I am collecting materials for my build-tools that I require,damping materials,adhesive,crossover parts,paints,veneers etc.
Hopefully all work will be done by myself without any need for a carpenter.
Here are the things i am getting
1. Eggshell acoustic foam from MMT acoustix-https://www.mmtacoustixonline.com/product-page/egg-tray-acoustic-foam-6-x3-charcoal
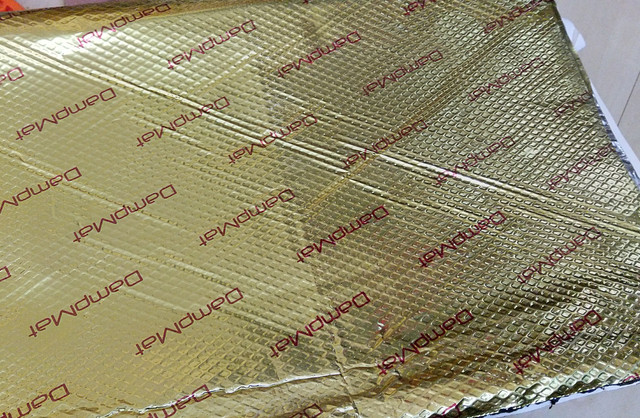
2. Butyl damping sheets from dampmat-https://www.dampmat.com/
3. Araldite for gluing-https://www.amazon.in/gp/product/B00NYK61KQ/ref=ox_sc_saved_title_3?smid=AZ7ENP8SWCBT8&psc=1
any comments on the above?
I'll post about the tools and other things as I go along.
Suraj
So,here is my first challenge
the full range speakers are not exactly a fit for the flush speaker cut out which is bigger than the speakers themselves.How do I work with that?My first thought was to neglect it as the TC9FD are not so good looking drivers and they will be covered by the speaker grille cloth. But then, I must do it.
heres how it looks-
TC9FD gap
It is what it is,so how will I fill up the gap? putty? keep some foam pieces there and cover it over with the veneer?
Then,one of the front panel cut outs is a tad too small for the woofer.
woofer fit
Suggestions on how to enlarge the flush mount hole,without using power tools/professional help?a bit of material needs to be removed from the area marked in red.
Now that I think about it,the woofers are a tight fit,once cabinet finishing is done,with the thickness of the added fillers and paint,the woofers will not fit and the hole will need to be enlarged.
How do I proceed? Also,how do I add images here?
I have finally started work on my FAST speaker project and decided to open a thread to document my progress and also take help from the community,since this is my first such build.
Now,I have some experience helping a relative in his furniture manufacturing shop but that was 18 years ago,so I am starting afresh.
I always wanted to have a speaker system of my own and came across the this cheap driver,the TC9FD18-08 on DIYAUDIO.The plan was to have a running system speakers,amp and all for under 10k.but,it turned out that making a decent looking cab would cost me a decent amount in itself and the cheap amp from ebay never arrived.
So,I decided to upsize and was attracted to the FAST speaker concept.Then came along this thread
https://www.diyaudio.com/forums/full-range/273524-10f-8424-rs225-8-fast-waw-ref-monitor.html
So,I went ahead and purchased the woofers,but one of them arrived damaged. A replacement woofer was requested but it took six months to arrive. Still,not too bad. Then,the miniDSP required for the active crossover was lost in transit and the amp I meant to use for bi amping was never built,and the entire project was forgotten for a few years.
Then,I saw a couple of threads here where chaps actually completed the same project,though in different configurations and I got the itch to restart my project after fellow DIY-er soundnovice asked to buy the woofers off of me.
Luckily,another fellow DIY-er Sadik was kind enough to provide me with the panels in cut form and my project is going to finally start!
woo hoo!
So the drivers are these
Full range-Tymphany TC9FD18-08
Woofer -Dayton RS225-8
I will be making the passive crossover version as I dont want to spend $ on getting the miniDSP again, though the speaker binding posts have provision for bi amping.
The cabinet will be sealed.Assembling the cabinet should be easy enough but finishing them to look good seems to be my main challenge now.
Anyhow,I am collecting materials for my build-tools that I require,damping materials,adhesive,crossover parts,paints,veneers etc.
Hopefully all work will be done by myself without any need for a carpenter.
Here are the things i am getting
1. Eggshell acoustic foam from MMT acoustix-https://www.mmtacoustixonline.com/product-page/egg-tray-acoustic-foam-6-x3-charcoal
2. Butyl damping sheets from dampmat-https://www.dampmat.com/
3. Araldite for gluing-https://www.amazon.in/gp/product/B00NYK61KQ/ref=ox_sc_saved_title_3?smid=AZ7ENP8SWCBT8&psc=1
any comments on the above?
I'll post about the tools and other things as I go along.
Suraj
So,here is my first challenge
the full range speakers are not exactly a fit for the flush speaker cut out which is bigger than the speakers themselves.How do I work with that?My first thought was to neglect it as the TC9FD are not so good looking drivers and they will be covered by the speaker grille cloth. But then, I must do it.
heres how it looks-
TC9FD gap
It is what it is,so how will I fill up the gap? putty? keep some foam pieces there and cover it over with the veneer?
Then,one of the front panel cut outs is a tad too small for the woofer.
woofer fit
Suggestions on how to enlarge the flush mount hole,without using power tools/professional help?a bit of material needs to be removed from the area marked in red.
Now that I think about it,the woofers are a tight fit,once cabinet finishing is done,with the thickness of the added fillers and paint,the woofers will not fit and the hole will need to be enlarged.
How do I proceed? Also,how do I add images here?
")