lowpoweraudio
Member
Greetings,
In light of the interest of taken in improving the sound quality of the Wharfedale 85th Anniversary Linton speakers. I thought it would be fun to see what gains could be realized from modifying the smallest and least expensive speaker in the Wharfedale line. Additionally, while every DIYer dreams of modding the big expensive speakers. I believe documenting a project like this on a relatively inexpensive speaker ($249pr USD amazon) brings value to the mod/DIY community in two ways. First, we could realize gains much larger than one would initially expect from such a inexpensive speaker. Could such speaker after mods compete with an OEM speaker in $500, $1000, or even $2000 range? Second, for an enthusiast with a limited budget or planning a first DIY, starting with $249pr of speakers is a LOT less intimidating and holds less RISK then attempting to mod a $1500+ pair of speakers as a first project. As I like to say its audio win-win! ~Personally, it gives me something to listen to while I'm butchering up the new Lintons that arrived last week.
In my past experience, I have modded/upgraded numerous pieces of electronics and several pairs of speakers. A pair of Usher S-520s (resistor upgrades), Boston Acoustic CR-9 (resistor & caps), Revel Concerta2 M16 (resistor & caps), KEF R300 (resistors & caps). In retrospect, I found all of these mods increased the musicality and enjoyment of these speakers for relatively little cost. As DIY're I'm certainly no expert and have learned much from these experiences. In some cases, I would have done things differently and/or utilize different parts or methods etc. I will pass this info on as I remember.
Moreover, I'm of the philosophy that products are built at a price point with many considerations. Manufactures build and market products to be competitive on many levels and make a profit. The sheer 'ultimate' expression of performance or musicality within a specific design is often not a consideration, or only to a price point given an established ROI. In other words, you are not going to find a company selling a $99 speaker filled with thousands of dollars’ worth of handmade copper foil capacitors and inductors selected after hundreds of hours of dedicated listening. In this specific case we are looking at only about $130USD in parts in addition to the original cost of the Diamond 220s. While proportionally the parts/speaker cost ratio is high, overall, the total costs of under $400 should be manageable for most enthusiasts (Spoiler alert: they will be very pleased).
WARNING if you generally believe: "If it measures the same it 'sounds' the same / if you can’t measure you can't hear it" or "If they could have made it better they would have" then this thread will be disturbing for you. Instead, go make a nice cup of tea, read some whitepapers on THD, and forget all this silliness.
As we begin, here two simple project guidelines:
First. All mods will fit/utilize the existing factory crossover board. We will not be creating an outboard or external box to house the crossover. Such mods are beyond the scope my DIY philosophy especially for working with an inexpensive speaker. We want to maintain the OEM look without building additional enclosures/wire and connectors.
Second. Mods/parts need to have reasonable size / cost constraints and utilize factory values whenever possible. In other words, while everyone might like Jupiter or Duelund Cast Copper foil capacitors I’ve learned my lesson with attempting to squeeze oversized soup can sized capacitors in spaces clearly not designed for such. Moreover, we’re not redesigning the crossover. Let’s give the designers the benefit of the doubt with the original crossover order/slopes and design. Our goal is improving an existing design not making a new one. If you find yourself absolutely needing outboard crossovers and capacitors the size of a football then politely leave your OEM speakers alone and design a pair of speakers from scratch with a suitable sized cabinet and drivers.
Yes, this means we will have to make some sacrifices ultimate part selection. Don’t worry! It will still sound far better than factory and you will be gloriously happy. Don’t be the person who foolishly spent $2000 parts to upgrade a $200 speaker.
Here we have the factory Diamond 220 tweeter removed. I’ve found it very helpful to grab my phone a snap a pic of the color and position of the terminal connections. Don’t trust on your memory for this please! If you get distracted or perhaps events happen preventing a quick project completion, or if weeks pass you will find it very helpful to have pics during your reassembly. Note the terminal clips in the 220 lock you’ll need to be carefull and bend the clip out or use a pointy tool to reach underneath the press in the lock lever to be able to pull the wires off.


Additionally, use if you have problems removing the driver use a thin plastic wedge like a plastic painters putty knife or combination with thin pic to break the speaker free. Remember use your camera to take a pic of the color wire connector / polarity! Note the cabinet stuffing arrangement We will reuse/change the position the stuffing and allocate it in a C configuration (if looking from the side of the speaker).

Here we are going to remove the bi-wire capability. Instead of having two pairs of operating binding posts we will combine the tweeter and woofer imput wires together so they attach to only one set ( I picked the lower - & + binding post. You could also simply run one pair of cables and bridge them at the crossover but this way if someone really wanted to restore the bi-wire ability they would simply re-solder the appropriate wires back the 2md set of posts. Personally I really dont like bi-wiring speaker and find little need for it. You're better off buying ONE good set of cables rather then TWO lower quality pairs of speaker cable. If want you can clip the tin connectors and solder the wires right to the binding posts. I also rewired the speakers, I was concerned the cable used here was all tin but on further investigation it is basic tin coated copper appliance wire about 14awg, Not bad. But for this project I sourced some nice OCC 14awg wire to all the drivers. Don't get crazy on wire. Just make sure its all copper.

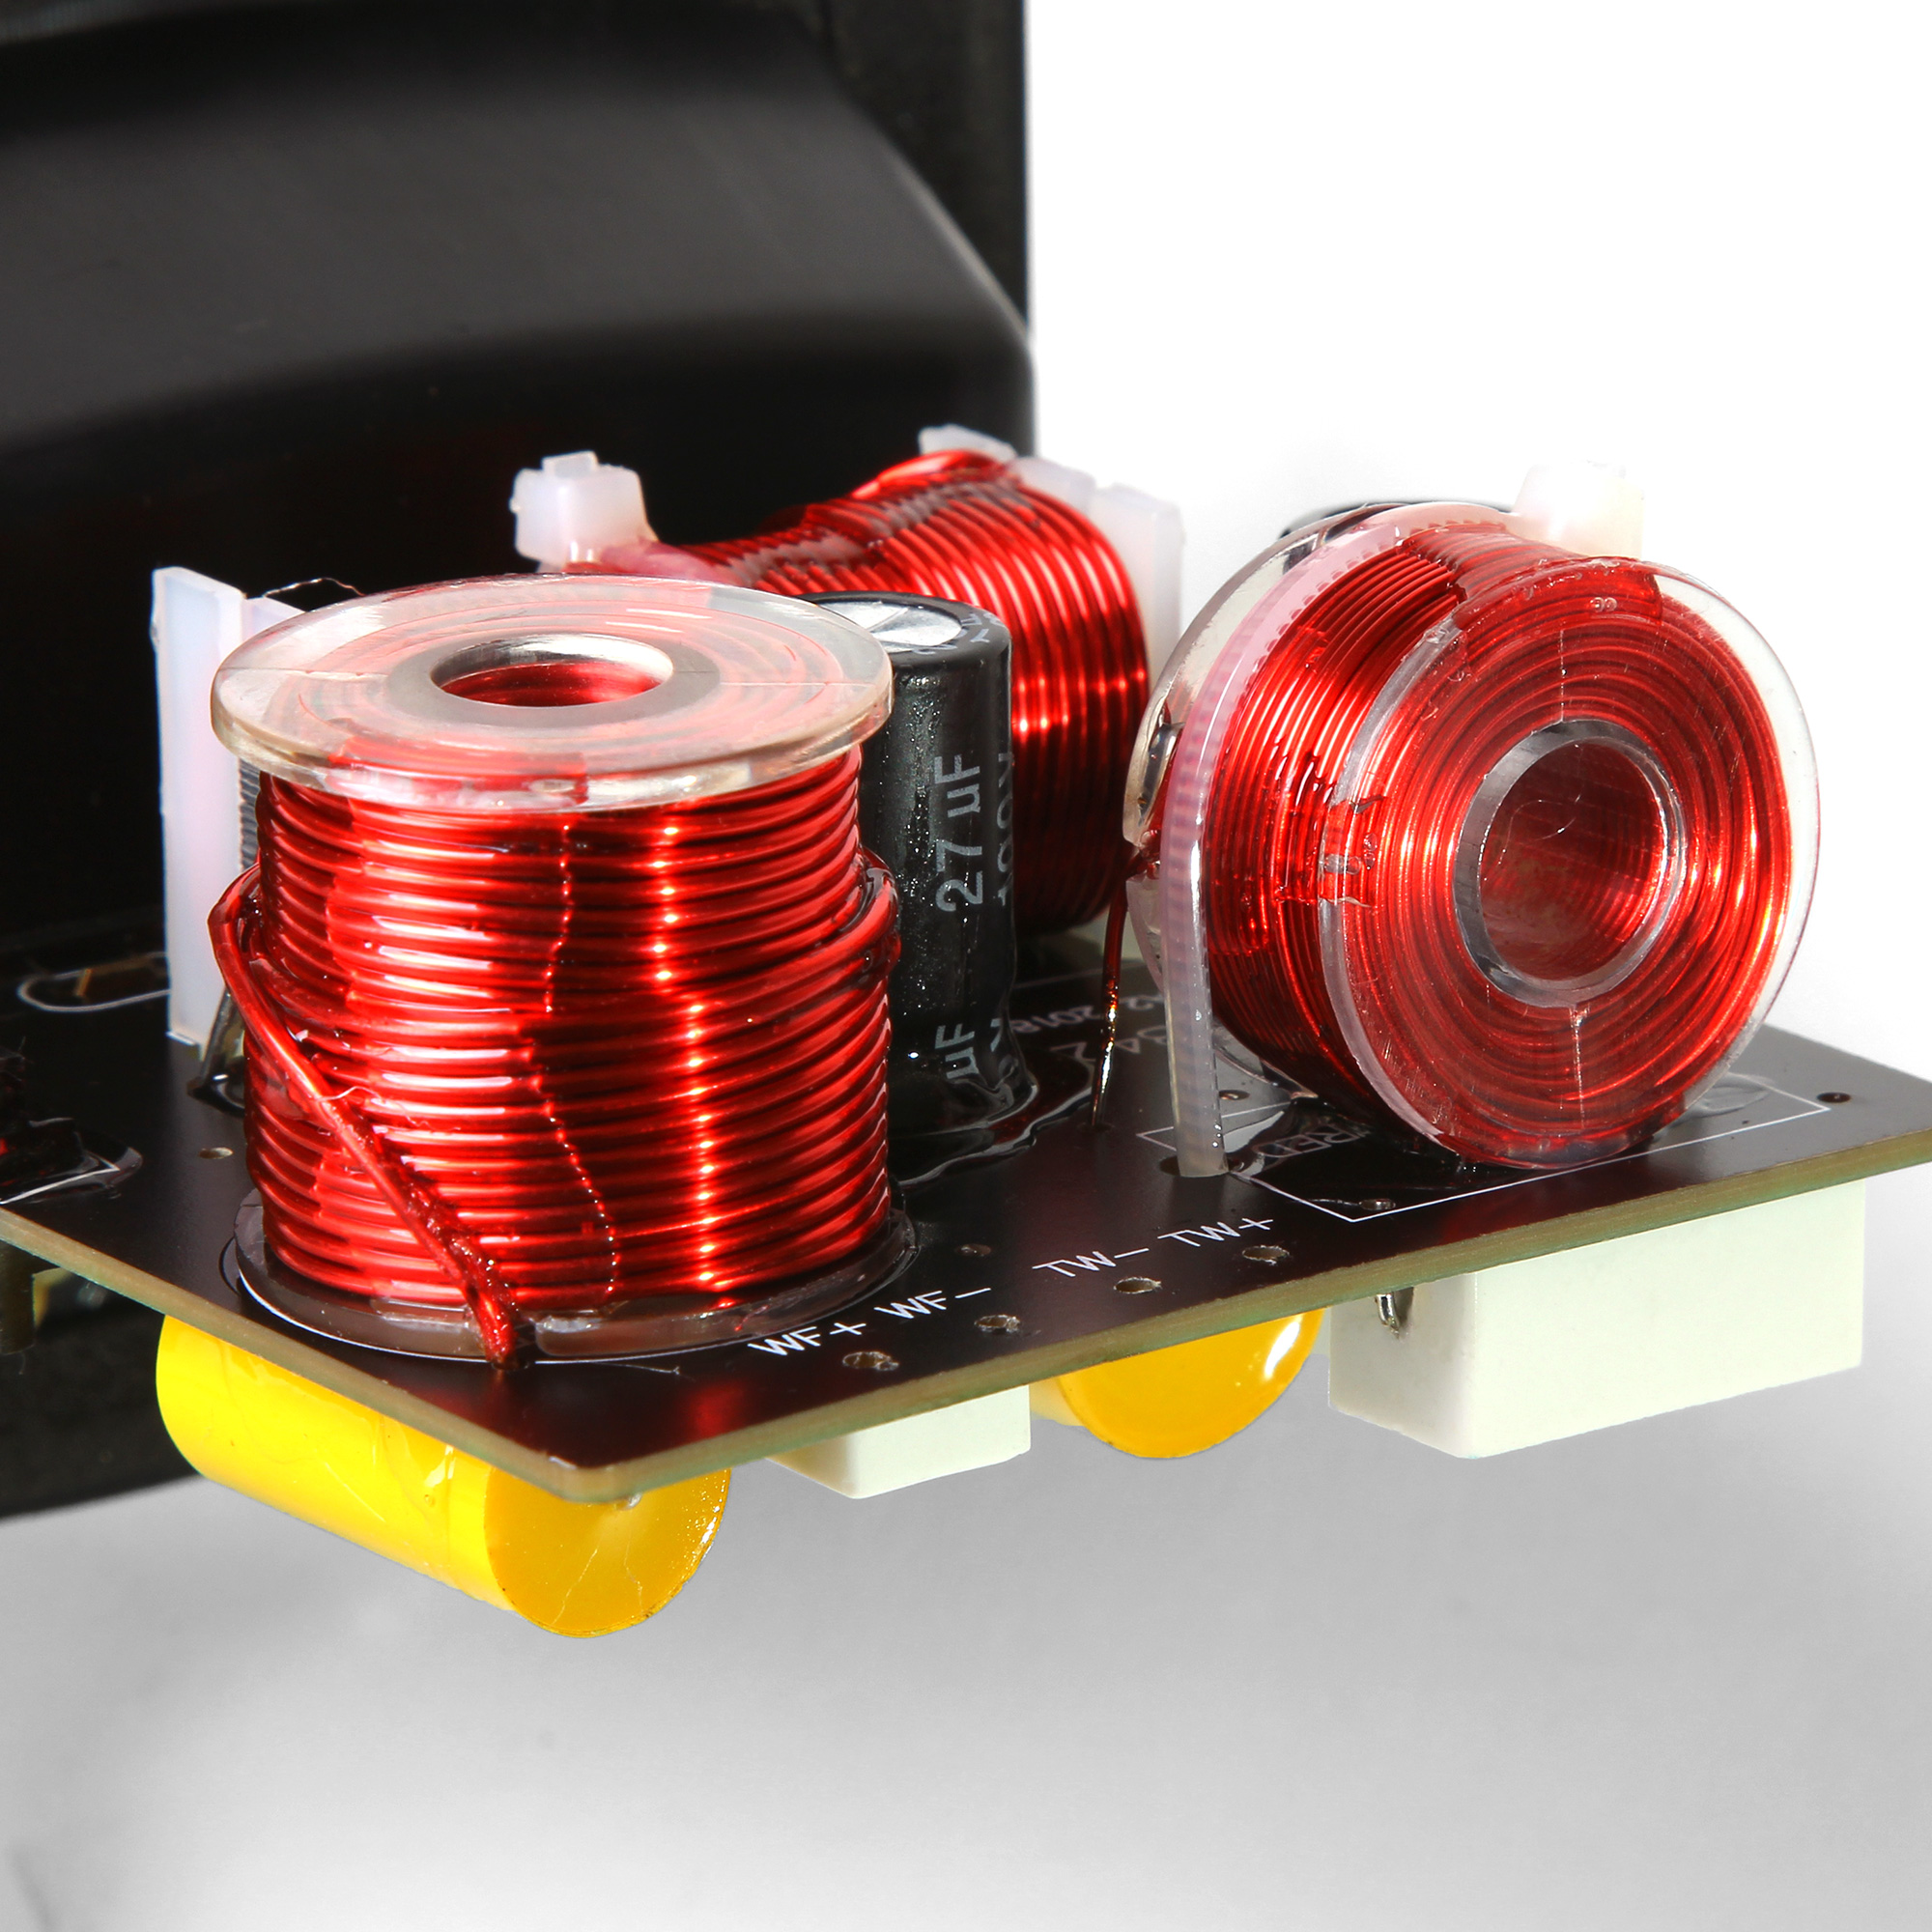
Here's a pic of the original crossover. Note at the top you'll see the Blue and Yellow wire marked + & - HF which is the tweeter and the Red and Black wire marked + & - LF which is the tweeter. Take your pics! Your colors could be different! Below bottom you see the same configuration but going to speaker binding posts. We don't have a schematic here but pretty easy to figure out if you divide the crossover down the middle following the black Phillips screw heads you have the Tweeter components on the left and mid/woofer on the right.

Here we have the 220 crossover removed as you can see we've removed Two 4.2uf Mylar caps from the HF section and installed new Mills (brown) and Ohmite wire-wound resistors with the same OEM values. One the right the same with the .5uf, 22.uf and 6.8 uf caps removed. De-soldering takes sometime, use a little fresh melted solder on you tip to de-solder the old stuff, Flux, solder sucker, and braid all helps. Take your time, I know it sucks.

Here is the completed board. For the tweeter we left the original blue 32uf electrolytic in place and replaced the Mylar caps using Clarity Cap PX series caps. Why? because they fit nicely and they sound good. I had to use 3.8uf with Mundorf .33 EVO aluminum bypass to make the OEM 4.2uf value. Not because I'm big into cap bypassing there was no other way to make the 4.2uf odd ball values. The EVOs are nice small and cheap. For the mid/woofer section I went a little crazy the big white cap is another Mudorf EVO 6.8uf aluminum. If I did this again I might have stepped up and used a EVO aluminum oil in this position as the size is the same but cost is double. I also replaced the 22uf electrolytic with a Jantzen smooth foil type electrolytic. I had to order these from the UK but thought here it was worth it as here in the mid range will be very noticeable. Note the new copper 14awg wire running to the board. I also had to swap the position of the 6.8 and 22uf caps for spacing no matter as the 6.8 is bypassing the 22uf so position doesn't matter.

Here is the upgraded crossover nestled in the cabinet. Watch the positioning of the 6.8uf cap if it overhangs the edge of the board you will have a tough time fitting the board back in. In that case flip the board 90 deg. Note I covered the inside of the cabinet with 1/8" thick felt for added cabinet damping / make sure when you re stuff the cabinet you don't block off the mid/woofer port!

Here we are at re assembly Be sure to mark you speaker wire for the correct polarity and I soldered the wire directly to the speaker terminals and binding posts. Just re stuff the cabinets and bolt your drivers back in! All in all expect 5-6 hrs of work and about $150 in parts. I will post parts/value lists as well as video on my youtube channel lowpoweraudio in coming weeks. I will post additional thought and a comparison to the non-modded Lintons here.

The results are unbelievable! At this point I prefer them to the non modded Lintons. I know this hard to believe. Of course, there is less bass with the Diamond 220s but after the mod they possess an incredible almost electrostatic like coherence in the mid range and bass is very tuneful and satisfying. I would put these against any other bookshelf speaker under $2k USD. Deffently better then the Revel Concerta2 M16s. More to come. Absolutely incredible results!
Happy listening and more to come!
lowpoweraudio
In light of the interest of taken in improving the sound quality of the Wharfedale 85th Anniversary Linton speakers. I thought it would be fun to see what gains could be realized from modifying the smallest and least expensive speaker in the Wharfedale line. Additionally, while every DIYer dreams of modding the big expensive speakers. I believe documenting a project like this on a relatively inexpensive speaker ($249pr USD amazon) brings value to the mod/DIY community in two ways. First, we could realize gains much larger than one would initially expect from such a inexpensive speaker. Could such speaker after mods compete with an OEM speaker in $500, $1000, or even $2000 range? Second, for an enthusiast with a limited budget or planning a first DIY, starting with $249pr of speakers is a LOT less intimidating and holds less RISK then attempting to mod a $1500+ pair of speakers as a first project. As I like to say its audio win-win! ~Personally, it gives me something to listen to while I'm butchering up the new Lintons that arrived last week.
In my past experience, I have modded/upgraded numerous pieces of electronics and several pairs of speakers. A pair of Usher S-520s (resistor upgrades), Boston Acoustic CR-9 (resistor & caps), Revel Concerta2 M16 (resistor & caps), KEF R300 (resistors & caps). In retrospect, I found all of these mods increased the musicality and enjoyment of these speakers for relatively little cost. As DIY're I'm certainly no expert and have learned much from these experiences. In some cases, I would have done things differently and/or utilize different parts or methods etc. I will pass this info on as I remember.
Moreover, I'm of the philosophy that products are built at a price point with many considerations. Manufactures build and market products to be competitive on many levels and make a profit. The sheer 'ultimate' expression of performance or musicality within a specific design is often not a consideration, or only to a price point given an established ROI. In other words, you are not going to find a company selling a $99 speaker filled with thousands of dollars’ worth of handmade copper foil capacitors and inductors selected after hundreds of hours of dedicated listening. In this specific case we are looking at only about $130USD in parts in addition to the original cost of the Diamond 220s. While proportionally the parts/speaker cost ratio is high, overall, the total costs of under $400 should be manageable for most enthusiasts (Spoiler alert: they will be very pleased).
WARNING if you generally believe: "If it measures the same it 'sounds' the same / if you can’t measure you can't hear it" or "If they could have made it better they would have" then this thread will be disturbing for you. Instead, go make a nice cup of tea, read some whitepapers on THD, and forget all this silliness.
As we begin, here two simple project guidelines:
First. All mods will fit/utilize the existing factory crossover board. We will not be creating an outboard or external box to house the crossover. Such mods are beyond the scope my DIY philosophy especially for working with an inexpensive speaker. We want to maintain the OEM look without building additional enclosures/wire and connectors.
Second. Mods/parts need to have reasonable size / cost constraints and utilize factory values whenever possible. In other words, while everyone might like Jupiter or Duelund Cast Copper foil capacitors I’ve learned my lesson with attempting to squeeze oversized soup can sized capacitors in spaces clearly not designed for such. Moreover, we’re not redesigning the crossover. Let’s give the designers the benefit of the doubt with the original crossover order/slopes and design. Our goal is improving an existing design not making a new one. If you find yourself absolutely needing outboard crossovers and capacitors the size of a football then politely leave your OEM speakers alone and design a pair of speakers from scratch with a suitable sized cabinet and drivers.
Yes, this means we will have to make some sacrifices ultimate part selection. Don’t worry! It will still sound far better than factory and you will be gloriously happy. Don’t be the person who foolishly spent $2000 parts to upgrade a $200 speaker.
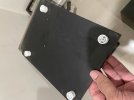
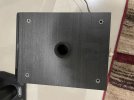
Here we have the factory Diamond 220 tweeter removed. I’ve found it very helpful to grab my phone a snap a pic of the color and position of the terminal connections. Don’t trust on your memory for this please! If you get distracted or perhaps events happen preventing a quick project completion, or if weeks pass you will find it very helpful to have pics during your reassembly. Note the terminal clips in the 220 lock you’ll need to be carefull and bend the clip out or use a pointy tool to reach underneath the press in the lock lever to be able to pull the wires off.
Additionally, use if you have problems removing the driver use a thin plastic wedge like a plastic painters putty knife or combination with thin pic to break the speaker free. Remember use your camera to take a pic of the color wire connector / polarity! Note the cabinet stuffing arrangement We will reuse/change the position the stuffing and allocate it in a C configuration (if looking from the side of the speaker).
Here we are going to remove the bi-wire capability. Instead of having two pairs of operating binding posts we will combine the tweeter and woofer imput wires together so they attach to only one set ( I picked the lower - & + binding post. You could also simply run one pair of cables and bridge them at the crossover but this way if someone really wanted to restore the bi-wire ability they would simply re-solder the appropriate wires back the 2md set of posts. Personally I really dont like bi-wiring speaker and find little need for it. You're better off buying ONE good set of cables rather then TWO lower quality pairs of speaker cable. If want you can clip the tin connectors and solder the wires right to the binding posts. I also rewired the speakers, I was concerned the cable used here was all tin but on further investigation it is basic tin coated copper appliance wire about 14awg, Not bad. But for this project I sourced some nice OCC 14awg wire to all the drivers. Don't get crazy on wire. Just make sure its all copper.
Here's a pic of the original crossover. Note at the top you'll see the Blue and Yellow wire marked + & - HF which is the tweeter and the Red and Black wire marked + & - LF which is the tweeter. Take your pics! Your colors could be different! Below bottom you see the same configuration but going to speaker binding posts. We don't have a schematic here but pretty easy to figure out if you divide the crossover down the middle following the black Phillips screw heads you have the Tweeter components on the left and mid/woofer on the right.
Here we have the 220 crossover removed as you can see we've removed Two 4.2uf Mylar caps from the HF section and installed new Mills (brown) and Ohmite wire-wound resistors with the same OEM values. One the right the same with the .5uf, 22.uf and 6.8 uf caps removed. De-soldering takes sometime, use a little fresh melted solder on you tip to de-solder the old stuff, Flux, solder sucker, and braid all helps. Take your time, I know it sucks.
Here is the completed board. For the tweeter we left the original blue 32uf electrolytic in place and replaced the Mylar caps using Clarity Cap PX series caps. Why? because they fit nicely and they sound good. I had to use 3.8uf with Mundorf .33 EVO aluminum bypass to make the OEM 4.2uf value. Not because I'm big into cap bypassing there was no other way to make the 4.2uf odd ball values. The EVOs are nice small and cheap. For the mid/woofer section I went a little crazy the big white cap is another Mudorf EVO 6.8uf aluminum. If I did this again I might have stepped up and used a EVO aluminum oil in this position as the size is the same but cost is double. I also replaced the 22uf electrolytic with a Jantzen smooth foil type electrolytic. I had to order these from the UK but thought here it was worth it as here in the mid range will be very noticeable. Note the new copper 14awg wire running to the board. I also had to swap the position of the 6.8 and 22uf caps for spacing no matter as the 6.8 is bypassing the 22uf so position doesn't matter.
Here is the upgraded crossover nestled in the cabinet. Watch the positioning of the 6.8uf cap if it overhangs the edge of the board you will have a tough time fitting the board back in. In that case flip the board 90 deg. Note I covered the inside of the cabinet with 1/8" thick felt for added cabinet damping / make sure when you re stuff the cabinet you don't block off the mid/woofer port!
Here we are at re assembly Be sure to mark you speaker wire for the correct polarity and I soldered the wire directly to the speaker terminals and binding posts. Just re stuff the cabinets and bolt your drivers back in! All in all expect 5-6 hrs of work and about $150 in parts. I will post parts/value lists as well as video on my youtube channel lowpoweraudio in coming weeks. I will post additional thought and a comparison to the non-modded Lintons here.
The results are unbelievable! At this point I prefer them to the non modded Lintons. I know this hard to believe. Of course, there is less bass with the Diamond 220s but after the mod they possess an incredible almost electrostatic like coherence in the mid range and bass is very tuneful and satisfying. I would put these against any other bookshelf speaker under $2k USD. Deffently better then the Revel Concerta2 M16s. More to come. Absolutely incredible results!
Happy listening and more to come!
lowpoweraudio
Last edited:
")


") Well, in any case I've never heard the Miccas but from your report they sound wonderful! This is the RB42-42x? It's a 4" woofer vs the 5" in Wharfedales so generally one would expect the Wharfs to have a bit more bass. Were the Micca's brighter? You should start a thread and upgrade the caps and resistors in the Micca's. Looks like they used nice inductors and the crossover looks easy to get too.
Well, in any case I've never heard the Miccas but from your report they sound wonderful! This is the RB42-42x? It's a 4" woofer vs the 5" in Wharfedales so generally one would expect the Wharfs to have a bit more bass. Were the Micca's brighter? You should start a thread and upgrade the caps and resistors in the Micca's. Looks like they used nice inductors and the crossover looks easy to get too.