sreekrishna.com
New Member
How to build edgeless projection screen using plywood for less than 6000Rupees
I have did lots of googling and research before concluding to goahead with this project.
Should I go for edgeless?
I love edgeless screens for the looks and impact that it gives. The myth around having black border is not true. What I suggest is you only need black border if your background in not black. Yes, its as simple as that.
Should I buy blackout cloth or paint?
I had to finally go for paint option because it was difficult to source that in my place. I got projection paint from amazon and painted my self. total material cost was 4000rs, Labour 1700rs.
Materials:
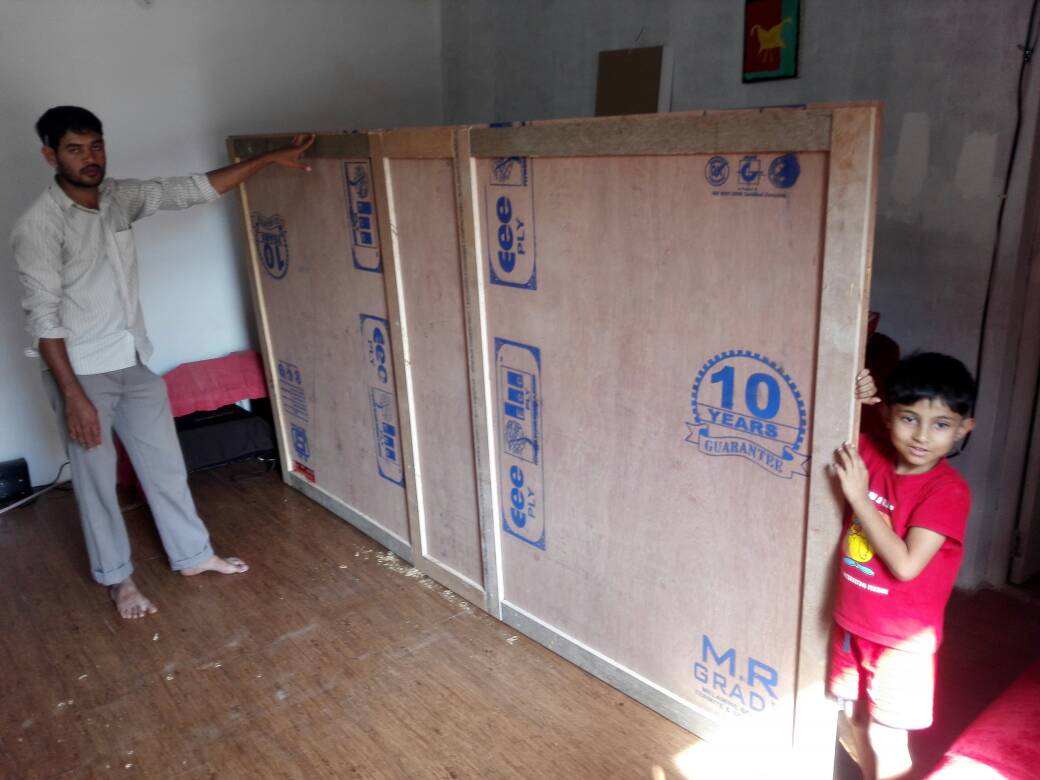
Water proof plywood
6mm thickness 7*4 inches size : 3 numbers(actual screen)
19mm plywood board for border frame
Silk touch projection paint: 1 liter
Silk Touch 01 Lt Screen Coating
https://www.amazon.in/dp/B01FM4W218/ref=cm_sw_r_cp_apa_i_MjdnybME8JP98
Wall putty
Primer and other paint materials
Project:
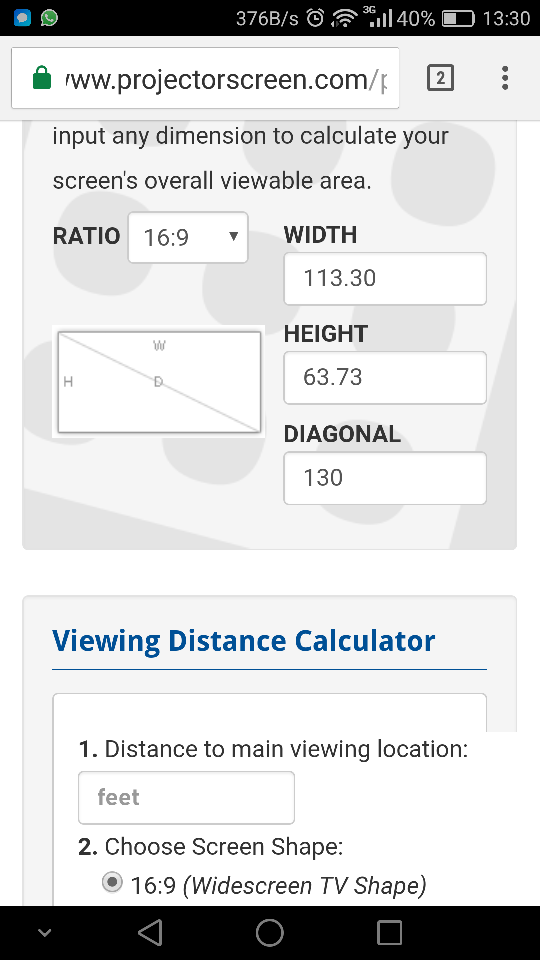
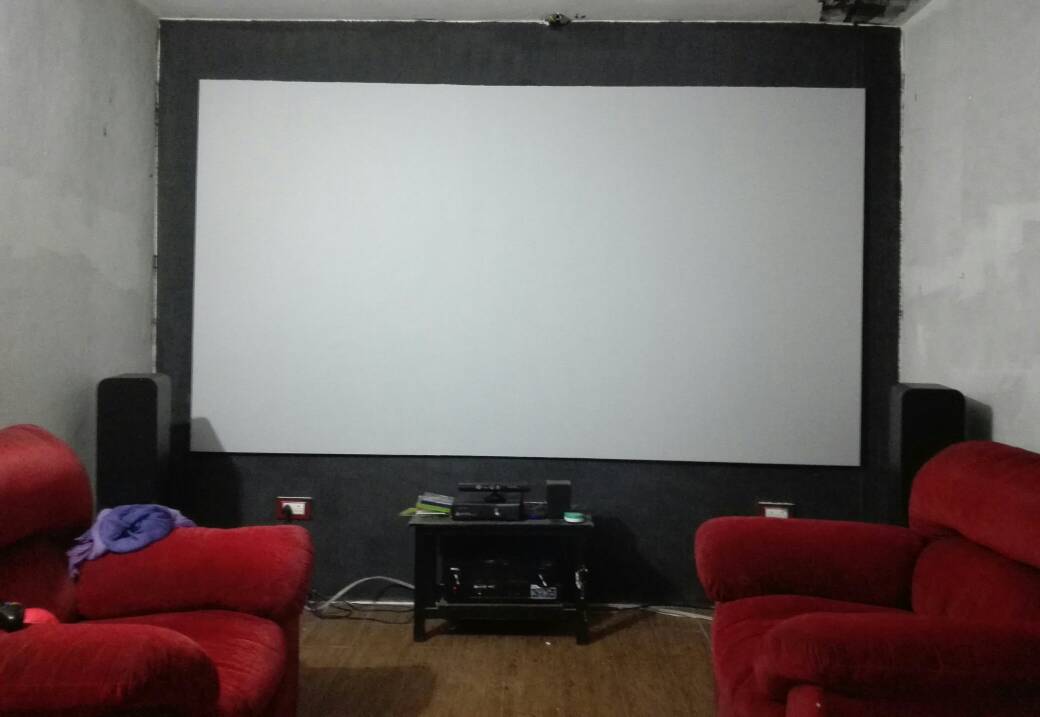
I decided to make 130" diagonal screen. I took the required measurement for height and width from here
https://www.projectorscreen.com/projector-screen-calculators
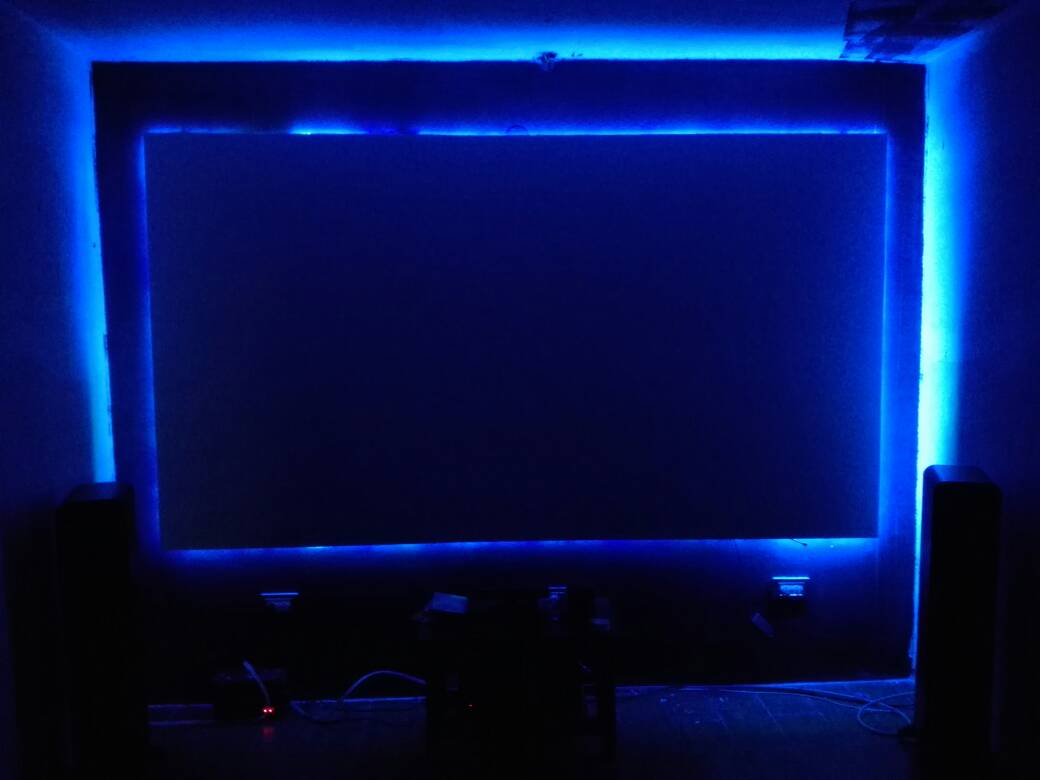
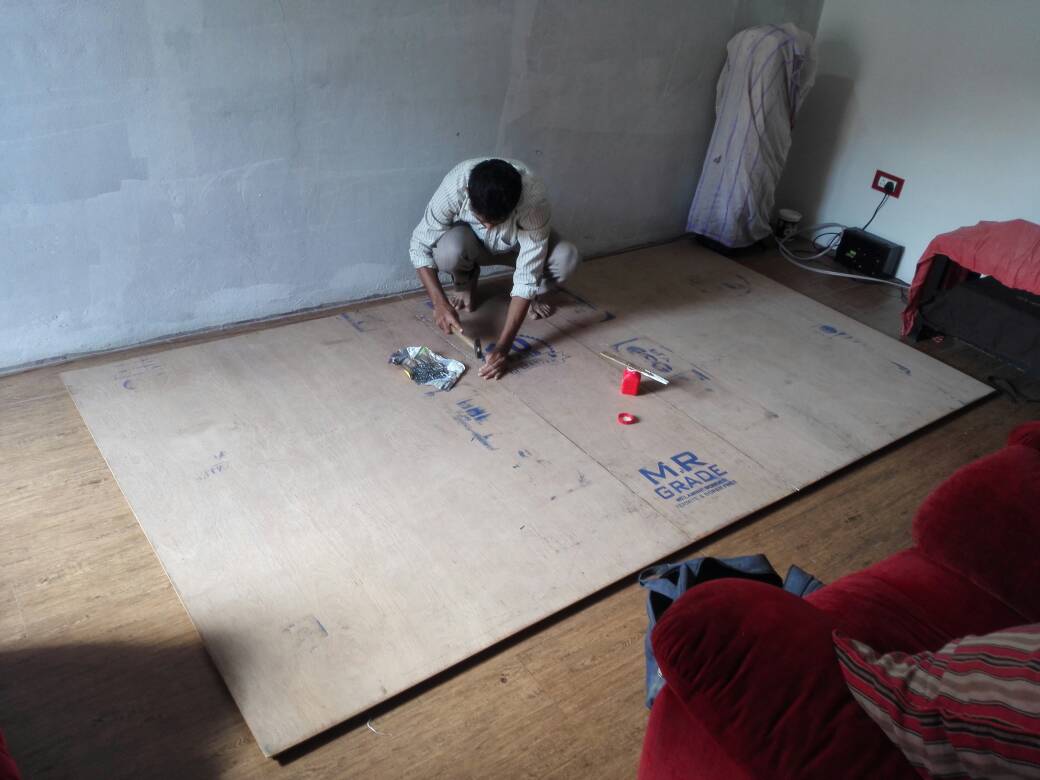
I added half inch extra measurement for adding LED backlight. I made the screen joining 3 plywood planks with help of local carpenter.
Then we added hook for wall mount

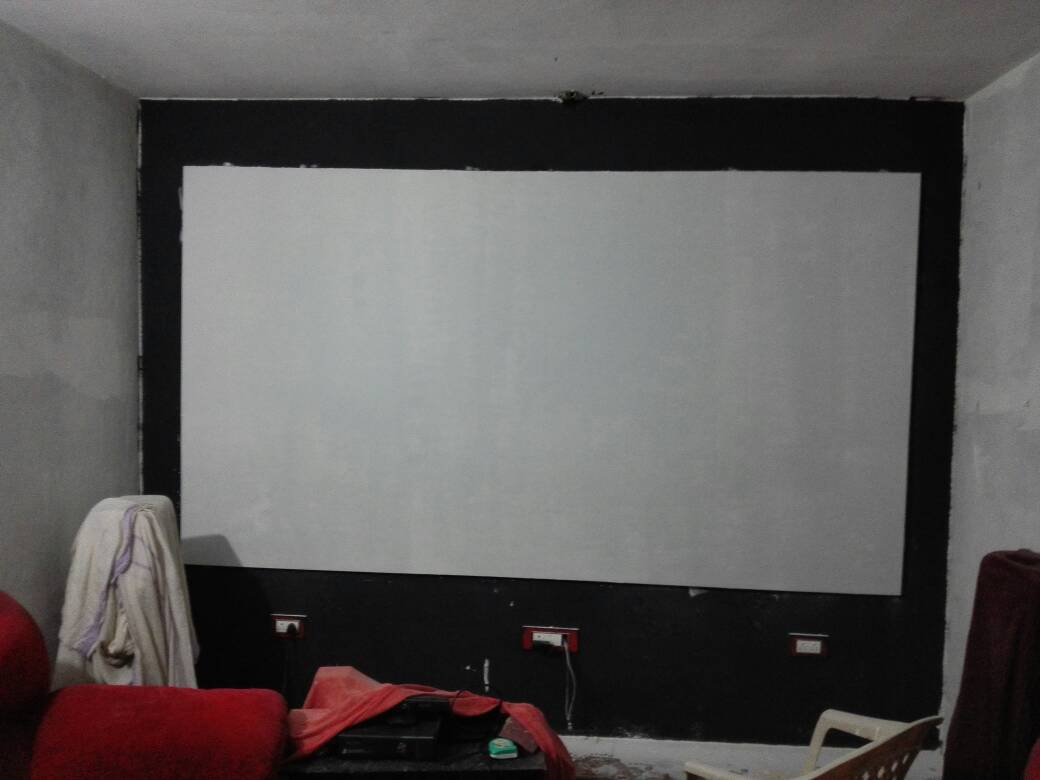
Post the wood work was complete. I started painting myself.
I started with applying putty and then primer and finally the projection screen paint(4 coats) to get finishing. I added grey tint to the projection paint to get more contrast.
http://cloud.tapatalk.com/s/5834366912a46/VID_20161115_190107.mp4
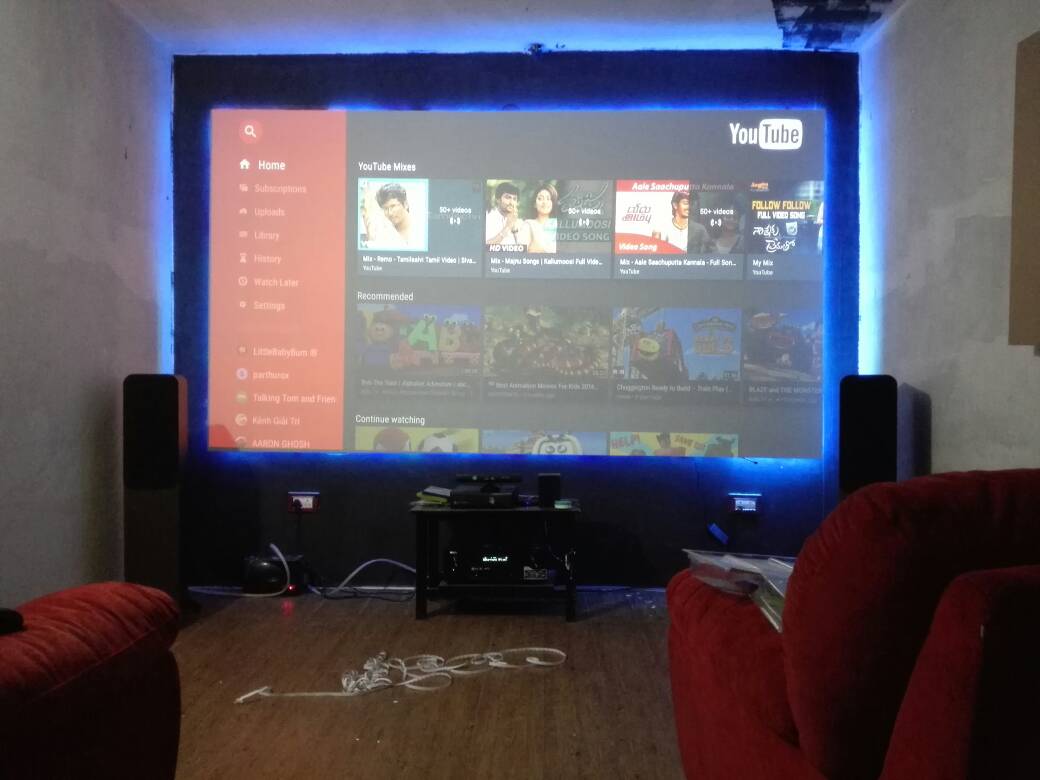

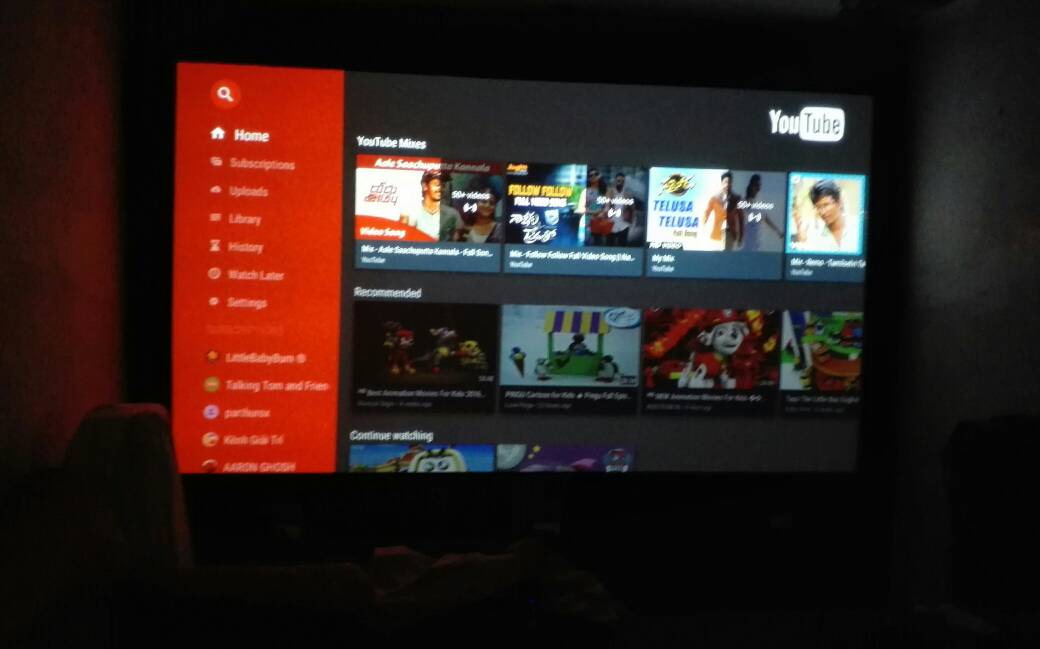
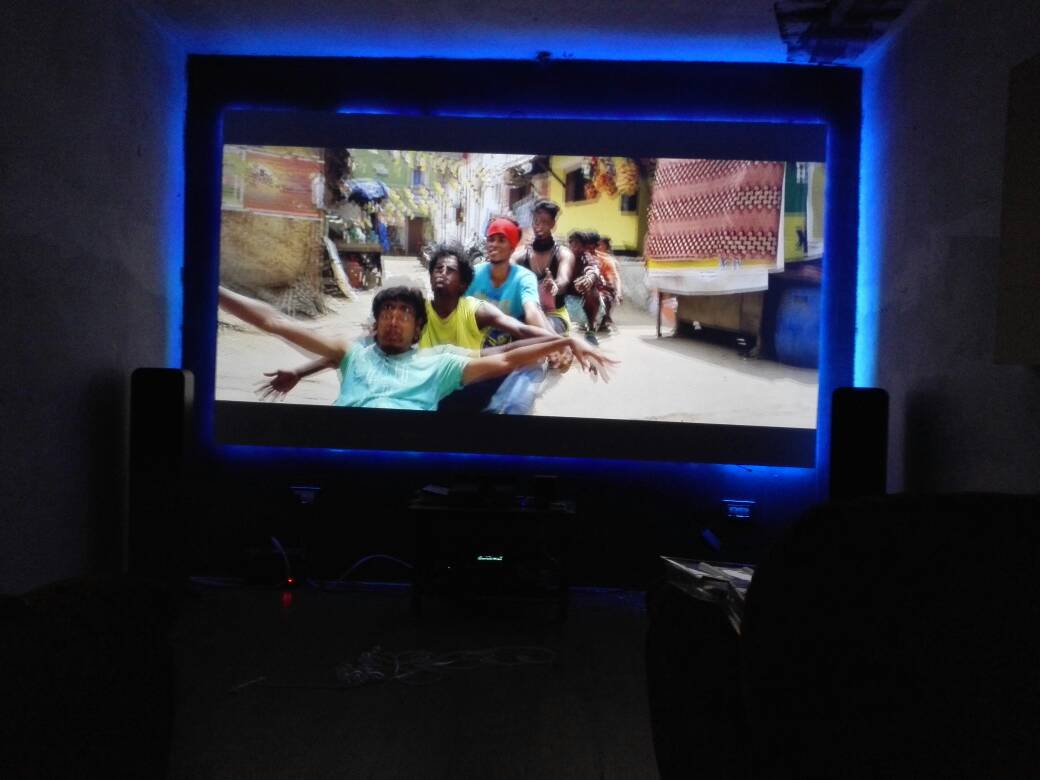
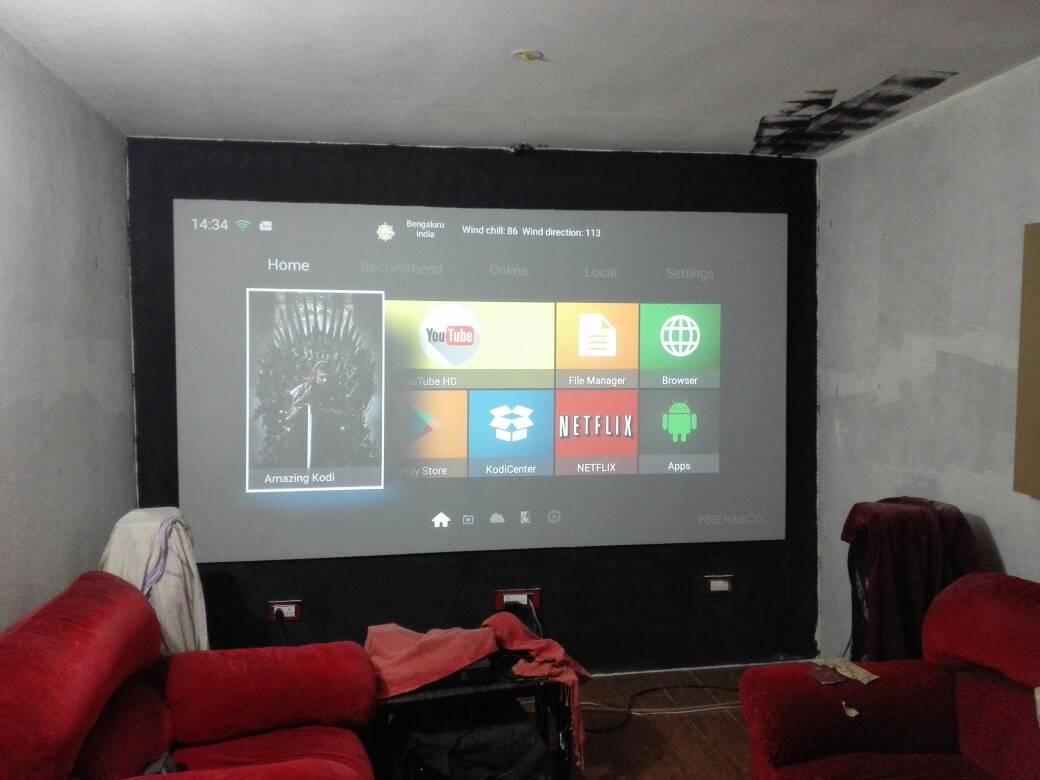
I am pretty impressed with the final finish and clarity that I get now.
I am using benq1070 for projection.
I have did lots of googling and research before concluding to goahead with this project.
Should I go for edgeless?
I love edgeless screens for the looks and impact that it gives. The myth around having black border is not true. What I suggest is you only need black border if your background in not black. Yes, its as simple as that.
Should I buy blackout cloth or paint?
I had to finally go for paint option because it was difficult to source that in my place. I got projection paint from amazon and painted my self. total material cost was 4000rs, Labour 1700rs.
Materials:
Water proof plywood
6mm thickness 7*4 inches size : 3 numbers(actual screen)
19mm plywood board for border frame
Silk touch projection paint: 1 liter
Silk Touch 01 Lt Screen Coating
https://www.amazon.in/dp/B01FM4W218/ref=cm_sw_r_cp_apa_i_MjdnybME8JP98
Wall putty
Primer and other paint materials
Project:
I decided to make 130" diagonal screen. I took the required measurement for height and width from here
https://www.projectorscreen.com/projector-screen-calculators
I added half inch extra measurement for adding LED backlight. I made the screen joining 3 plywood planks with help of local carpenter.
Then we added hook for wall mount
Post the wood work was complete. I started painting myself.
I started with applying putty and then primer and finally the projection screen paint(4 coats) to get finishing. I added grey tint to the projection paint to get more contrast.
http://cloud.tapatalk.com/s/5834366912a46/VID_20161115_190107.mp4
I am pretty impressed with the final finish and clarity that I get now.
I am using benq1070 for projection.
Last edited: