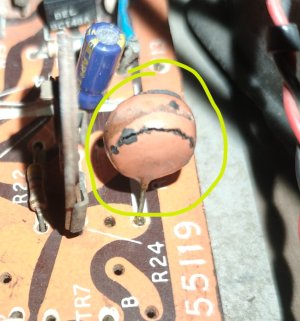
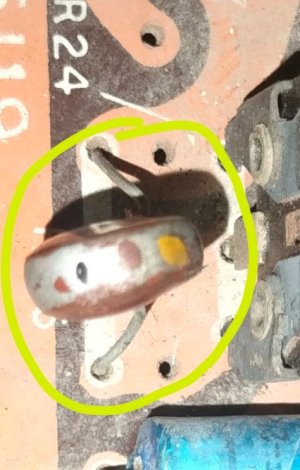
That is an old school thermistor. I used these in my AC187/AC188 germanium transistor amplifier builds, back in the day. They were available in various denominations like 100 ohms, 150 ohms, 250 ohms, etc. You can use the 2000 ohms resistor setting on the multimeter and measure the resistance of the good one (Potentially after taking it out of the PCB as the thermistor is likely to be wired in parallel with that preset for bias adjustment. Letting it remain in the circuit may result in incorrect readings).
I recollect Dad correcting one of my builds wherein I had the thermistor mounted like the one in the HMV 1010 record player. He explained to me that a thermistor should be in contact with the power transistor heatsinks in order to function as intended, and thereafter I mounted it, in contact with the heatsinks.