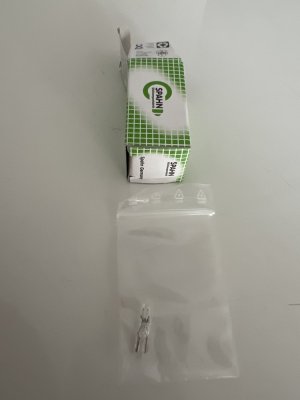
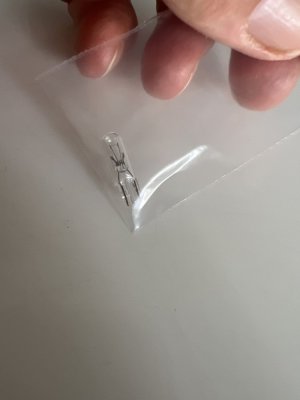
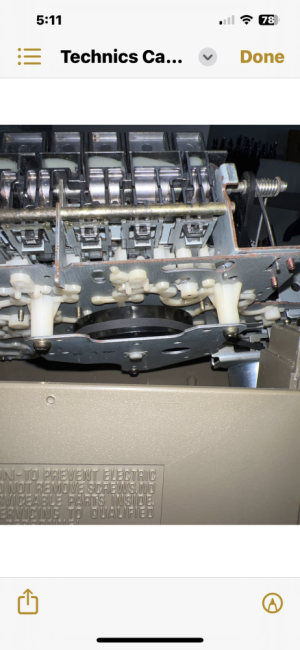
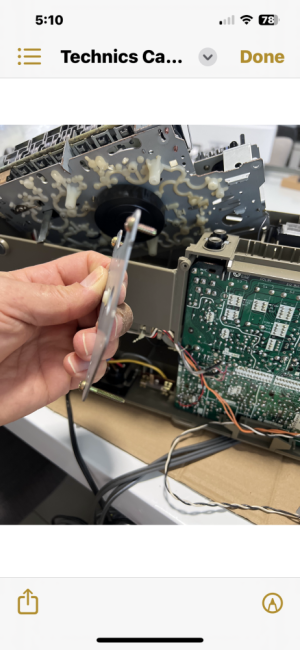
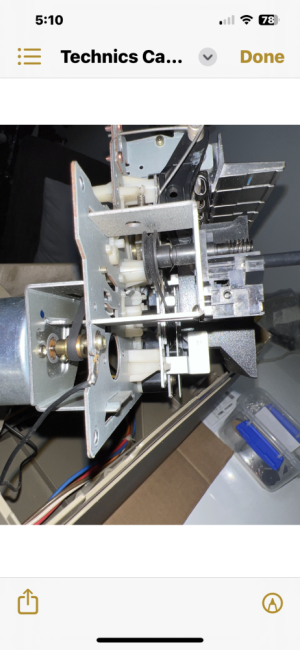
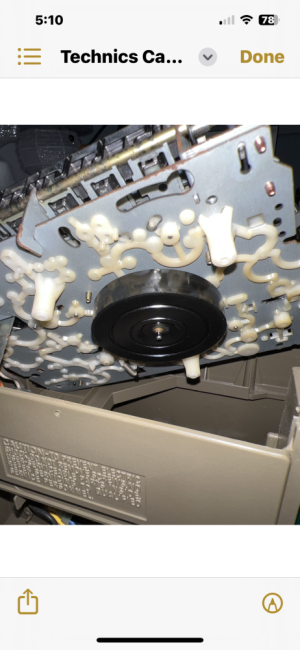
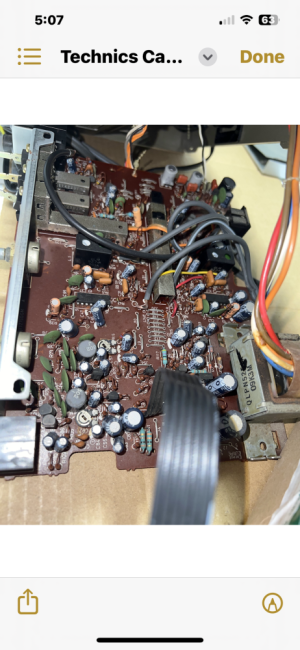
Technics M6 Mk2 Cassette Deck-HELPšŸ™šŸ¼

I have been trying really hard to fund the Light bulb Valtage and size for the
I have Technics SA380, capsule sized Bulbs works on 12VAC . I can see 3 bulbs but don't know if they are in series or parallel. If u want I can de-solder it and send it to you. With time their pins have corroded. Alternatively you can use LEDs
 
The Head looks little bit rusty due to storage First clean it with IPA 99% Then Take Autosol ASL_POL Metal Polish clean it with Q tips it will look shiny

Fully unscrew the front of switches 2 screws Remove ,Remove Remove 2 screws from PCB then remove Tab holding RCA wires You will get PCB out to get to the Playback switch
Use 6v 200mA Bulb in deck it comes with wires not 12v like shown picture
Hi Spanchal
I received the Bulb and it didnā€™t come with wires !
See picture
Itā€™s just 20c bulb they ,sell them on AliExpress with cables
I donā€™t know how i am going to connect this bulb
As it needs 5mm soket
Can the old one be pulled of from the socket ?
 

Attachments

  • image.jpg
    image.jpg
    64.8 KB · Views: 13
  • image.jpg
    image.jpg
    60.6 KB · Views: 13
Hi Spanchal
I received the Bulb and it didnā€™t come with wires !
See picture
Itā€™s just 20c bulb they ,sell them on AliExpress with cables
I donā€™t know how i am going to connect this bulb
As it needs 5mm soket
Can the old one be pulled of from the socket ?
If the bulb fits in the old socket then TRY that ,If it doesn't fit then buy required socket Also you have option to take it to deck service mechanic to do the installation of bulb Actually the bulb comes with wire
 
If the bulb fits in the old socket then TRY that ,If it doesn't fit then buy required socket Also you have option to take it to deck service mechanic to do the installation of bulb Actually the bulb comes with wire
I canā€™t see any wire here itā€™s just a bulb ! Thatā€™s why i ordered it
I see how i go
I have no money for tech service
I just got the motor belt as well
I am not of a good health
I will try my best
 
Ok
I replaced the belt
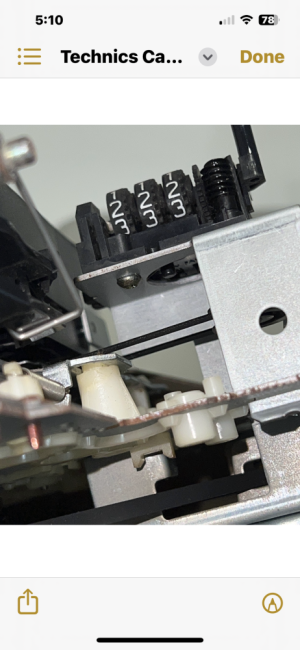
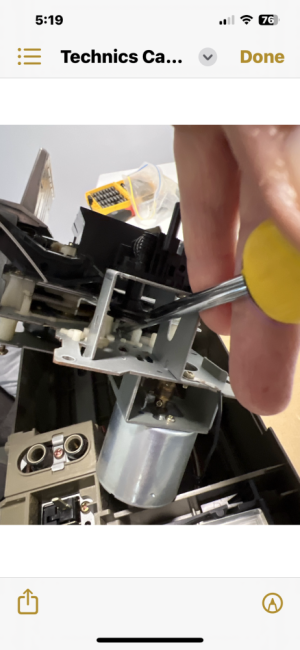
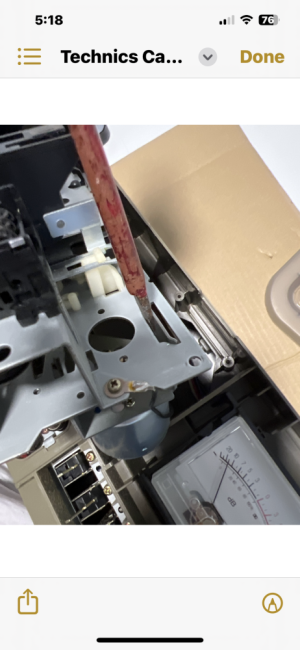
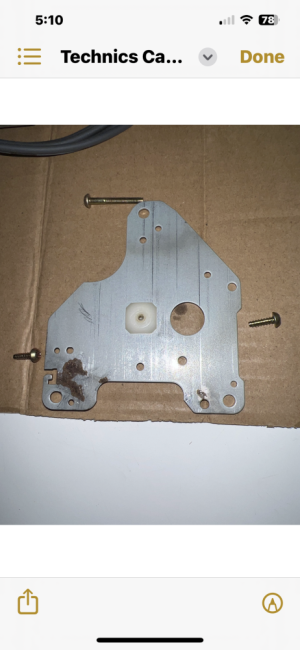
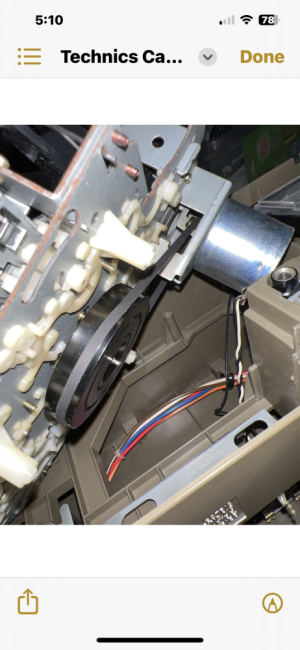
By removing motor x 1 screw and unclipping from plate
And unscrewing plate 3 x screws that holds the Big Wheel

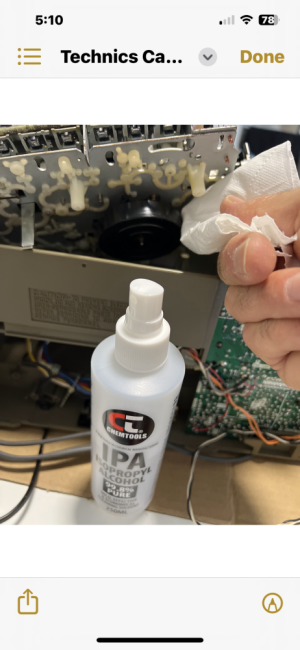
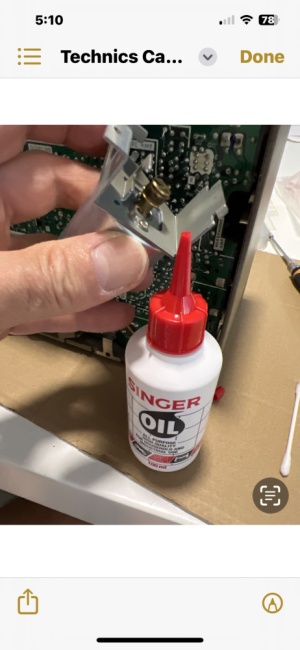
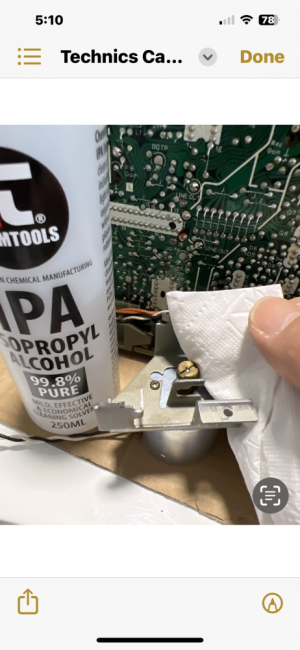
Oiled the motor with TT Sawing oil, and wiped all moving belt parts with IPA ,motor spindle,wheels,head,
I waited to dry for about 10min
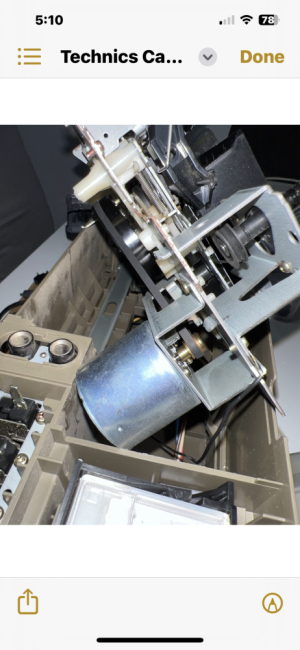
And put it all together
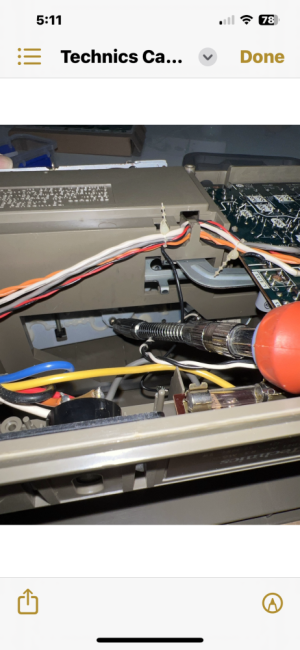
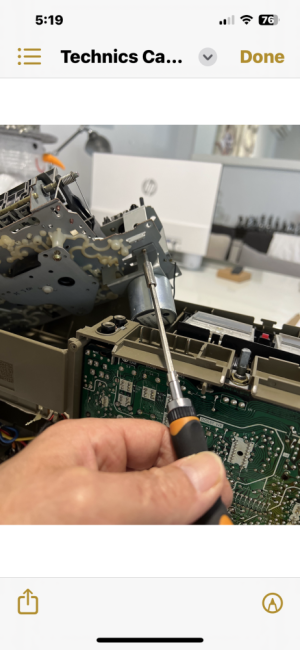
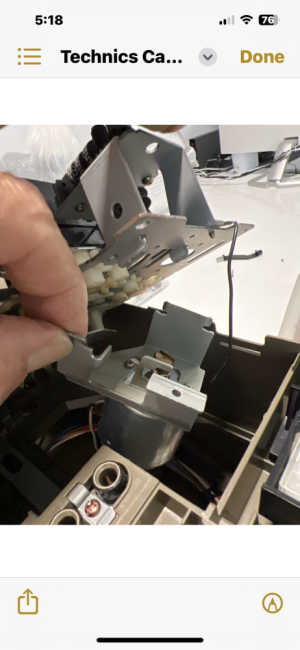
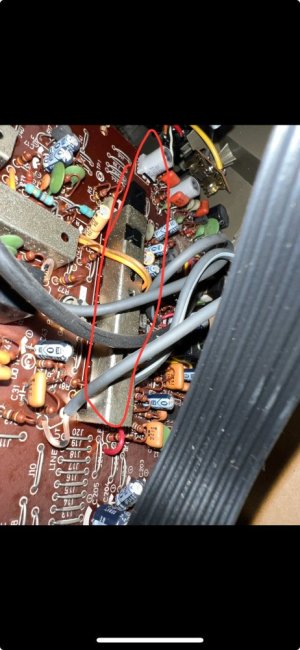
Its very fiddle without unsoldering cables but it is doablešŸ˜€
By using deferent types of philips screwdrivers and loosening some of the wire so you can angle the main unit to get to screws
I attached hips of photos
If anyone needs more , just let me know

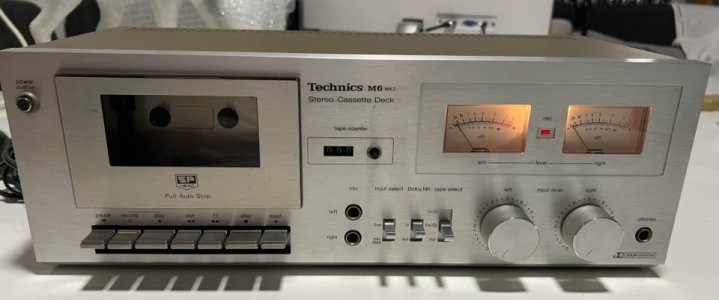
I plugged it in and actually sounds really goodšŸ˜Šā¤ļøSo happy
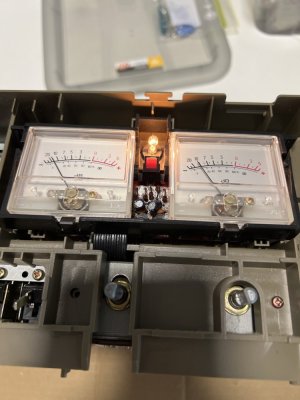
VU Meters are warking, thank youšŸ™šŸ¼

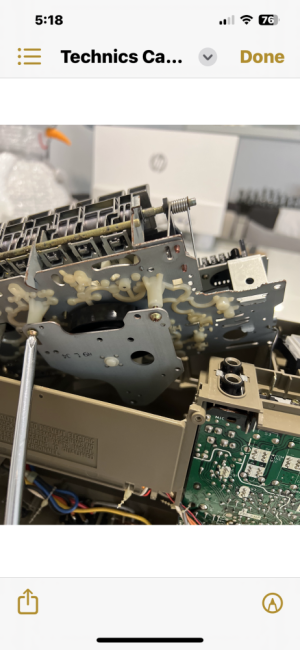
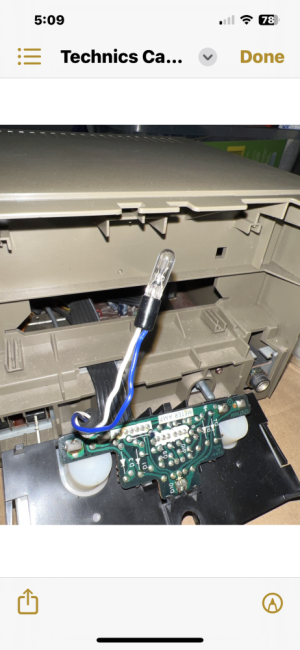
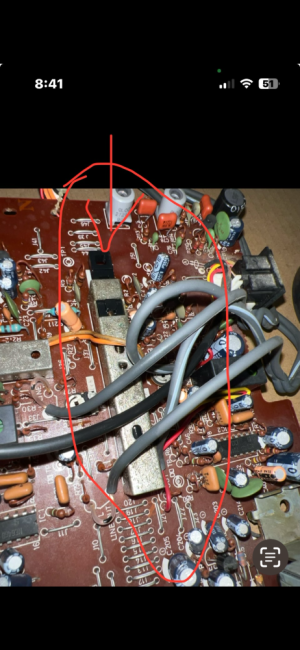
Now i want to remove the main PCB board so i can lubricate the main switch as perā€ spanchat ā€œadvicešŸ˜Š
But it is so fiddle and is running good , i am contemplating ?!
What you recon Snapchat ?

Defiantly no thought was put in for future servicing , when they were designing this unit šŸ¤Æ
As it could of been such a simple thing to do if just things came out more simpler !

Thank you to all for the help ,it is greatly appreciatedšŸ™šŸ¼šŸ˜Š
 

Attachments

  • IMG_5329.png
    IMG_5329.png
    498.3 KB · Views: 7
  • IMG_5330.png
    IMG_5330.png
    486.7 KB · Views: 6
  • IMG_5325.png
    IMG_5325.png
    427 KB · Views: 5
  • IMG_5331.png
    IMG_5331.png
    511.6 KB · Views: 5
  • IMG_5336.png
    IMG_5336.png
    460.8 KB · Views: 5
  • IMG_5335.png
    IMG_5335.png
    425 KB · Views: 4
  • IMG_5334.png
    IMG_5334.png
    425.8 KB · Views: 4
  • IMG_5333.png
    IMG_5333.png
    440 KB · Views: 4
  • IMG_5332.png
    IMG_5332.png
    474.3 KB · Views: 4
  • IMG_5327.png
    IMG_5327.png
    513 KB · Views: 4
  • IMG_5328.png
    IMG_5328.png
    512.1 KB · Views: 5
  • image.jpg
    image.jpg
    105.2 KB · Views: 5
  • IMG_5318.png
    IMG_5318.png
    437.9 KB · Views: 5
  • IMG_5319.png
    IMG_5319.png
    478 KB · Views: 5
  • IMG_5321.png
    IMG_5321.png
    428.1 KB · Views: 4
  • IMG_5326.png
    IMG_5326.png
    498.2 KB · Views: 4
  • IMG_5322.png
    IMG_5322.png
    530.7 KB · Views: 4
  • IMG_5320.png
    IMG_5320.png
    541.4 KB · Views: 4
  • IMG_5324.png
    IMG_5324.png
    445.7 KB · Views: 4
  • IMG_5323.png
    IMG_5323.png
    504.4 KB · Views: 5
Is this the
Playback Switch
Do i just spray sone DioxIT in the holes ?
 

Attachments

  • IMG_5350.jpeg
    IMG_5350.jpeg
    94.3 KB · Views: 5
Ok
I fallowed through as per
Snapchal
Lubricated Record switch and all pods with DioxIT
See pics
And the deck playing really good
Surprisingly has such a deep bass
Itā€™s like wow
I hope thatā€™s normal for this Deck
šŸ¤”šŸ¤£

Now i have my whole stereo system all up and running
Pretty happy with itā¤ļø
Itā€™s a beauty šŸ˜Š

Thank you so much SnapchalšŸ™šŸ¼
 

Attachments

  • IMG_5381.png
    IMG_5381.png
    625.4 KB · Views: 4
  • IMG_5380.png
    IMG_5380.png
    600.3 KB · Views: 7
Buy from India's official online dealer!
Back
Top