DIY Sealed Enclosures for a MID & Highs (Separate module for a 3 way project)

sadik

Well-Known Member
Joined
Jun 14, 2015
Messages
1,043
Points
113
Location
Vadodara
Hi Friends,

It’s been a very long time since I may have uploaded any of projects on our forum. Here is my new project which will have one of the best finish and best design. Basic idea is to make a 3-Way speaker which will have a separate enclosure for Bass and shared sealed enclosure for Mids. & Highs.

The Enclosure is mixed of both CNC and hand skills, the enclosure has curved surfaces on external and has a conical structural surface in the inside, I have had tried to eliminate the maximum internal reflections caused inside the enclosure. Check the below photo to get an idea.
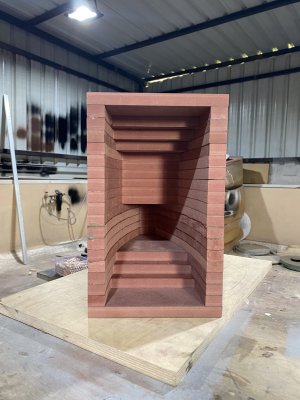
2.3 Conical Shape Inside.JPG

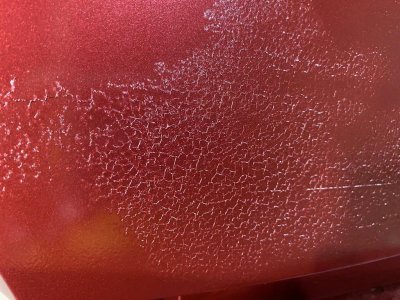
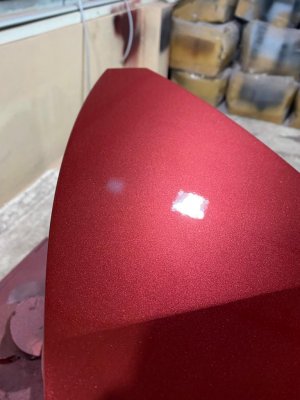
The final shade will be a metallic red wine color (mirror finish). It will have a lot of labor as well as time involved. A slight mistake here and there during painting or sanding, will ruin that complete step and to correct it, the complete step has to be repeated.

The drivers used are as below
Tweeter: SB Acoustics Satori TW29RN-8 Ring Dome Tweeter with Neodymium Motor
Mid: Faital Pro 6PR160

Woofer : Beyma 15p80Fe The enclosure for same is yet to be designed.

Below are some photos of my built journey.
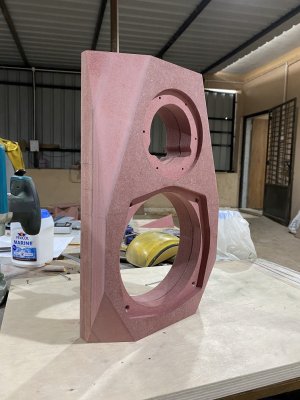
0 Front Face 1.jpg
0 Front Face.jpg
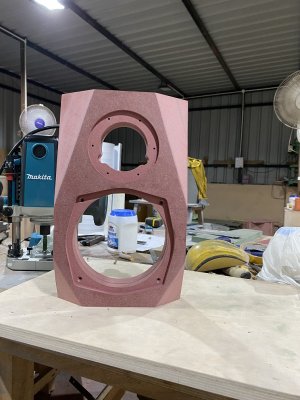
Above is the Photo of Front Face. This baffle is hand made. The thickness of same is 50 mm ( 25 + 25 mm MDF glued together), The flush for mounting drivers is done with help of hand held router and jigs / templates. The cutouts on sides are done on a table saw.
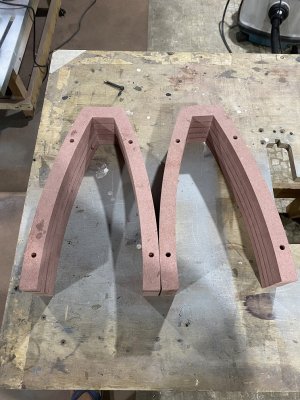
1 Curved Walls.JPG
1.1 Curved walls.JPG
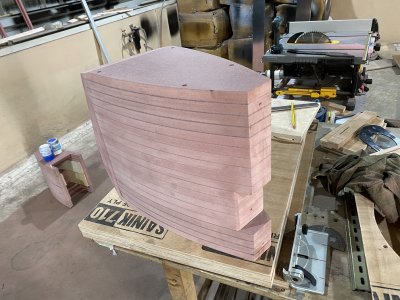
The Curved walls are cutted on CNC router, they are stacked one above another and glued together.
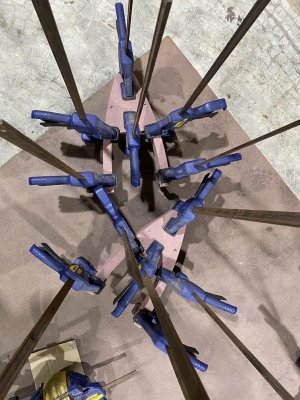
2 Glue Segment wise.JPG
I don't use screws / nails in my build's hence lot of clamps holding the curved pieces together.
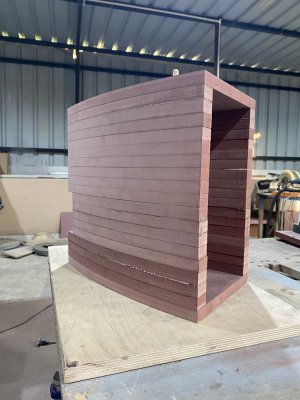
2.2 Glue Complete.JPG
2.5 Complete Enclosure Back.jpg
2.4 Complete Encl MDF.jpg
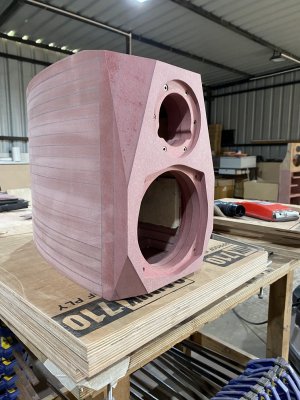
This is how it looks after gluing all pieces together. Right Now I am on Paint Process of these enclosures, I will share more updates of this journey as soon as possible.
 
Wow excellent design. Is this one of your own designs?

Where did you get the mid bass driver from? Are they available in India?

MaSh
 
Wow excellent design. Is this one of your own designs?

Where did you get the mid bass driver from? Are they available in India?

MaSh
Hi Bro,

This is my own design, The drivers are procured in India. The dealer is in GOA i dont know his name but @Aniket helped me to get them.
 
Wow excellent design. Is this one of your own designs?

Where did you get the mid bass driver from? Are they available in India?

MaSh
 

Attachments

  • Screenshot_2022-12-03-12-26-24-921-edit_com.opera.browser.jpg
    Screenshot_2022-12-03-12-26-24-921-edit_com.opera.browser.jpg
    148.1 KB · Views: 43
Update: THE final Finish and Paint Job.

This is the stage where your skills and patience both are tested. Not all, but most of the Diyers make some sort of compromise at this stage, Most of us think "Forget it its me who will be using it so its ok i can leave with some here and there in paint / final finish"

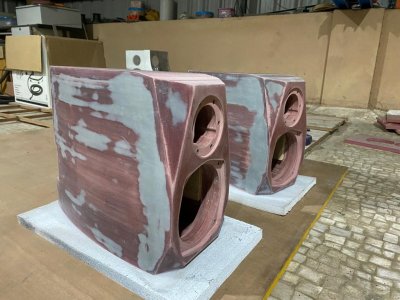
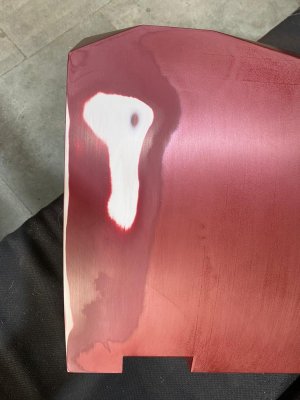
The Paint job is also almost complete. I started with sanding the enclosures with 120 grit paper. I even out all the rough surfaces and filled visible dents and cracks with mixture of wood and glue. Then i used putty to fill the minor surface abnormalities. And finally used sanding sealer to lock the pores of mdf which can absorb the paint and make the coverage of paint uneven. After that i used 240 grit sanding paper to make the surface smooth. Check the below photo of Putty and Sanding sealer. The Putty I am using is NC putty.
sealed (2).jpeg

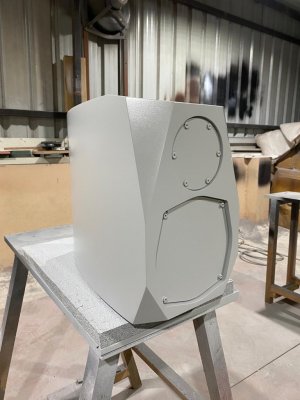
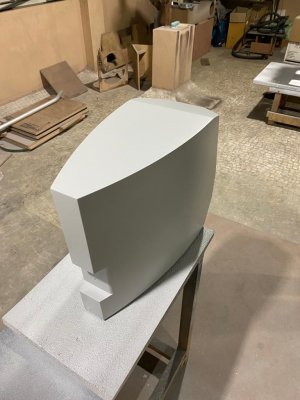
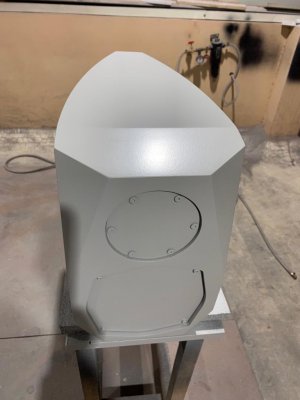
Now comes the Primer Paint. The Primer used is PU primer. I applied the primer twice, atleast 3 coats each time. Check the below photo.
sealed (1).jpeg
sealed (3).jpeg
sealed (4).jpeg
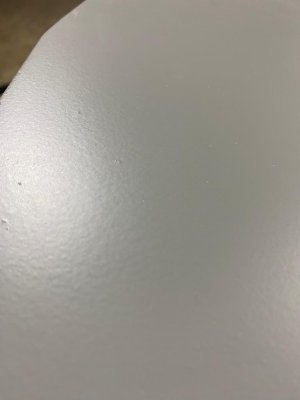
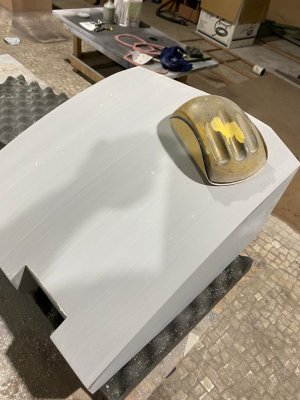
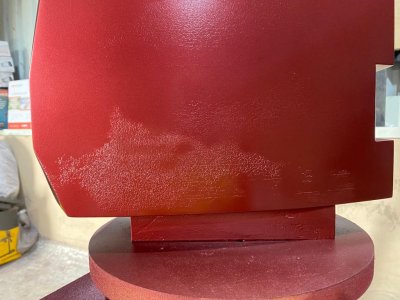
Now comes the sanding part. This is where one gets tired and frustrated. Its too much of labor involved. The needs skills as well as patience. The sanding of curved surface is done by hand, use of sander may damage the surface because you do not get full contact of the sanding pad of sander. Check the below image of sanding.
sealed (6).jpeg
The above image is of raw primer, you can see the surface is very rough. And in below image you can see the sanding block which i am using, This block is little spongy and it can take the shape of the curved surface with a little bit of pressure.
sealed (5).jpeg
sealed (7).jpeg
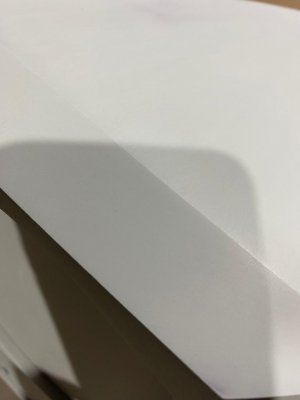
In above image you can see the smooth surface. Now this is ready for final paint. In my further post's you all will know why i said "skill and patience will be tested".

One thing I would personally suggest everyone to use PU based Sanding Sealer, Primer and Paint. The quality is far......, far better than the Normal Oil based or NC based paints. But for Putty I have used NC putty because PU putty react very bad with wood and MDF. I found PU putty works good only on metals.
 
Dear Brother, You are one heck of a Brilliant ARTIST possessing impeccable taste when it comes to workmanship.Every build of yours showcases the true professional within you. Never cutting corners,never settling for anything but the best that you can bring out in your work. You glorify this Niche craft and have no clue about the kind of inspiration you are to people with a creative bent.
The best part about you is that you compete with your own self every single time & emerge a winner.Hats off to your dedication. Salute !
Thank you for your kind words Brother. So now i am moving ahead my journey.

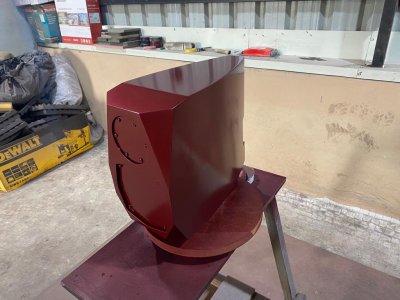
After sanding the primer coat, next comes the base coat and later clear coat, I planned to complete the paint process turn by turn ( i.e I will completely finish the 1st enclosure and then complete the second one.)

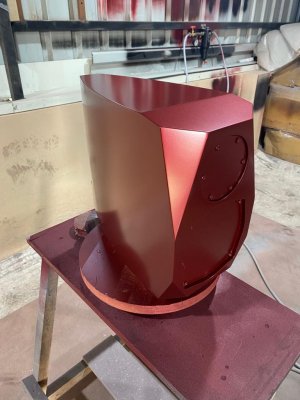
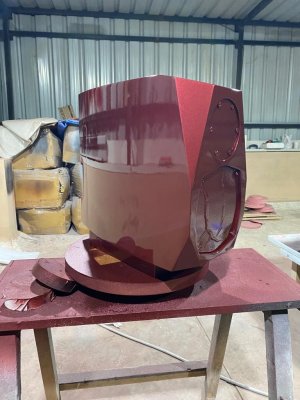
Base Coat on 1st enclosure. I am using 2k based metallic Red Wine shade as my final shade for these enclosures.
2.jpeg
1.jpeg


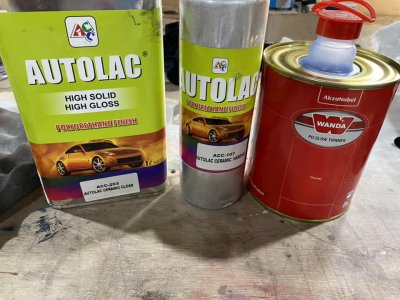
The base coat needs just an hour to dry, then clear coat is sprayed on them, Below is the clear coat which i am using. Its a ceramic based clear coat very hard once it is fully cured.
clear.jpg

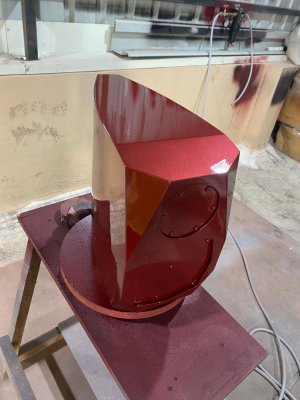
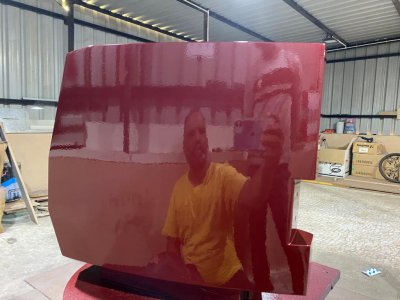
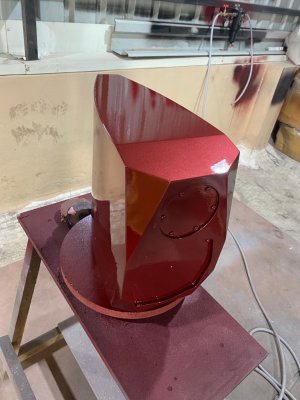
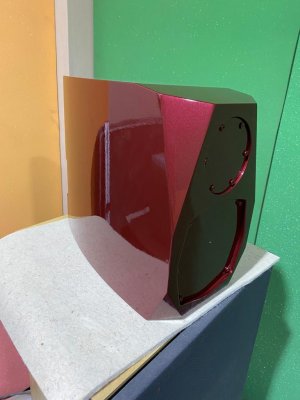
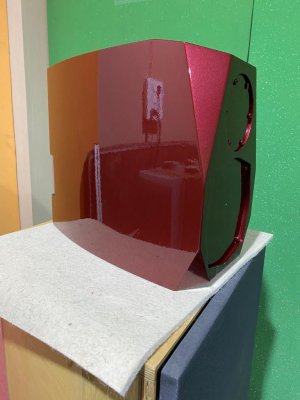
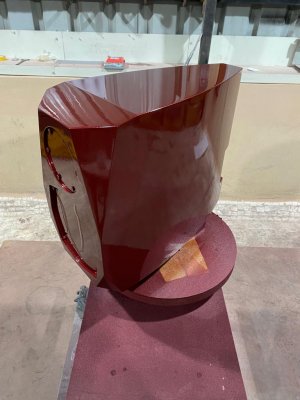
Below are the photo of clear coat, you can see the high gloss on surface. This is really coming out very nicely.
3.jpeg
4.jpeg
sealed (13).jpeg
sealed (14).jpeg
sealed (16).jpeg
Finally 1st enclosure is completed and now moved with the second one to finish. I am running out of time, I will update it tomorrow, it takes a lot of time to arrange the photos and then write about it.
 
Thank you for your kind words Brother. So now i am moving ahead my journey.

After sanding the primer coat, next comes the base coat and later clear coat, I planned to complete the paint process turn by turn ( i.e I will completely finish the 1st enclosure and then complete the second one.)

Base Coat on 1st enclosure. I am using 2k based metallic Red Wine shade as my final shade for these enclosures.
View attachment 73527
View attachment 73528


The base coat needs just an hour to dry, then clear coat is sprayed on them, Below is the clear coat which i am using. Its a ceramic based clear coat very hard once it is fully cured.
View attachment 73534

Below are the photo of clear coat, you can see the high gloss on surface. This is really coming out very nicely.
View attachment 73529
View attachment 73530
View attachment 73531
View attachment 73532
View attachment 73533
Finally 1st enclosure is completed and now moved with the second one to finish. I am running out of time, I will update it tomorrow, it takes a lot of time to arrange the photos and then write about it.
Very nice looking ' very nice work sadik bhai # if it's possible share drives & crossover details ??? Sadik bhai
 
hey @sadik will the clear coat also be sanded or polished to remove the orange peel effect?

The clear coat will be polished after designing crossover.
Very nice looking ' very nice work sadik bhai # if it's possible share drives & crossover details ??? Sadik bhai
I have already shared the driver details in my first post, but i won't share the crossover details.
 
As always - amazing work @sadik. Following this thread with a lot of interest. Can't wait to see the finished product & hear the first listening impressions. As always - Bravo!
 
The clear coat will be polished after designing crossover.

I have already shared the driver details in my first post, but i won't share the crossover details.
Thank you for your valuable reply sadik bhai # very nice tweeter & mid
 
Wharfedale Linton Heritage Speakers in Walnut finish at a Special Offer Price. BUY now before the price increase.
Back
Top