My version of Amp Camp Amp with SMPS

amrutmhatre90

Well-Known Member
Joined
Sep 25, 2020
Messages
1,239
Points
113
Location
Mumbai
ACA.png


I always wanted to build an amplifier and wanted to test my DIY skills.
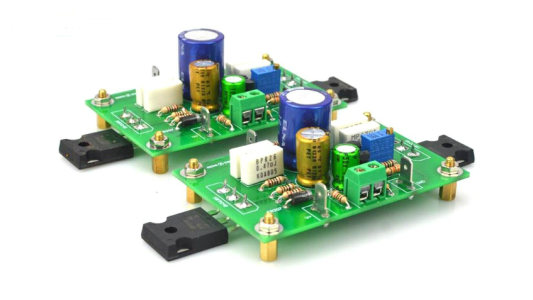
Few years ago my friend got me some Amp Camp Amp assembled PCB boards from US.
But due to time and my laidback attitude this was kept on backtrack.
1687361739772.png

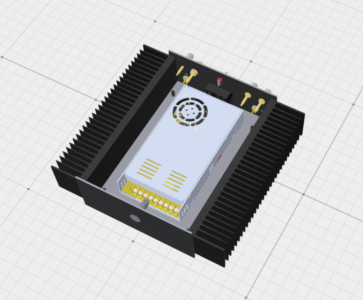
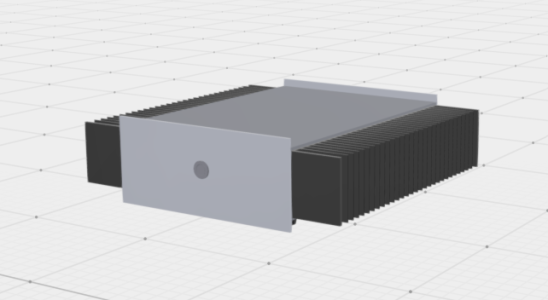
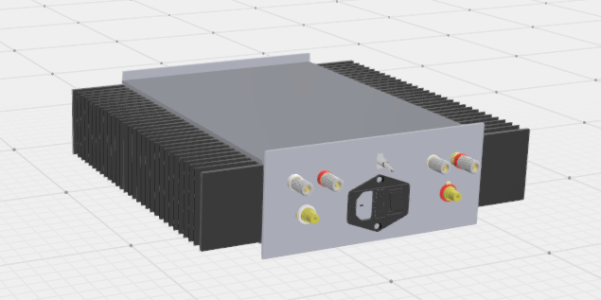
Fast forward few weeks ago I started designing the chassis with an inbuilt SMPS, this was possible with few help from online forums.
Used Vectary 3D tool to design few things, ordered the needed parts apart from chassis. Once the parts came in began tweaking the measurements in 3D tool.
1687361301372.png


1687361317783.png

1687361377952.png

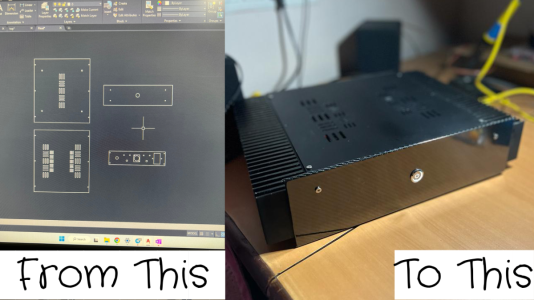
With some background in CAD, I was able to get exact dimensions and measurements required for chassis.
Final output was ready in CAD, and looked good. But would it fit properly?
WhatsApp Image 2023-06-21 at 8.44.15 PM.jpeg

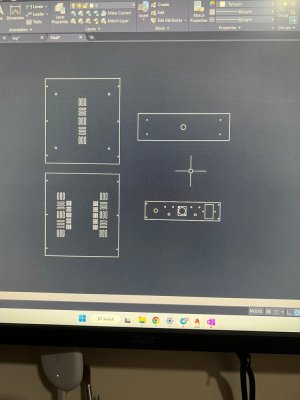
As this was my first time designing building an amp I was skeptic, what I did was I printed out 1:1 designs on a paper.
Cut the paper out and checked each part. Almost 90% of the parts fitted perfectly.

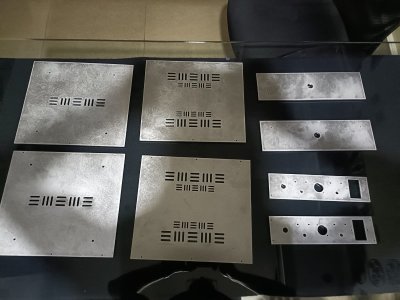
Next was to find a CNC guy who would help me get this execute, quicko lasers from Bangalore came to rescue.
They sent me quotes and answered all my questions. Once the cutout was done they sent me pictures too.
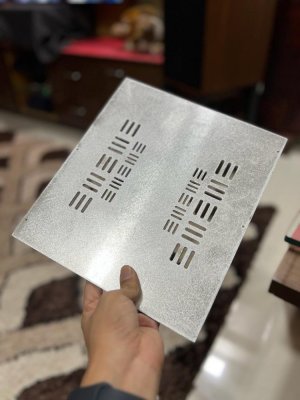
I used 3mm for front and back plates and 2mm for bottom and top plate.WhatsApp Image 2023-06-21 at 8.43.43 PM.jpeg

Once the parts came in began testing everything out if any adjustments are needed, there were a few but not many.
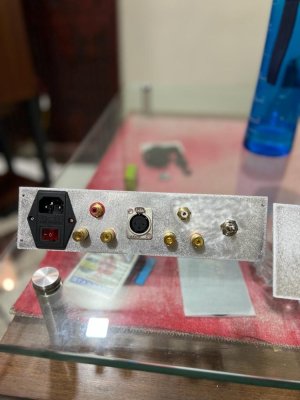
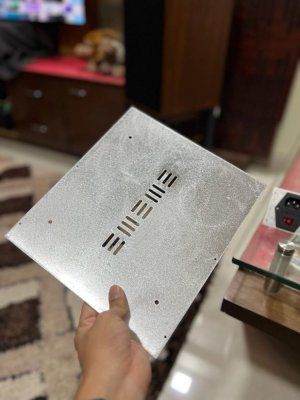
WhatsApp Image 2023-06-21 at 8.43.05 PM (1).jpegWhatsApp Image 2023-06-21 at 8.43.05 PM (2).jpegWhatsApp Image 2023-06-21 at 8.43.05 PM (3).jpegWhatsApp Image 2023-06-21 at 8.43.05 PM (5).jpegWhatsApp Image 2023-06-21 at 8.43.05 PM (7).jpegWhatsApp Image 2023-06-21 at 8.43.05 PM (8).jpeg

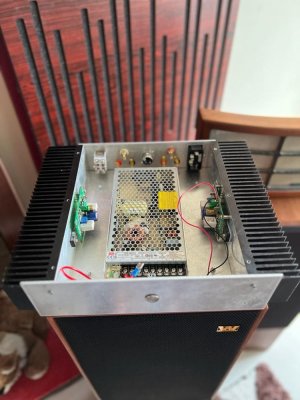
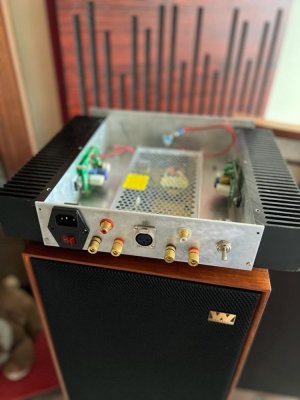
Next came the most important part, wiring and soldering everything according to the Amp Camp Amp build but with a SMPS.
After carefully getting things done, one amp was singing and sounded beautiful.
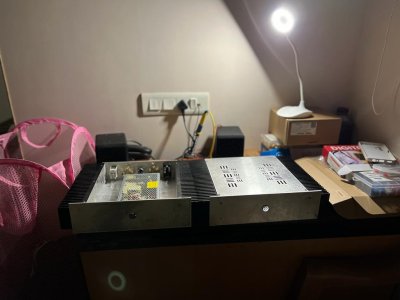
WhatsApp Image 2023-06-21 at 8.43.05 PM (9).jpeg

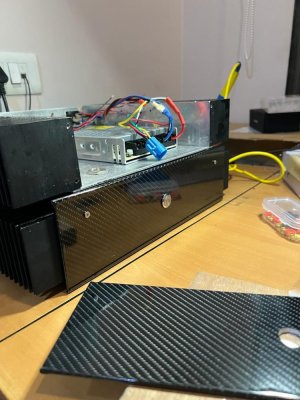
Before I moved to the 2nd amp, I tried to give these a unique look. I had spray paint lying around which I used to color the top plate.
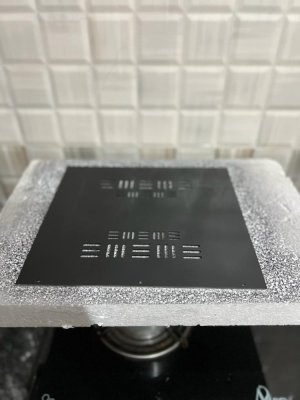
WhatsApp Image 2023-06-21 at 8.43.05 PM (14).jpeg

The front facia was covered with a carbon Vinyl Wrap which was lying idle at home, WhatsApp Image 2023-06-21 at 8.43.05 PM (19).jpeg
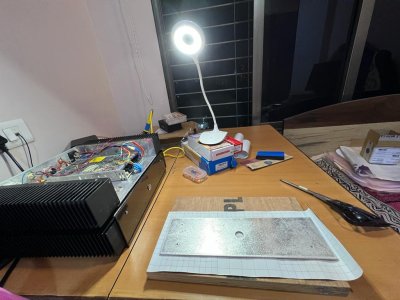
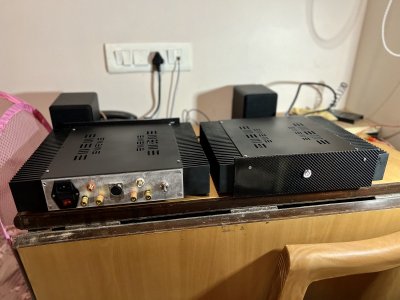
End result was amazing, let the pictures do the talking.
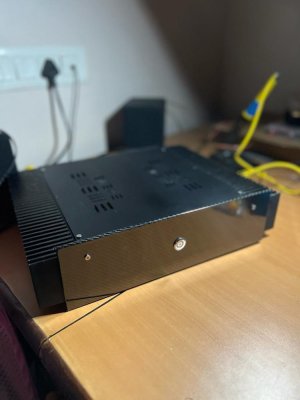
WhatsApp Image 2023-06-21 at 8.43.05 PM (15).jpegWhatsApp Image 2023-06-21 at 8.43.05 PM (22).jpeg

I spend 1-2 hours daily in getting these amps ready, I think I would be done with both this week.
I have learnt a lot from this build, what to do, what not, how to avoid nasty things, what can cause signal to pass to another channel and what not.
Will be posting some videos of the tests done while building this.

Nelson Pass has made this build super easy, must try for people who want to build something for themselves.
 
Last edited:
Everything wasn’t a happy journey learning this,
I have blown few fuses, hot soldering iron touching my fingers, diagnosing current leaks. But in the end everything paid off nicely.

Funny incident I remember was that the Left Channel was playing to Right speaker and vis versa. Different boards, different wiring everything was checked, I literally stripped each component to check.
Later had a doubt on the 3.5 to RCA cable being faulty and I was right 😂 Right Left were colord incorrectly.

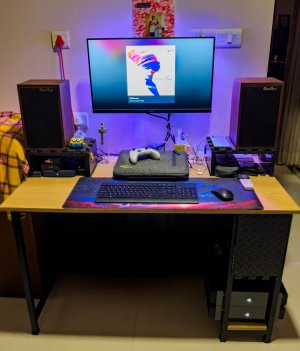
These are some progression videos which I used to take while testing the amp. I used Micca Covo S as my test speakers, as they were lying unused.


Last edited:
Yes this is the 1.8 version, surely will be modding this in future. Maybe give it a LPS too. Thanks.
I tried, but hardly any difference as compared to a good laptop brick and the output filtered through a capacitance multiplier before powering the amp.
 
I tried, but hardly any difference as compared to a good laptop brick and the output filtered through a capacitance multiplier before powering the amp.

Yes, I think reason being this was built to be run on a SMPS.

Next might try some difficult builds ;)
 
View attachment 77786
Wonderful construction with a fine cabs. Congratulations amrutmhatre90.....


Confirm stock on phone if you wish to order this.
Thanks Kannan for your suggestion and for the link. I searched for the same one but stock was exhausted in DAC, Chennai.

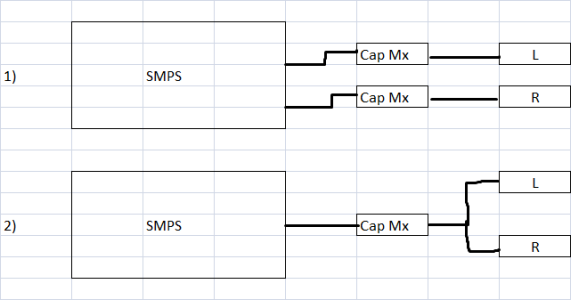
one simple doubt, can I use single Cap Mx for both channels or each one for L&R channel with single SMPS, for my JLH1969.

SMPS-Cap Mx Arrangement.png
Advice requested for good SMPS or a Laptop PSU as you have, for JLH, also I am in wait for your advice, Please PM.

Thanks&Regards
 
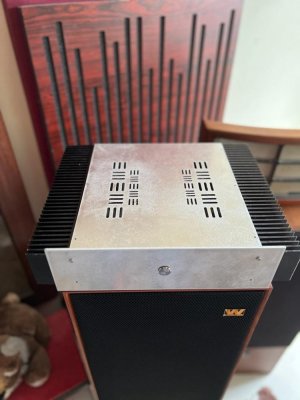
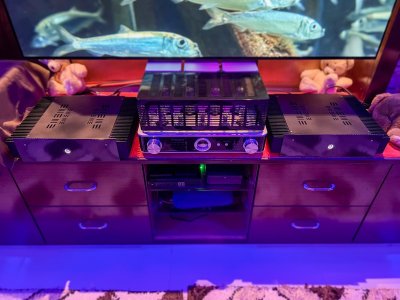
Finally got sometime to play the monoblocks on Lintons, used Audiolab 7000a as a preamp. They sound musical and buttery smooth.
They do run hot but nothing alarming.

20230622_194552327_iOS.jpg

Here are some clips:


@manir I have used Meanwell SMPS which is rated at 24v 8.8A

 
Finally got sometime to play the monoblocks on Lintons, used Audiolab 7000a as a preamp. They sound musical and buttery smooth.
They do run hot but nothing alarming.

View attachment 77990

Here are some clips:


@manir I have used Meanwell SMPS which is rated at 24v 8.8A

Thanks Ji

Confirm stock on phone if you wish to order this.
No Stock, informed by www.fabtolab.com
 
Order your Rega Turntables & Amplifiers from HiFiMART.com - India's reputed online dealer.
Back
Top