
There is not an iota of doubt that room acoustics can be one of the cheapest and most ideal ways of improving the sound quality of a system. I wish to share some detailed information on how I made corner bass traps that works. It can be done by anyone who has time and inclination. Sorry for being too detailed in terms of WIP pics but I hope they help in explaining every step involved to anyone who wishes to try.
Materials used and approximate cost:
Rs. 4000 Rockwool Slabs (96 kg/m3, 2 x 4, 12 nos)
Rs. 700 Aluminium Frame
Rs. 600 Plywood + cutting labour
Rs. 300 Adhesives
Rs. 1600 Fabric
Rs. 300 L-angles, screws
Rs. 7500 Total
Tools: Drilling machine, hammer, arc saw, long scale, gloves, measuring tape, marker pen.
I had a space constraints on the front wall with the projector screen on it, so I could have a maximum face width of only 18.3 inches. Ideally it should be 22-24 inches or more. For same reason, I used thin (0.75) aluminium frame for maximum exposure of rockwool on the facing side. It can be 1 thick if you decide to follow this method so that its stronger. We can always have the enclosure fully made of ply.
Phase I - Frame
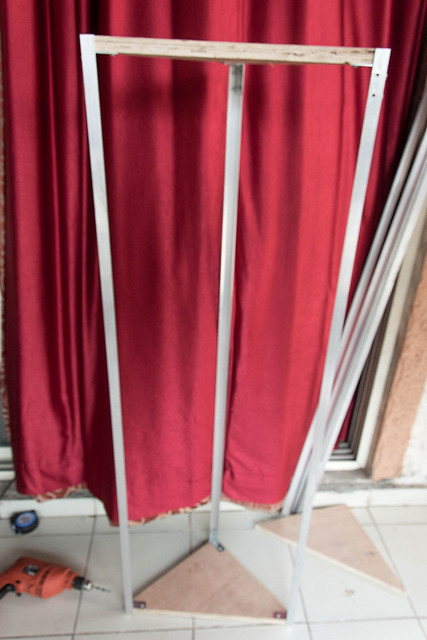
Aluminium L- section frames, cut to measurement. The height would be as per your requirement ideally full height of the room.

L- angles easily available in hardware stores.

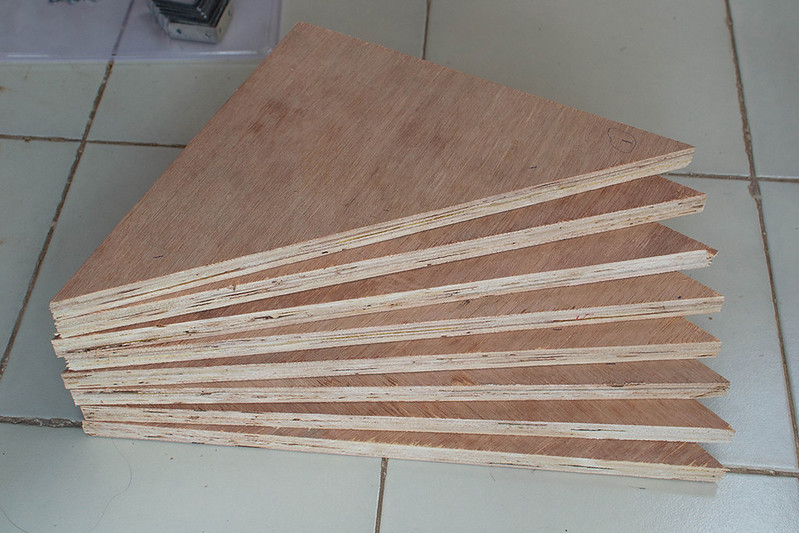
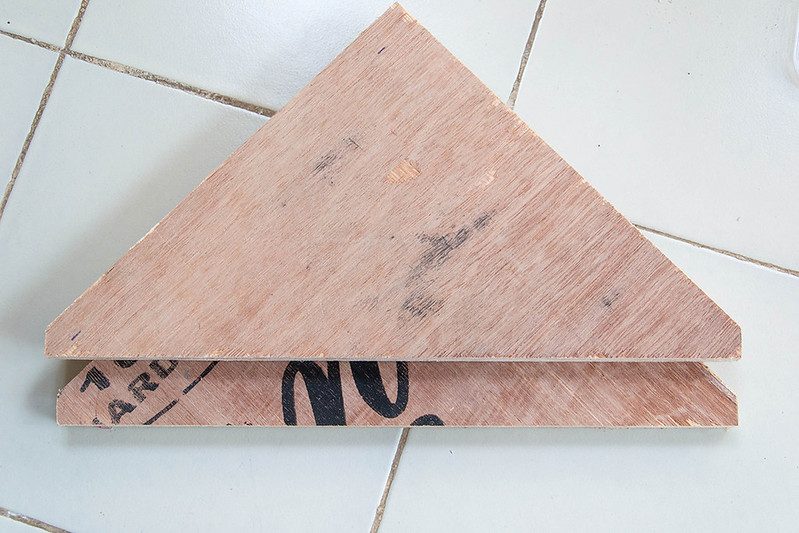
Plywood 0.75. Cut to size by a carpenter using a saw machine.
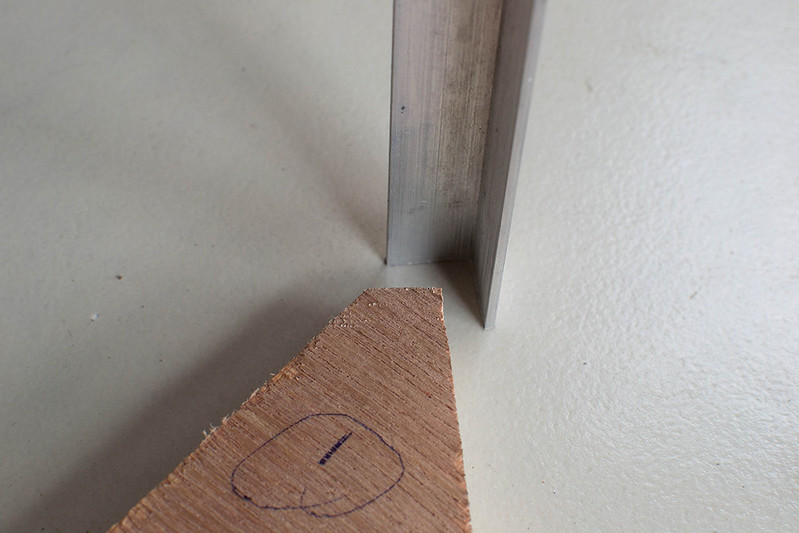
We need to chop the sharp edges of the facing side to get right angled corners for the frame to fit.
Holes drilled on both the wood and metal. It is better to mark the holes with each angle in place since the hole location in them may vary piece to piece. Remember that you would need different drill bits for metal and wood.
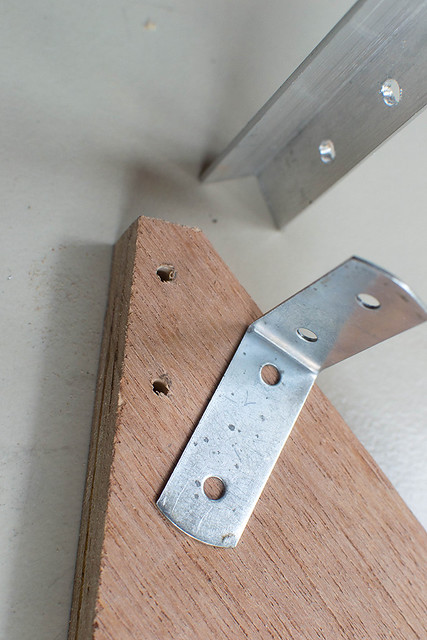
Secure the angles using the drilling machine with screw bit. Use washers for added grip.
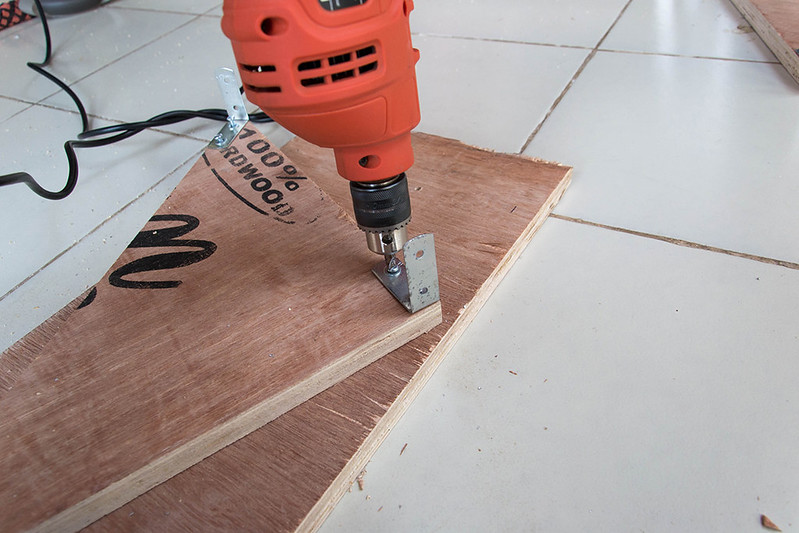
Screws for angle to wood and nut-bolt for angle to frame. As tight as you can.

Repeat it for all six sides.
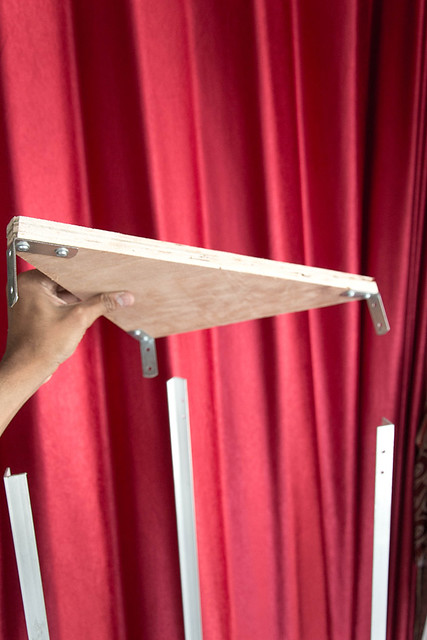
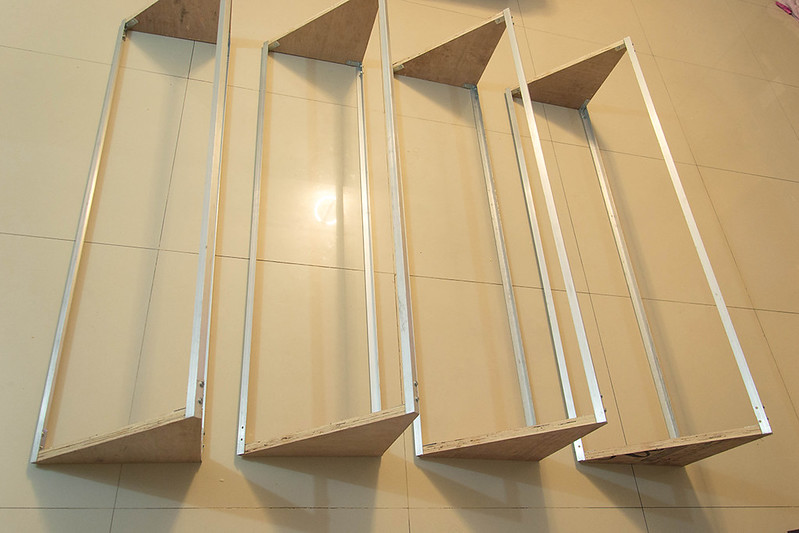
The first casing is ready.
It may be wobbly but don't worry once the stuffing is done, it would become more rigid.
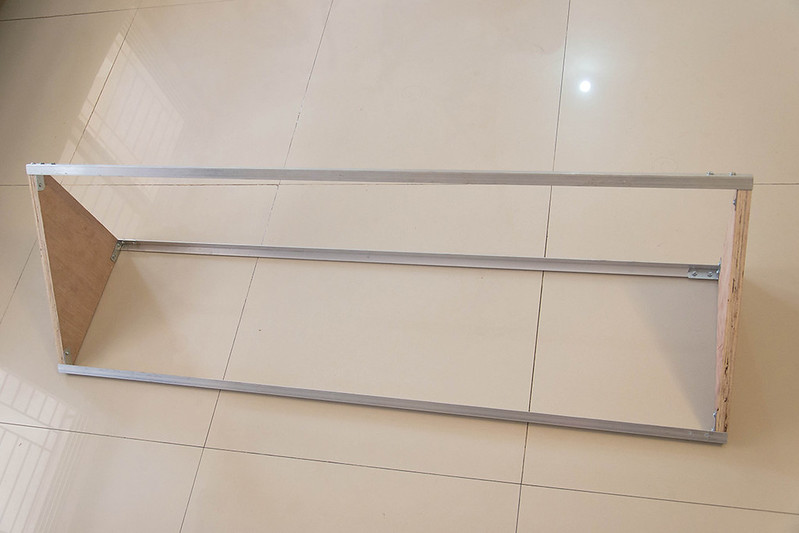
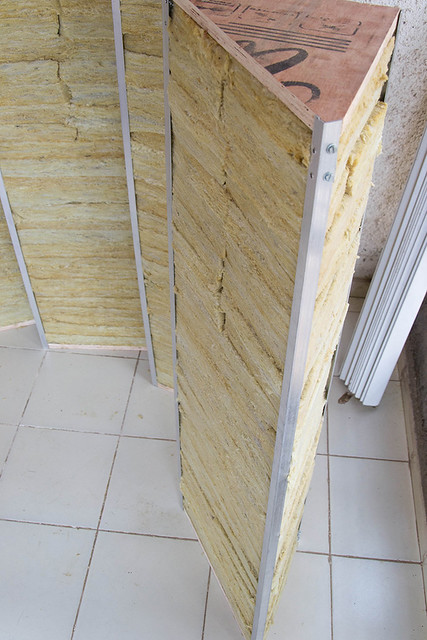
Now that you have tried the method, the remaining frames can be made quite faster. All four are now ready
Phase II Stuffing
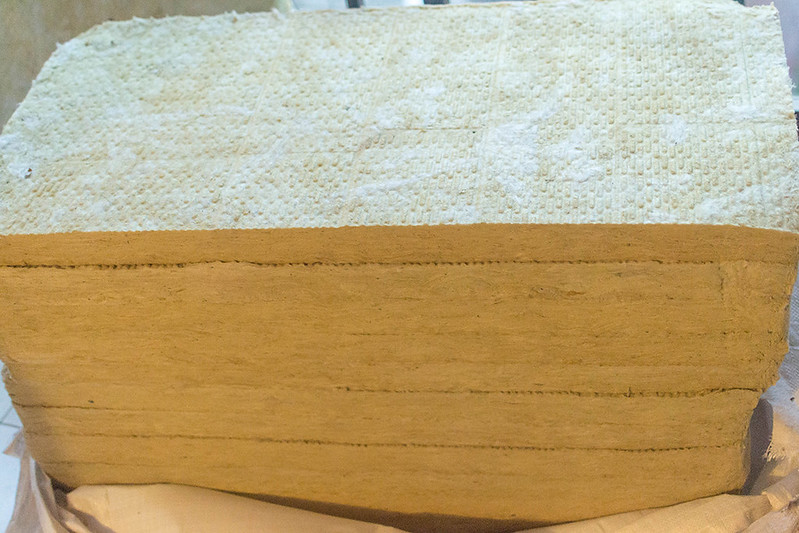
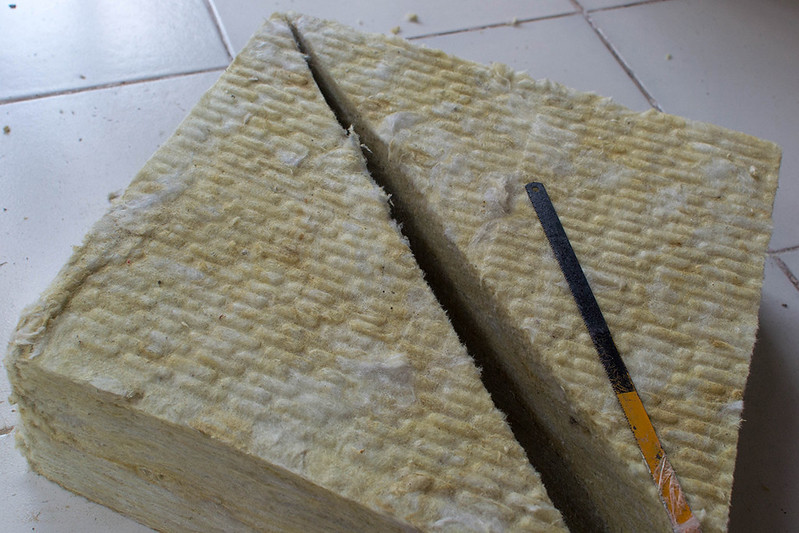
The rockwool slabs. They are very itchy so ensure you are wearing gloves and full hand shirt, jeans and socks when you work with them.
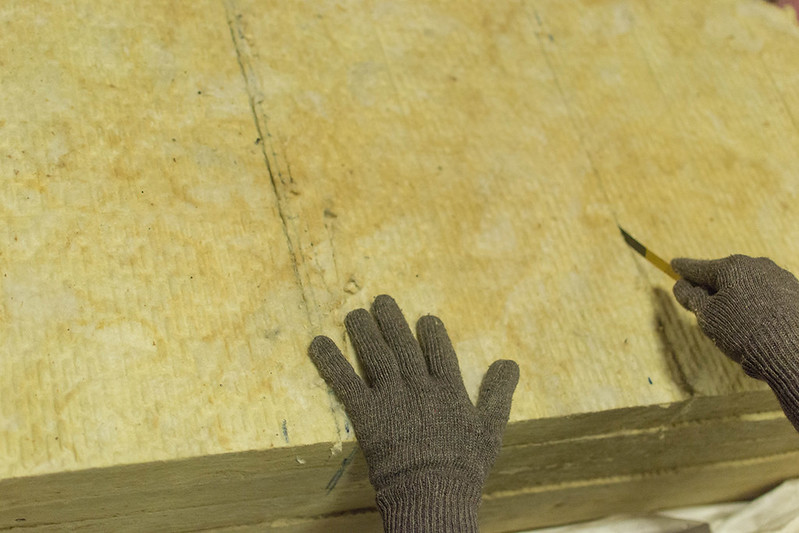
This is how the slabs are cut. I have ensured zero wastage accordingly.

Now using a long wooden scale, mark the measurements. For cutting, if you have an electric knife it would be a lot easier. But a simple arc saw blade would also do the job as well. Cut the panels one or two deep at a time.
This task took quite a long time for me to complete. Quite messy too.

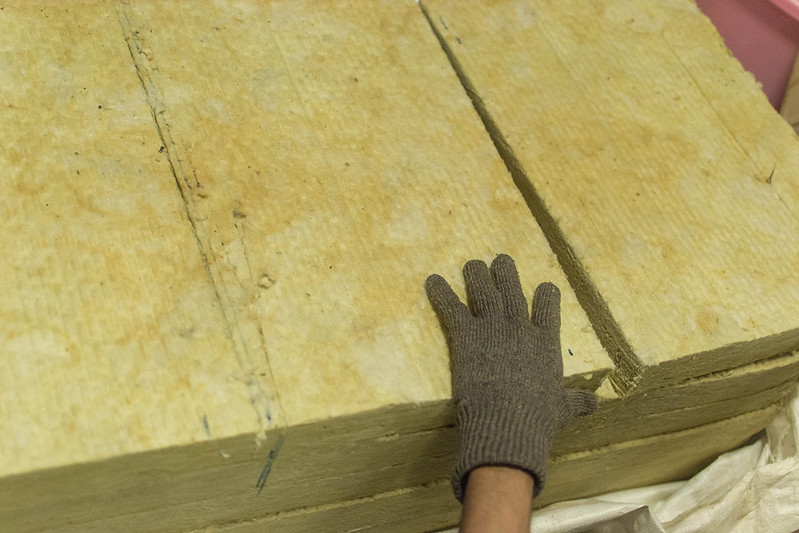
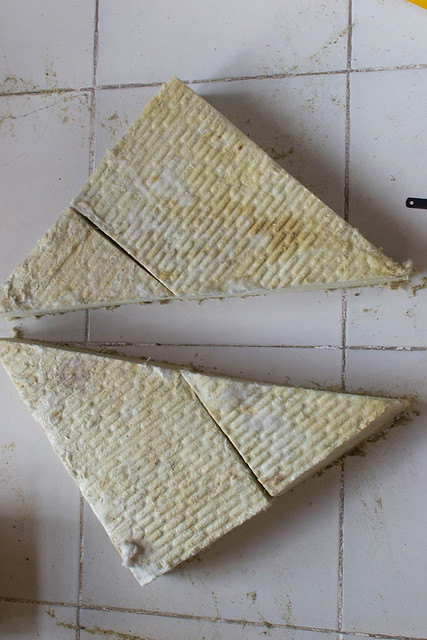
Now the square slabs are cut diagonally.
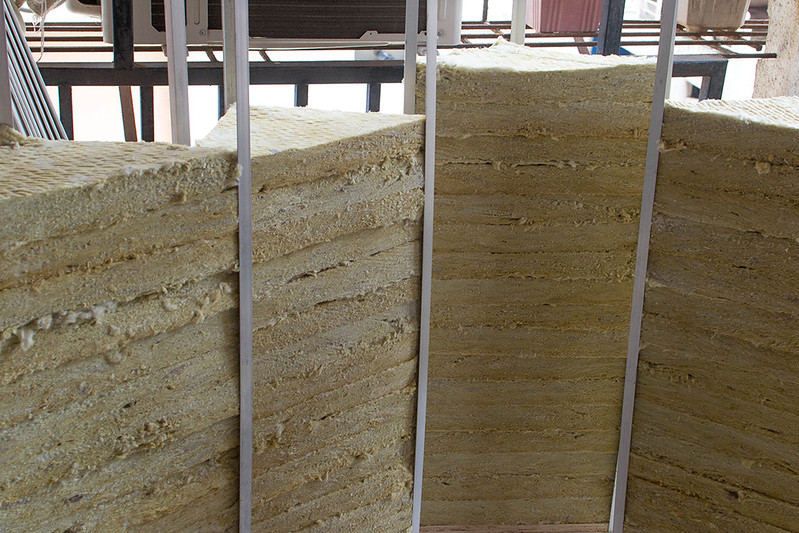
You can start placing them in the frame as and when you chop.
I suggest to work on all 4 frames simultaneously with equal distribution.

All slabs cut from squares are now used up.
Now take the smaller rectangular bits and place them side by side. It will form a square now.
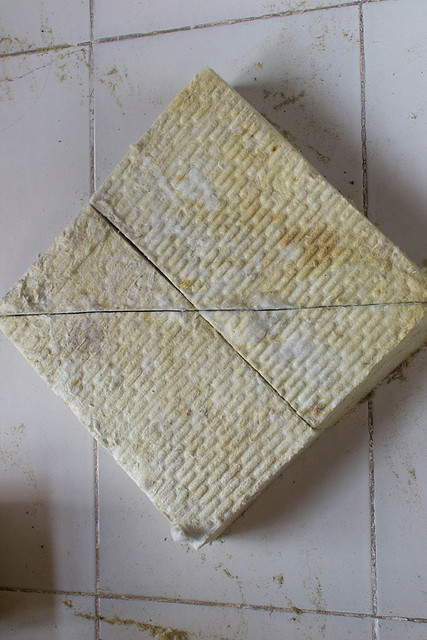
Repeat the same procedure- ie cut diagonally. The two pieces together will form a triangle of same proportions.
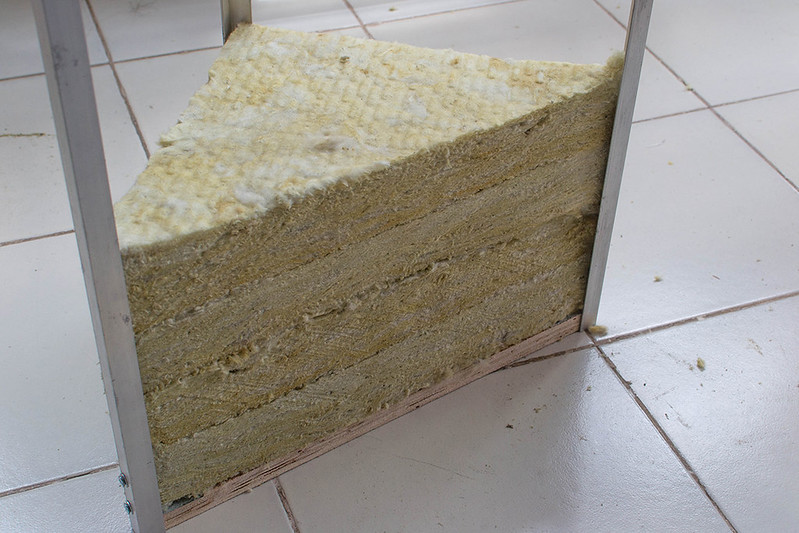
Start stacking them in the frame as shown in the pic. You can alternate the smaller triangle position between left and right sides. Tuck the corners of the slab so that they fit into the frame.
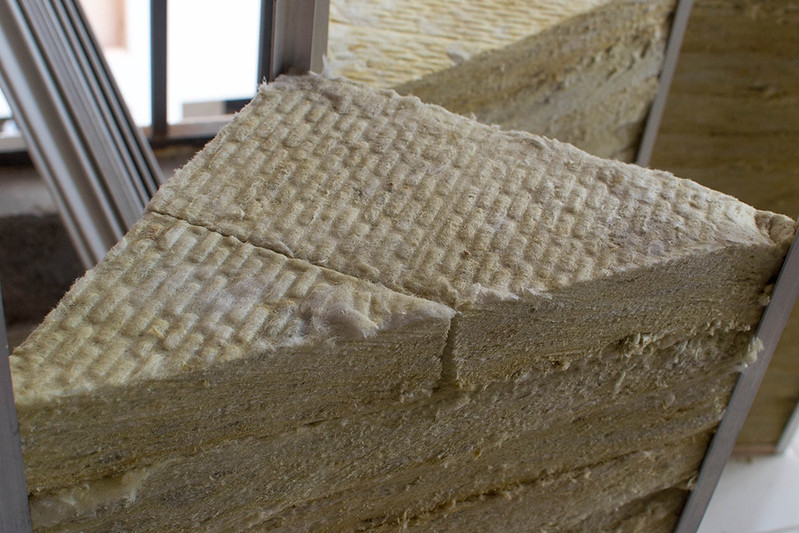
When you add the last two slabs, you might have to compress the ones below to make room. This is important because it helps to grip the slabs in position and add to the strength of the frame.
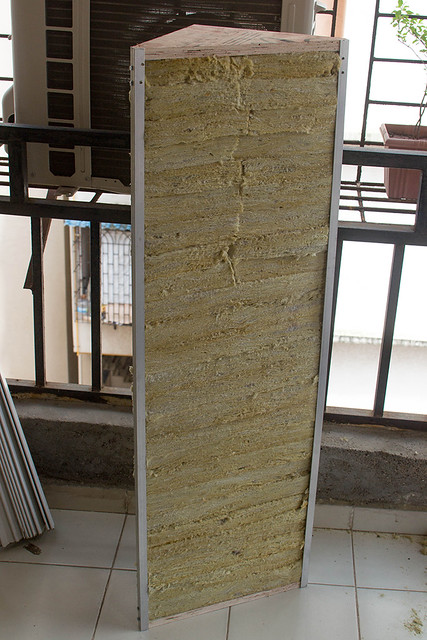
There you go. The stuffing is complete.

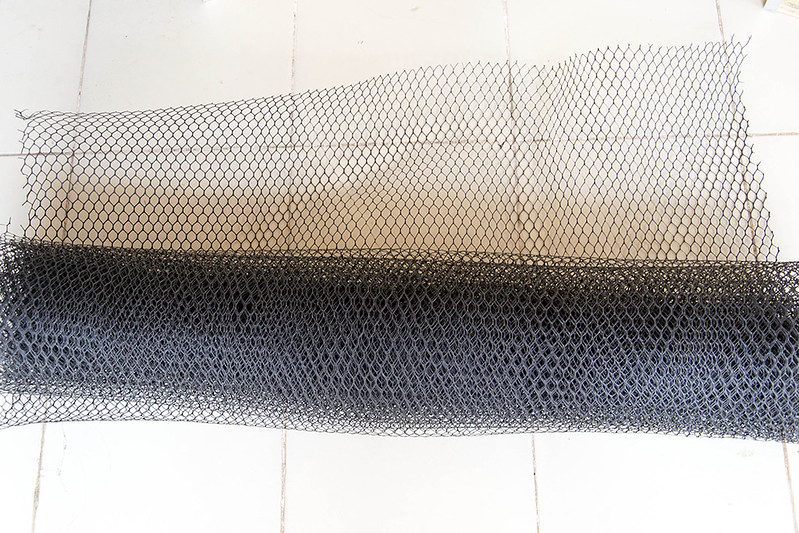
I initially planned to wrap the frame using a steel mesh. I could not find one. I managed to get a plastic one but it was not flexible enough and was too fragile to stretch. So dropped the idea.
Phase III Fabric wrap
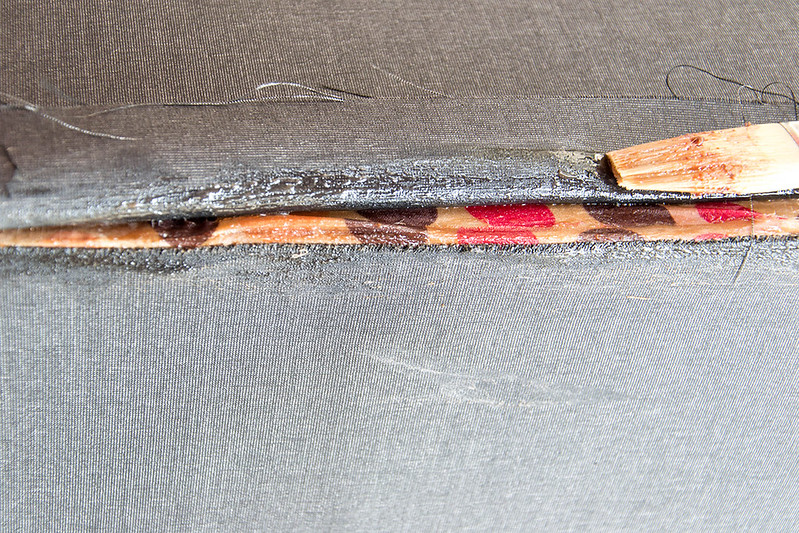
I decided to use two layers of fabric to eliminate even the slightest fear of hazard (though I believe rockwool is quite safe according to several experiments). Even if you use single layer, it should be fine. Choose the fabric carefully in that case.
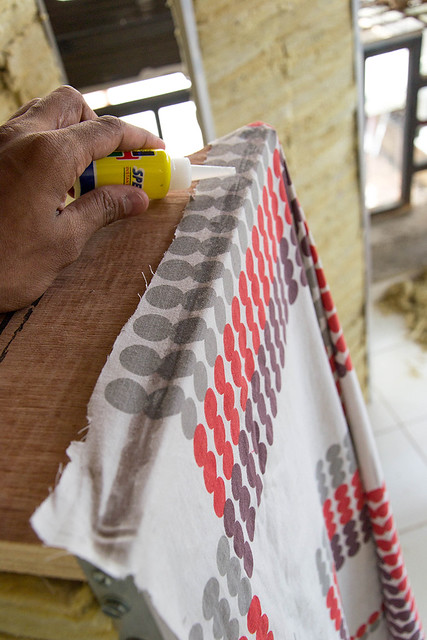
The first layer was done with used bed spreads. The cloth must not be stretchable at the same time porous enough to allow some air if you blow through it. You need to get a strong glue for this task, like Fevikwik but thats expensive for large quantities. The same formula is available in hardware stores for much less. Cut the fabric as per measurements and start from the top. Place the cloth on the frame and allow few drops of adhesive to ooze inside, It will quickly dry and bond the fabric.
Complete the three sides.

Wrap the cloth and proceed to glue it longitudinally over the frame.
Now stretch the fabric and glue the other side of fabric over the frame. Do so 0.5 feet at a time. Stretch everytime to avoid wrinkles.
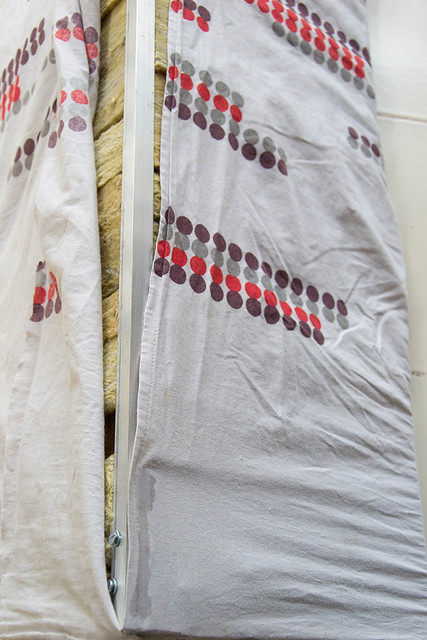
Now complete the other side of triangle. Stretch hard before pasting, to avoid slack in the fabric.
Repeat it for other panels.
Place a few drops of glue on other two lengths of frame to hold the fabric in place. Helps when you move it around.
Now all four panels are ready.
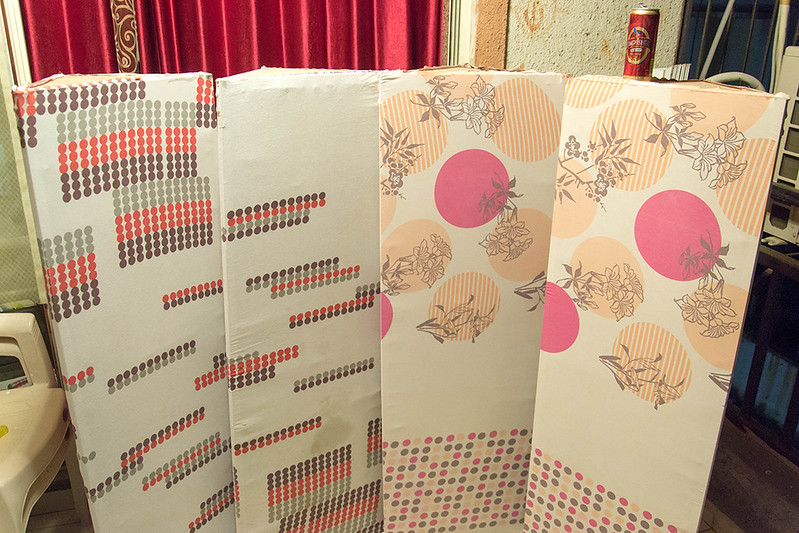
Time to grab a beer can!
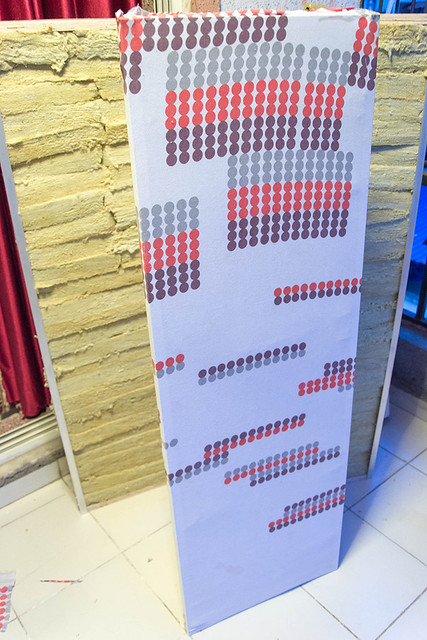
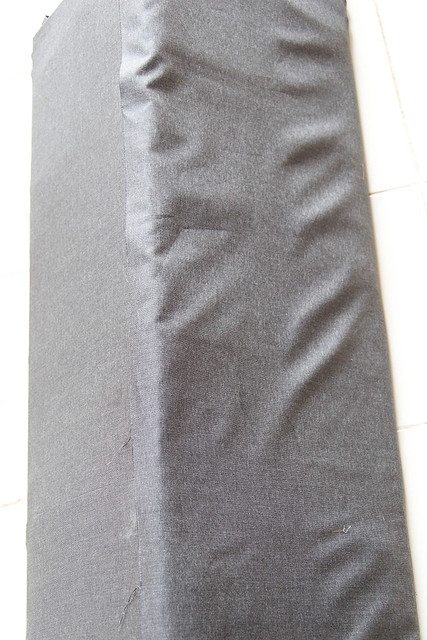
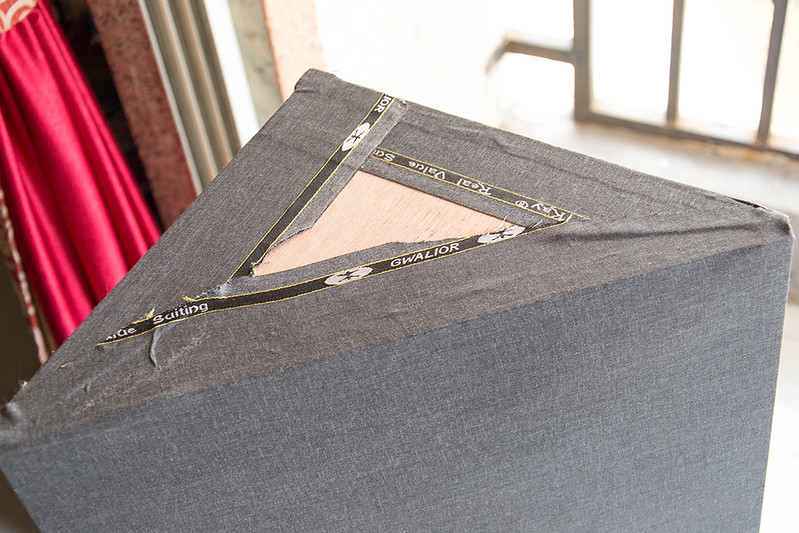
Now for the final wrap. I bought suiting bit from a textile shop. It turned out to be slightly expensive. The color and tecture was very cool so I didnt mind.

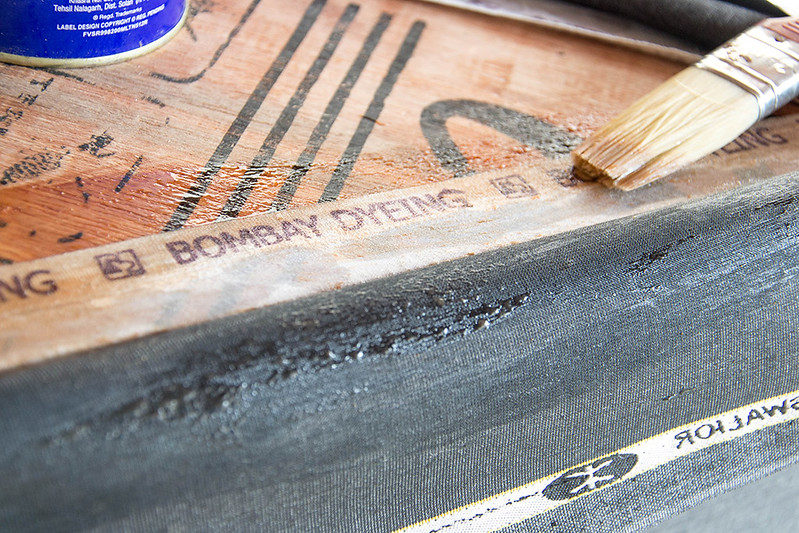
For the glue, this time we will use Synthetic rubber Fevicol SR998 to be precise. Its good for cloth on cloth and cloth on wood. You can use gloves but later I moved to paint brush.
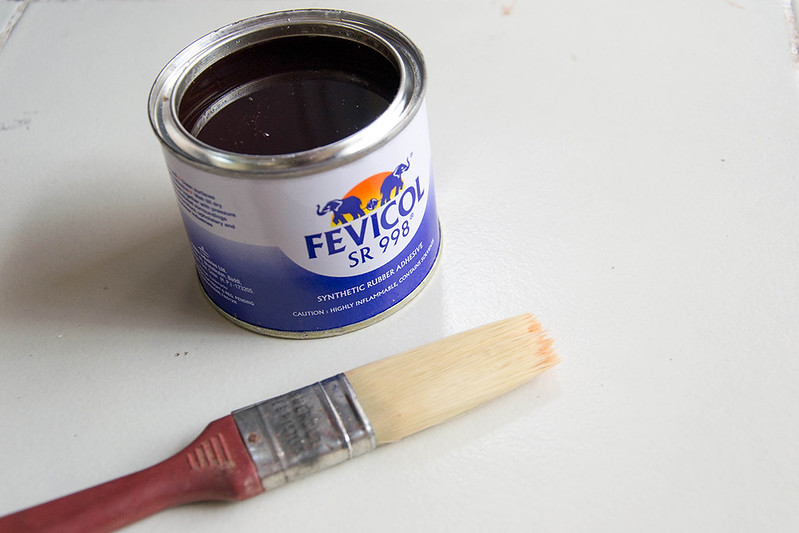
Apply the adhesive on *both* the sides to be glued together. Wait for a minute, once the wetness is gone, stick them together with pressure.
The fabric will hold due to the viscosity of the glue so you can continue the work without waiting for it to completely dry.
Continue the same along the length of the frame.
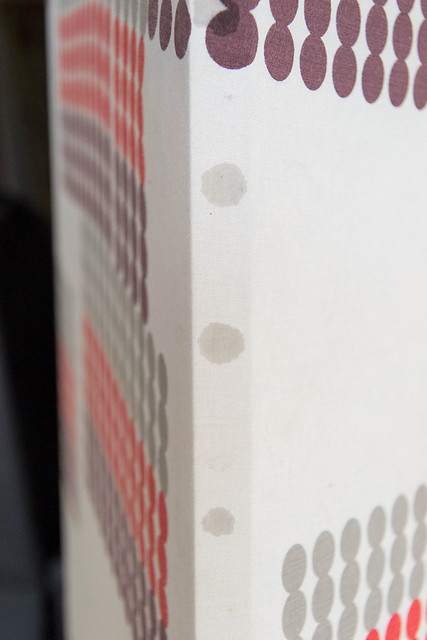
Keep stretching often to avoid wrinkles.
Apply on both the sides to be glued
You can now cut the excess fabric if any
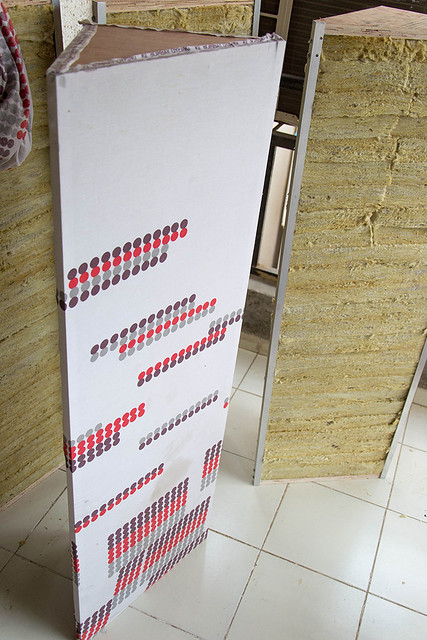
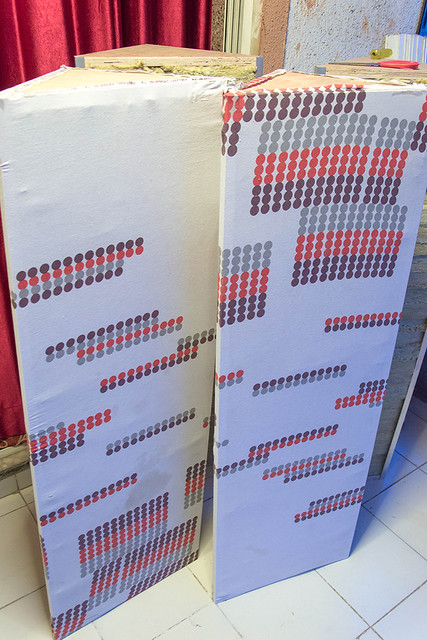
One panel is now ready.

Complete the other panels

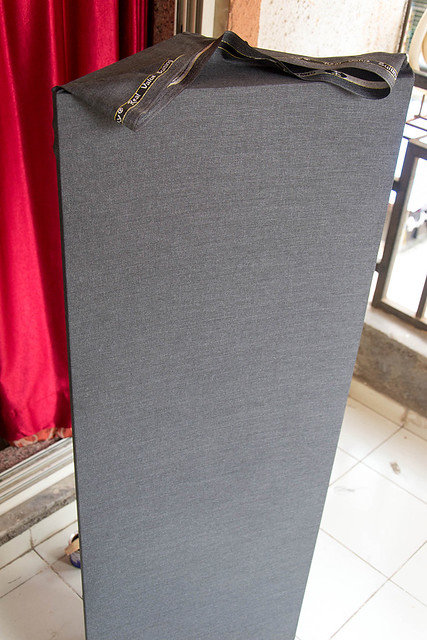
Job done. They look pretty cool.

I wanted to seal the ends with a acrylic panel but could not find one in reach. Alternatively, you can close it with another thin ply fully wrapped with the same fabric. It can be screwed into position. Since it is not visible, I did not bother much.

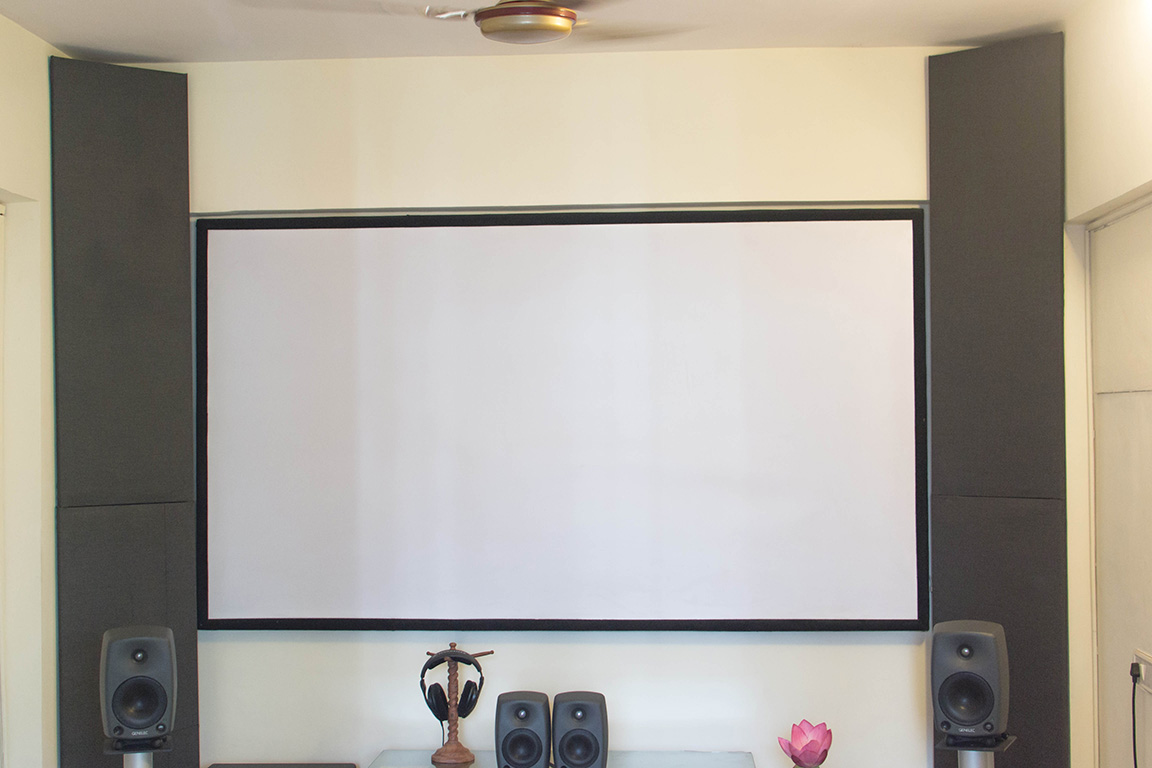
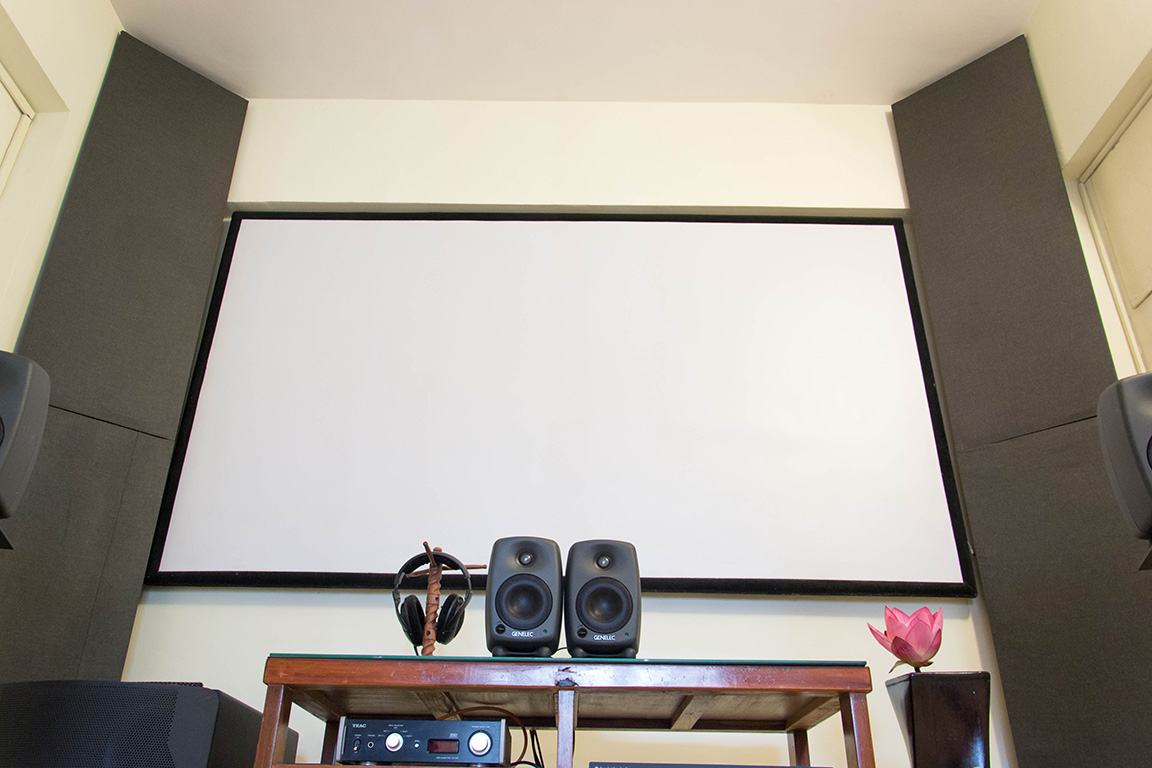
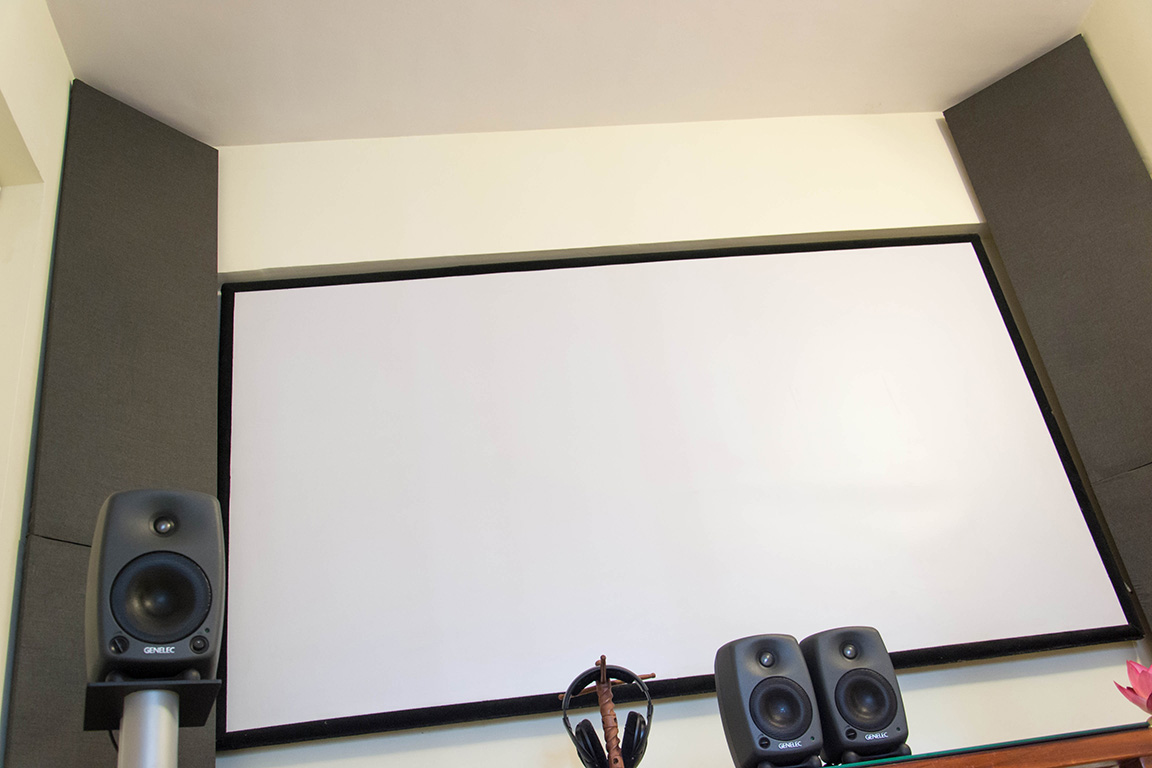
Now the panels are in place. Click to view large size.
I enjoyed DIYing this.")
Coming up, impressions and measurements.
Materials used and approximate cost:
Rs. 4000 Rockwool Slabs (96 kg/m3, 2 x 4, 12 nos)
Rs. 700 Aluminium Frame
Rs. 600 Plywood + cutting labour
Rs. 300 Adhesives
Rs. 1600 Fabric
Rs. 300 L-angles, screws
Rs. 7500 Total
Tools: Drilling machine, hammer, arc saw, long scale, gloves, measuring tape, marker pen.
I had a space constraints on the front wall with the projector screen on it, so I could have a maximum face width of only 18.3 inches. Ideally it should be 22-24 inches or more. For same reason, I used thin (0.75) aluminium frame for maximum exposure of rockwool on the facing side. It can be 1 thick if you decide to follow this method so that its stronger. We can always have the enclosure fully made of ply.
Phase I - Frame
Aluminium L- section frames, cut to measurement. The height would be as per your requirement ideally full height of the room.
L- angles easily available in hardware stores.
Plywood 0.75. Cut to size by a carpenter using a saw machine.
We need to chop the sharp edges of the facing side to get right angled corners for the frame to fit.
Holes drilled on both the wood and metal. It is better to mark the holes with each angle in place since the hole location in them may vary piece to piece. Remember that you would need different drill bits for metal and wood.
Secure the angles using the drilling machine with screw bit. Use washers for added grip.
Screws for angle to wood and nut-bolt for angle to frame. As tight as you can.
Repeat it for all six sides.
The first casing is ready.
It may be wobbly but don't worry once the stuffing is done, it would become more rigid.
Now that you have tried the method, the remaining frames can be made quite faster. All four are now ready
Phase II Stuffing
The rockwool slabs. They are very itchy so ensure you are wearing gloves and full hand shirt, jeans and socks when you work with them.
This is how the slabs are cut. I have ensured zero wastage accordingly.
Now using a long wooden scale, mark the measurements. For cutting, if you have an electric knife it would be a lot easier. But a simple arc saw blade would also do the job as well. Cut the panels one or two deep at a time.
This task took quite a long time for me to complete. Quite messy too.
Now the square slabs are cut diagonally.
You can start placing them in the frame as and when you chop.
I suggest to work on all 4 frames simultaneously with equal distribution.
All slabs cut from squares are now used up.
Now take the smaller rectangular bits and place them side by side. It will form a square now.
Repeat the same procedure- ie cut diagonally. The two pieces together will form a triangle of same proportions.
Start stacking them in the frame as shown in the pic. You can alternate the smaller triangle position between left and right sides. Tuck the corners of the slab so that they fit into the frame.
When you add the last two slabs, you might have to compress the ones below to make room. This is important because it helps to grip the slabs in position and add to the strength of the frame.
There you go. The stuffing is complete.
I initially planned to wrap the frame using a steel mesh. I could not find one. I managed to get a plastic one but it was not flexible enough and was too fragile to stretch. So dropped the idea.
Phase III Fabric wrap
I decided to use two layers of fabric to eliminate even the slightest fear of hazard (though I believe rockwool is quite safe according to several experiments). Even if you use single layer, it should be fine. Choose the fabric carefully in that case.
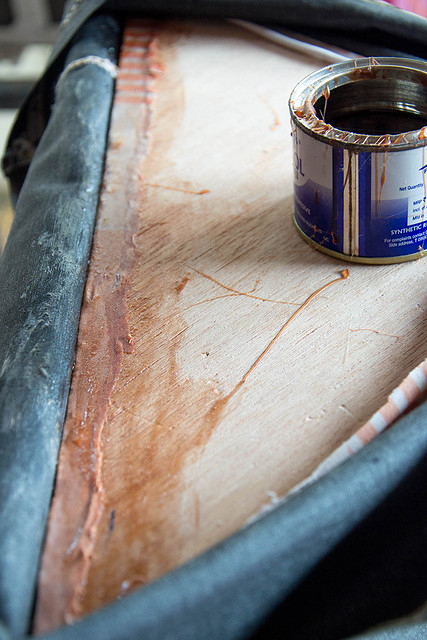
The first layer was done with used bed spreads. The cloth must not be stretchable at the same time porous enough to allow some air if you blow through it. You need to get a strong glue for this task, like Fevikwik but thats expensive for large quantities. The same formula is available in hardware stores for much less. Cut the fabric as per measurements and start from the top. Place the cloth on the frame and allow few drops of adhesive to ooze inside, It will quickly dry and bond the fabric.
Complete the three sides.
Wrap the cloth and proceed to glue it longitudinally over the frame.
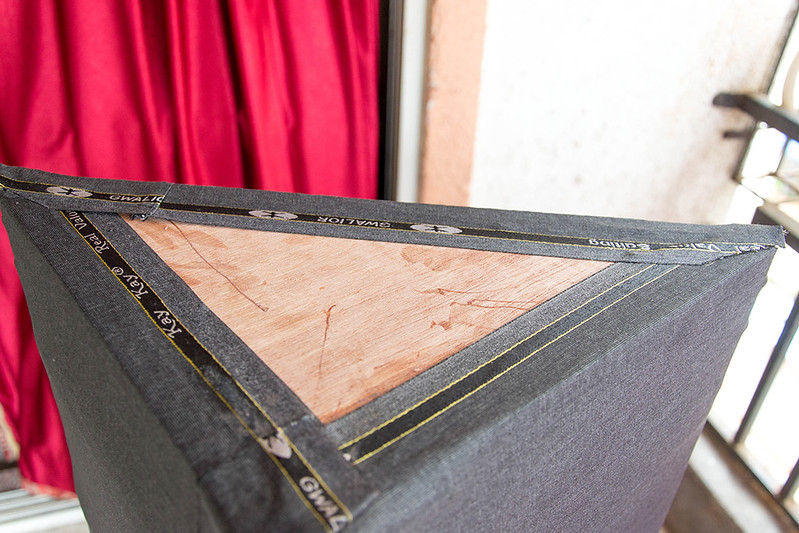
Now stretch the fabric and glue the other side of fabric over the frame. Do so 0.5 feet at a time. Stretch everytime to avoid wrinkles.
Now complete the other side of triangle. Stretch hard before pasting, to avoid slack in the fabric.
Repeat it for other panels.
Place a few drops of glue on other two lengths of frame to hold the fabric in place. Helps when you move it around.
Now all four panels are ready.
Time to grab a beer can!
Now for the final wrap. I bought suiting bit from a textile shop. It turned out to be slightly expensive. The color and tecture was very cool so I didnt mind.
For the glue, this time we will use Synthetic rubber Fevicol SR998 to be precise. Its good for cloth on cloth and cloth on wood. You can use gloves but later I moved to paint brush.
Apply the adhesive on *both* the sides to be glued together. Wait for a minute, once the wetness is gone, stick them together with pressure.
The fabric will hold due to the viscosity of the glue so you can continue the work without waiting for it to completely dry.
Continue the same along the length of the frame.
Keep stretching often to avoid wrinkles.
Apply on both the sides to be glued
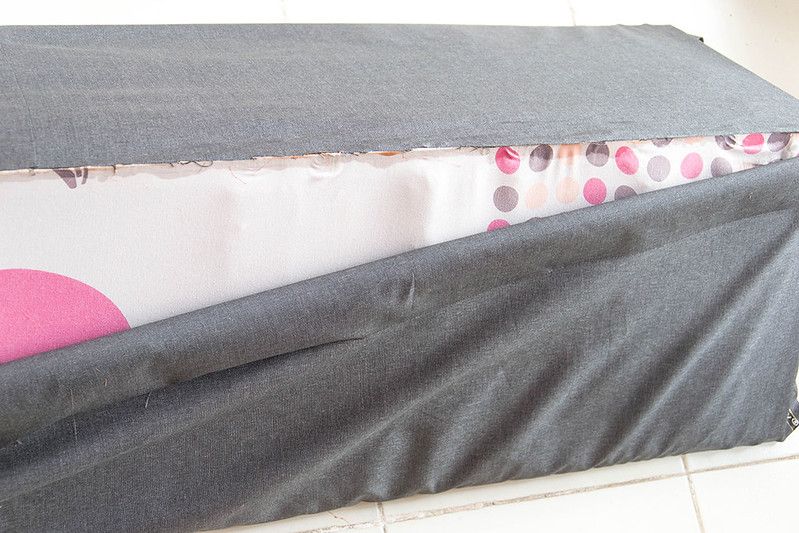
You can now cut the excess fabric if any
One panel is now ready.
Complete the other panels
Job done. They look pretty cool.
I wanted to seal the ends with a acrylic panel but could not find one in reach. Alternatively, you can close it with another thin ply fully wrapped with the same fabric. It can be screwed into position. Since it is not visible, I did not bother much.
Now the panels are in place. Click to view large size.
I enjoyed DIYing this.
Coming up, impressions and measurements.

 hyeah:. No particular brand but if you get branded one, its good for you. Difference in sound quality is more than significant. Rectangular panels do help for absorbing the mids and highs so they need to be placed carefully at reflective spots. I feel it may be better to use diffusers at first order reflection points and go for wall panels at secondary reflection points along with corner traps to keep the liveliness of the room. Again, I am a novice in this and you should seek opinion from experts in our forum.