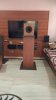
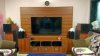
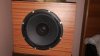
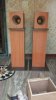
My first attempt at DIY Speakers.
Parts List with cost:- Total cost - Rs 15390/
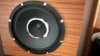
Driver - Boston Acoustics Full Range Speaker Rs 1300/pair.
Plywood 18 mm X 48 sq ft Rs 3120 - Speaker
Plywood 15mm X 32 sq ft Rs 1920 - Stand
Jigsaw Machine Rs 1500
Laminate Sheets 3 - Rs 1800
Fevicol Marine 3 kg - Rs 750
Carpenter charge - Rs 4000
Others - Rs 1000
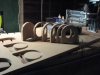
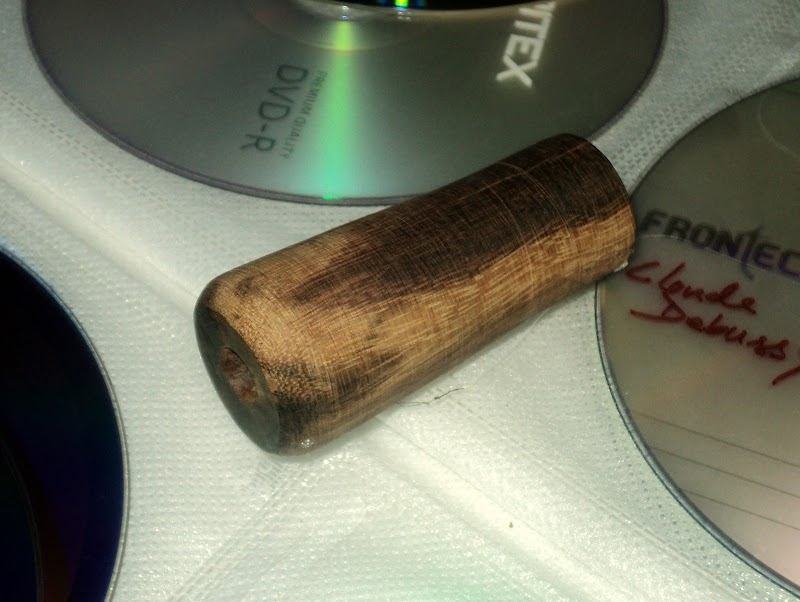
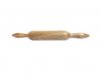
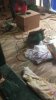
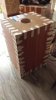
Step wise Pics :-
.jpg")
Parts List with cost:- Total cost - Rs 15390/
Driver - Boston Acoustics Full Range Speaker Rs 1300/pair.
Plywood 18 mm X 48 sq ft Rs 3120 - Speaker
Plywood 15mm X 32 sq ft Rs 1920 - Stand
Jigsaw Machine Rs 1500
Laminate Sheets 3 - Rs 1800
Fevicol Marine 3 kg - Rs 750
Carpenter charge - Rs 4000
Others - Rs 1000
Step wise Pics :-
Attachments
-
 WhatsApp Image 2017-08-31 at 1.29.16 AM (3).jpg9.7 KB · Views: 462
 -
 WhatsApp Image 2017-08-31 at 1.29.16 AM (1).jpg9 KB · Views: 453
 -
 WhatsApp Image 2017-08-31 at 1.29.15 AM (5).jpg8.3 KB · Views: 474
 -
 WhatsApp Image 2017-08-31 at 1.29.15 AM (2).jpg8.8 KB · Views: 479
 -
 WhatsApp Image 2017-08-31 at 1.29.15 AM (4).jpg8.5 KB · Views: 476