Triple Ace
Active Member
Hi Friends,
First of all, let me thank few of our FMs with whom I have interacted over 7-8 months for my DIY plan, i.e. to build a Pre and Power amplifier. They are, frend2001 (aka Ashish), MASH ( aka Shobhit), Sadik and last but not the least Aniket. They have spent lot of time in guiding me to build my system.
It all started during lockdown when my hunger of moving from multi channel audio to stereo increased. Being a 90's kid, I am always fascinated towards vintage amplifier, i.e. amplifiers with analog VU Meters, large volume and other control knobs with old school type toggle switches.
Initially I had decided to go for Sansui AU-D707 vintage amplifier. But before buying this beautiful amplifier I was little skeptical, due to its spare parts availability. Also in case something goes wrong then get it repaired is a big challenge. Hence I reached out Ashish for his input as he is owning a Sansui AU-D707. He is the first person who encouraged me to go ahead with Aniket' s DD amplifier board or any modern days Stereo Integrated Amp such as Marantz 7006/8005 in stead of Sansui due to above mentioned issue.
It was May 2020 when I made of my mind to go for DIY way which can give me good sound quality and looks as per my liking. Also none of these entry or mid level modern days amplifier gives a vintage look nor comes with VU meter. Amplifier like Luxman was out of budget and Yamaha AS-1100 was not available in India.
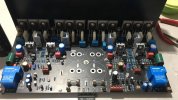
In the mean time I reached out to MASH, Sadik and they also suggested me to go with DD Board. So finally I reached out to Aniket and my DIY project kick started. As per my requirement building a Cabinet which can provide me vintage look and finish of any branded/commercial amp was a big challenge hence Aniket connected me to Aminder of theaudiocrafts.com, who has been doing this for a long time.
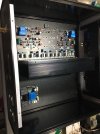
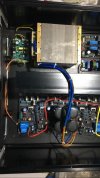
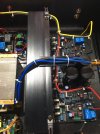
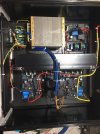
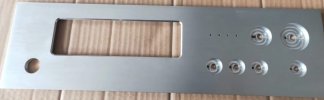
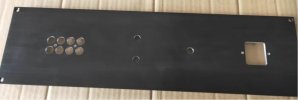
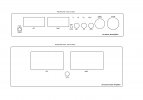
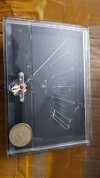
So made a design in mind for both pre & power amplifier chassis. Then prepared the architectural design and sent it to Aminder to start the process. Below is the design.
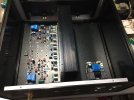
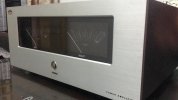
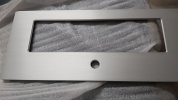
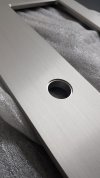
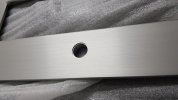
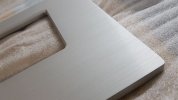
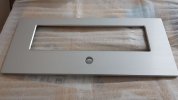
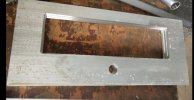
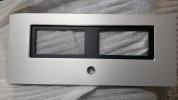
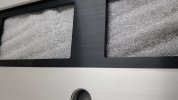
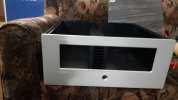
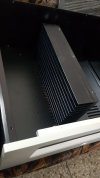
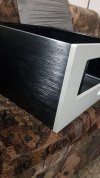
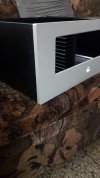
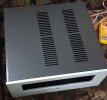
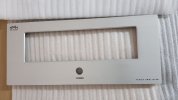
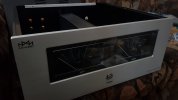
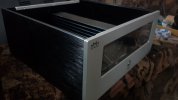
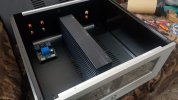
It was June 2020 when Aminder made the Front Fascia of Power Amplifier. From cutting Aluminium to complete the anodising process
Attaching couple of photos
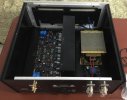
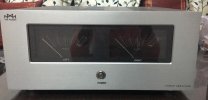
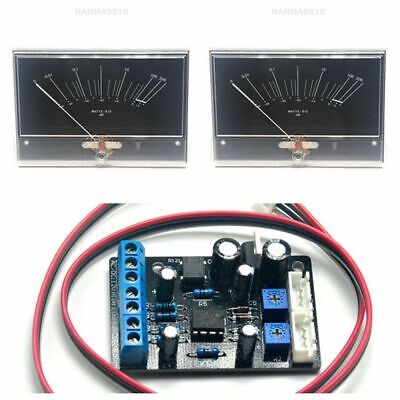
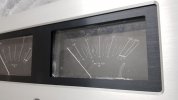
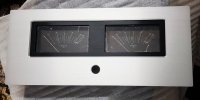
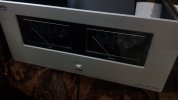
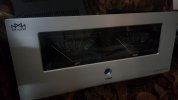
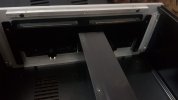
We ordered the matching VU Meter for the Power Amp module
First of all, let me thank few of our FMs with whom I have interacted over 7-8 months for my DIY plan, i.e. to build a Pre and Power amplifier. They are, frend2001 (aka Ashish), MASH ( aka Shobhit), Sadik and last but not the least Aniket. They have spent lot of time in guiding me to build my system.
It all started during lockdown when my hunger of moving from multi channel audio to stereo increased. Being a 90's kid, I am always fascinated towards vintage amplifier, i.e. amplifiers with analog VU Meters, large volume and other control knobs with old school type toggle switches.
Initially I had decided to go for Sansui AU-D707 vintage amplifier. But before buying this beautiful amplifier I was little skeptical, due to its spare parts availability. Also in case something goes wrong then get it repaired is a big challenge. Hence I reached out Ashish for his input as he is owning a Sansui AU-D707. He is the first person who encouraged me to go ahead with Aniket' s DD amplifier board or any modern days Stereo Integrated Amp such as Marantz 7006/8005 in stead of Sansui due to above mentioned issue.
It was May 2020 when I made of my mind to go for DIY way which can give me good sound quality and looks as per my liking. Also none of these entry or mid level modern days amplifier gives a vintage look nor comes with VU meter. Amplifier like Luxman was out of budget and Yamaha AS-1100 was not available in India.
In the mean time I reached out to MASH, Sadik and they also suggested me to go with DD Board. So finally I reached out to Aniket and my DIY project kick started. As per my requirement building a Cabinet which can provide me vintage look and finish of any branded/commercial amp was a big challenge hence Aniket connected me to Aminder of theaudiocrafts.com, who has been doing this for a long time.
So made a design in mind for both pre & power amplifier chassis. Then prepared the architectural design and sent it to Aminder to start the process. Below is the design.
It was June 2020 when Aminder made the Front Fascia of Power Amplifier. From cutting Aluminium to complete the anodising process
Attaching couple of photos
We ordered the matching VU Meter for the Power Amp module


")