Update: More than a year has passed. In this time I have made significant changes to my streamer.
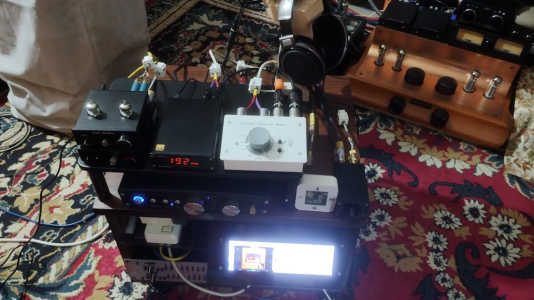
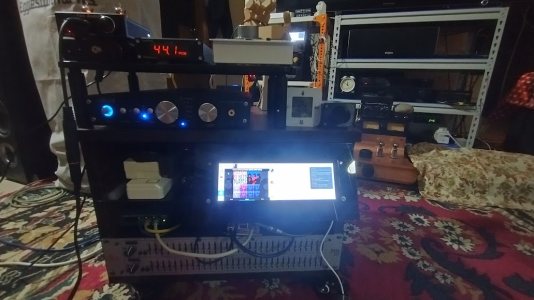
Update1: With the help of a local carpenter I made a housing that would house two raspberry PIs. One of them a RPI3 with a touch screen, IR receiver Diode and Power Switch connected to the GPIO pins with two small program written in C to control all music operations and powering on and shutdown of all Music related devices. The second RPI (RPI4) has PI2AES, Asus Xonar Essence One (Muses Edition) with Balanced and SE outputs and a Toppings D10b with ballanced out. So total of 3 DACs connected to the same RPI and playback being played simultaneously on all the 3 dacs.
The portable streamer can play
1. Local files on a NAS
2. Play Amazon Music
3. Play Apple Music Hi-Res using a MacMini
4. Play YT Music using google chromecast audio
5. Spotify
6. Choice of using mpd or LMS as the media server for Music
Controls available
1. Touchscreen display of Music being played with cover art and playback controls. This uses the RPI3 as the controller
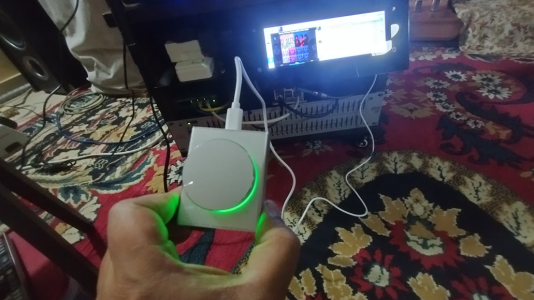
2. Volume control using a small hardware connected to the USB port of the RPI3
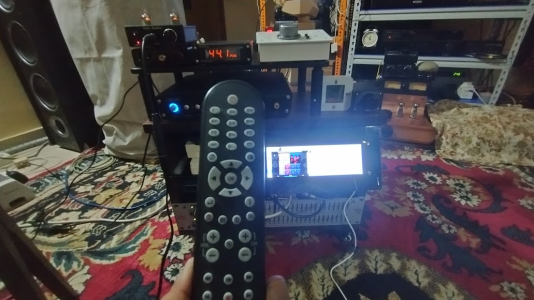
3. A IR Remote that was trained to control all aspects of Music Playback
4. Hardware based volume control for balanced out
5. Android/IOS/Linux/MacOS app based control with album art
Connectivity.
Using two hanutech media converters and a fiber running between the media converters providing 1 gpbs speeds and a 8 port tplink gigabit switch.
Audio Routing:
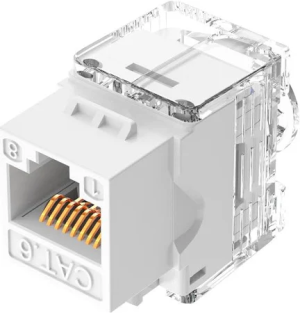
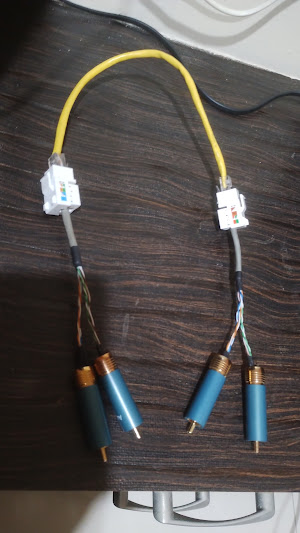
Using ethernet sockets and ethernet cables using my DIY approach as detailed in
https://www.hifivision.com/threads/...cable-over-ethernet-cable.97926/#post-1078014
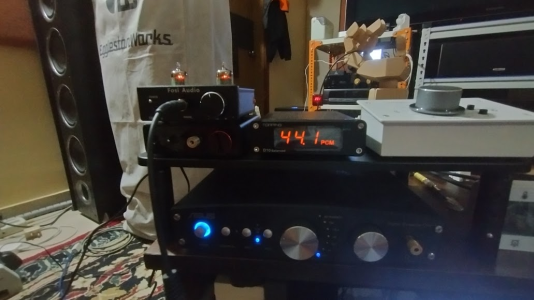
Picture 1: The portable streamer on wheels. The whole ugly thing has wheels at the bottom can can be moved easily between rooms. All audio output is on ethernet sockets and can be quickly connected to any amplifier in my bedroom or music room using simple ethernet cables. It also has a low pass subwoofer output that is wirelessly sent to a subwoofer in the room.
Picture2: USB volume control
I capture the USB events using a small program written in C. It can increase/decrease the volume. Single Press pauses the song. A press again, unpauses the song. Press and move it clockwise to increase the rating of the song. Press and move anti-clockwise to decrease the rating of the song. Along with the rating and how I listen to the song is captured in a database. I then use AI to dish out playlist of songs that I prefer.
Picture 3: IR remote control
Picture 4: Volume Control of balanced outputs
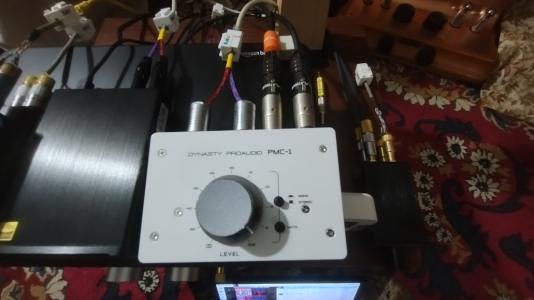
Picture 5: Headphone Amplifier
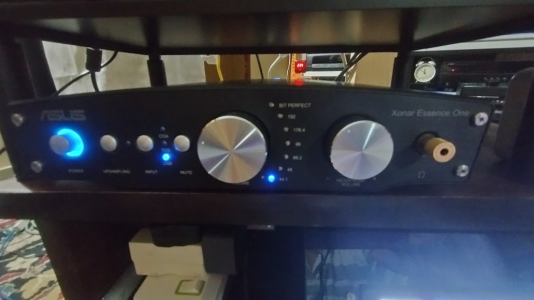
Picture 6:
Vacum tube based Headphone amplifier based on GE JAN 5654W. Here JAN stands for Joint Army Navy. This is a rugged tube that was made many years ago jointly for the US Army and Navy by GE. Below the Tube Amp there is another headphone amp Toppings L30 Headphone Amp. Apart from this there is another headphone AMP, the famous O2 amp that made companies like Schitt run for their money. The O2 and the above Asus are the ones that I prefer the most
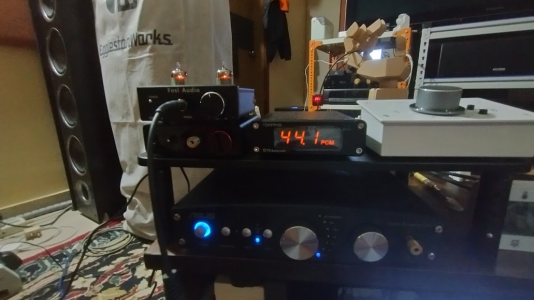
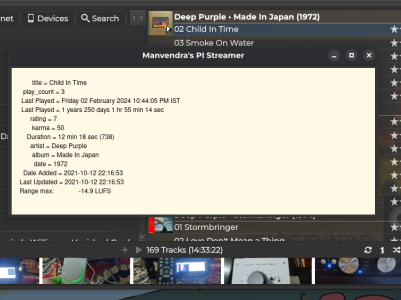
Picture 7: The same display on the small RPI touch screen being projected on a large Monitor along with cover art. There is lot of other information that gets displayed
1. Song information (Album, artist, title, date last played, play counts, song rating)
2. Dynamic Range, Sampling Rate, Duration, etc of the song
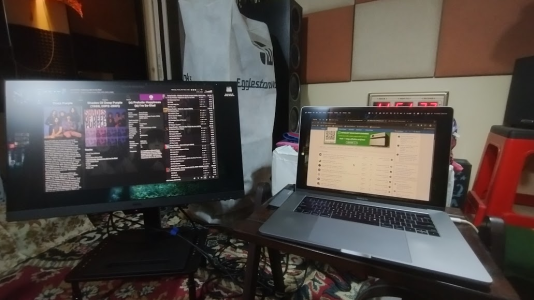
Picture 8. Song information displayed
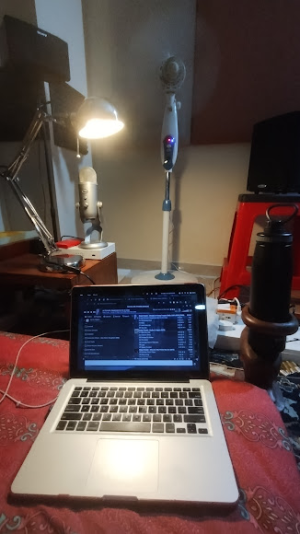
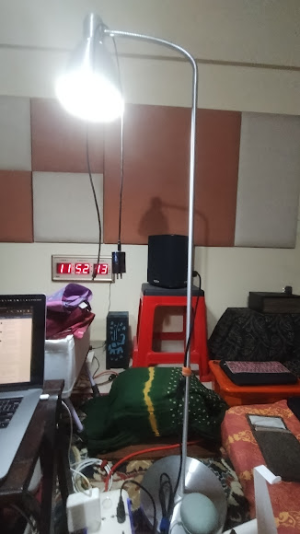
Picture 9. Table lamps, Floor lamps and wall lamps, Fan controlled by the portable Rig, by clicking buttons on the Raspberry PI GUI using a low energy bluetooth dongle.
I will put down how each of these controls can be achieved by anyone using material easily available on Amazon India. All source code written by me will be made available on my personal github account. How to wire all this and put all this together will be written in next few posts. The kernel tweaks made to achieve low latency will also be detailed. Watch out this space.


