DIY: Pass F5 turbo v2 initiated

omishra

Well-Known Member
Joined
May 31, 2011
Messages
2,357
Points
113
Location
Pune
Hi Friends,

From a long time, it was in mind to have nice class A amplifier. Pass Amplifiers don't need my introduction. It's well known to DIY circles. I am churning out all available material on forums.

As subject states I am referring this - http://www.firstwatt.com/pdf/art_f5_turbo.pdf

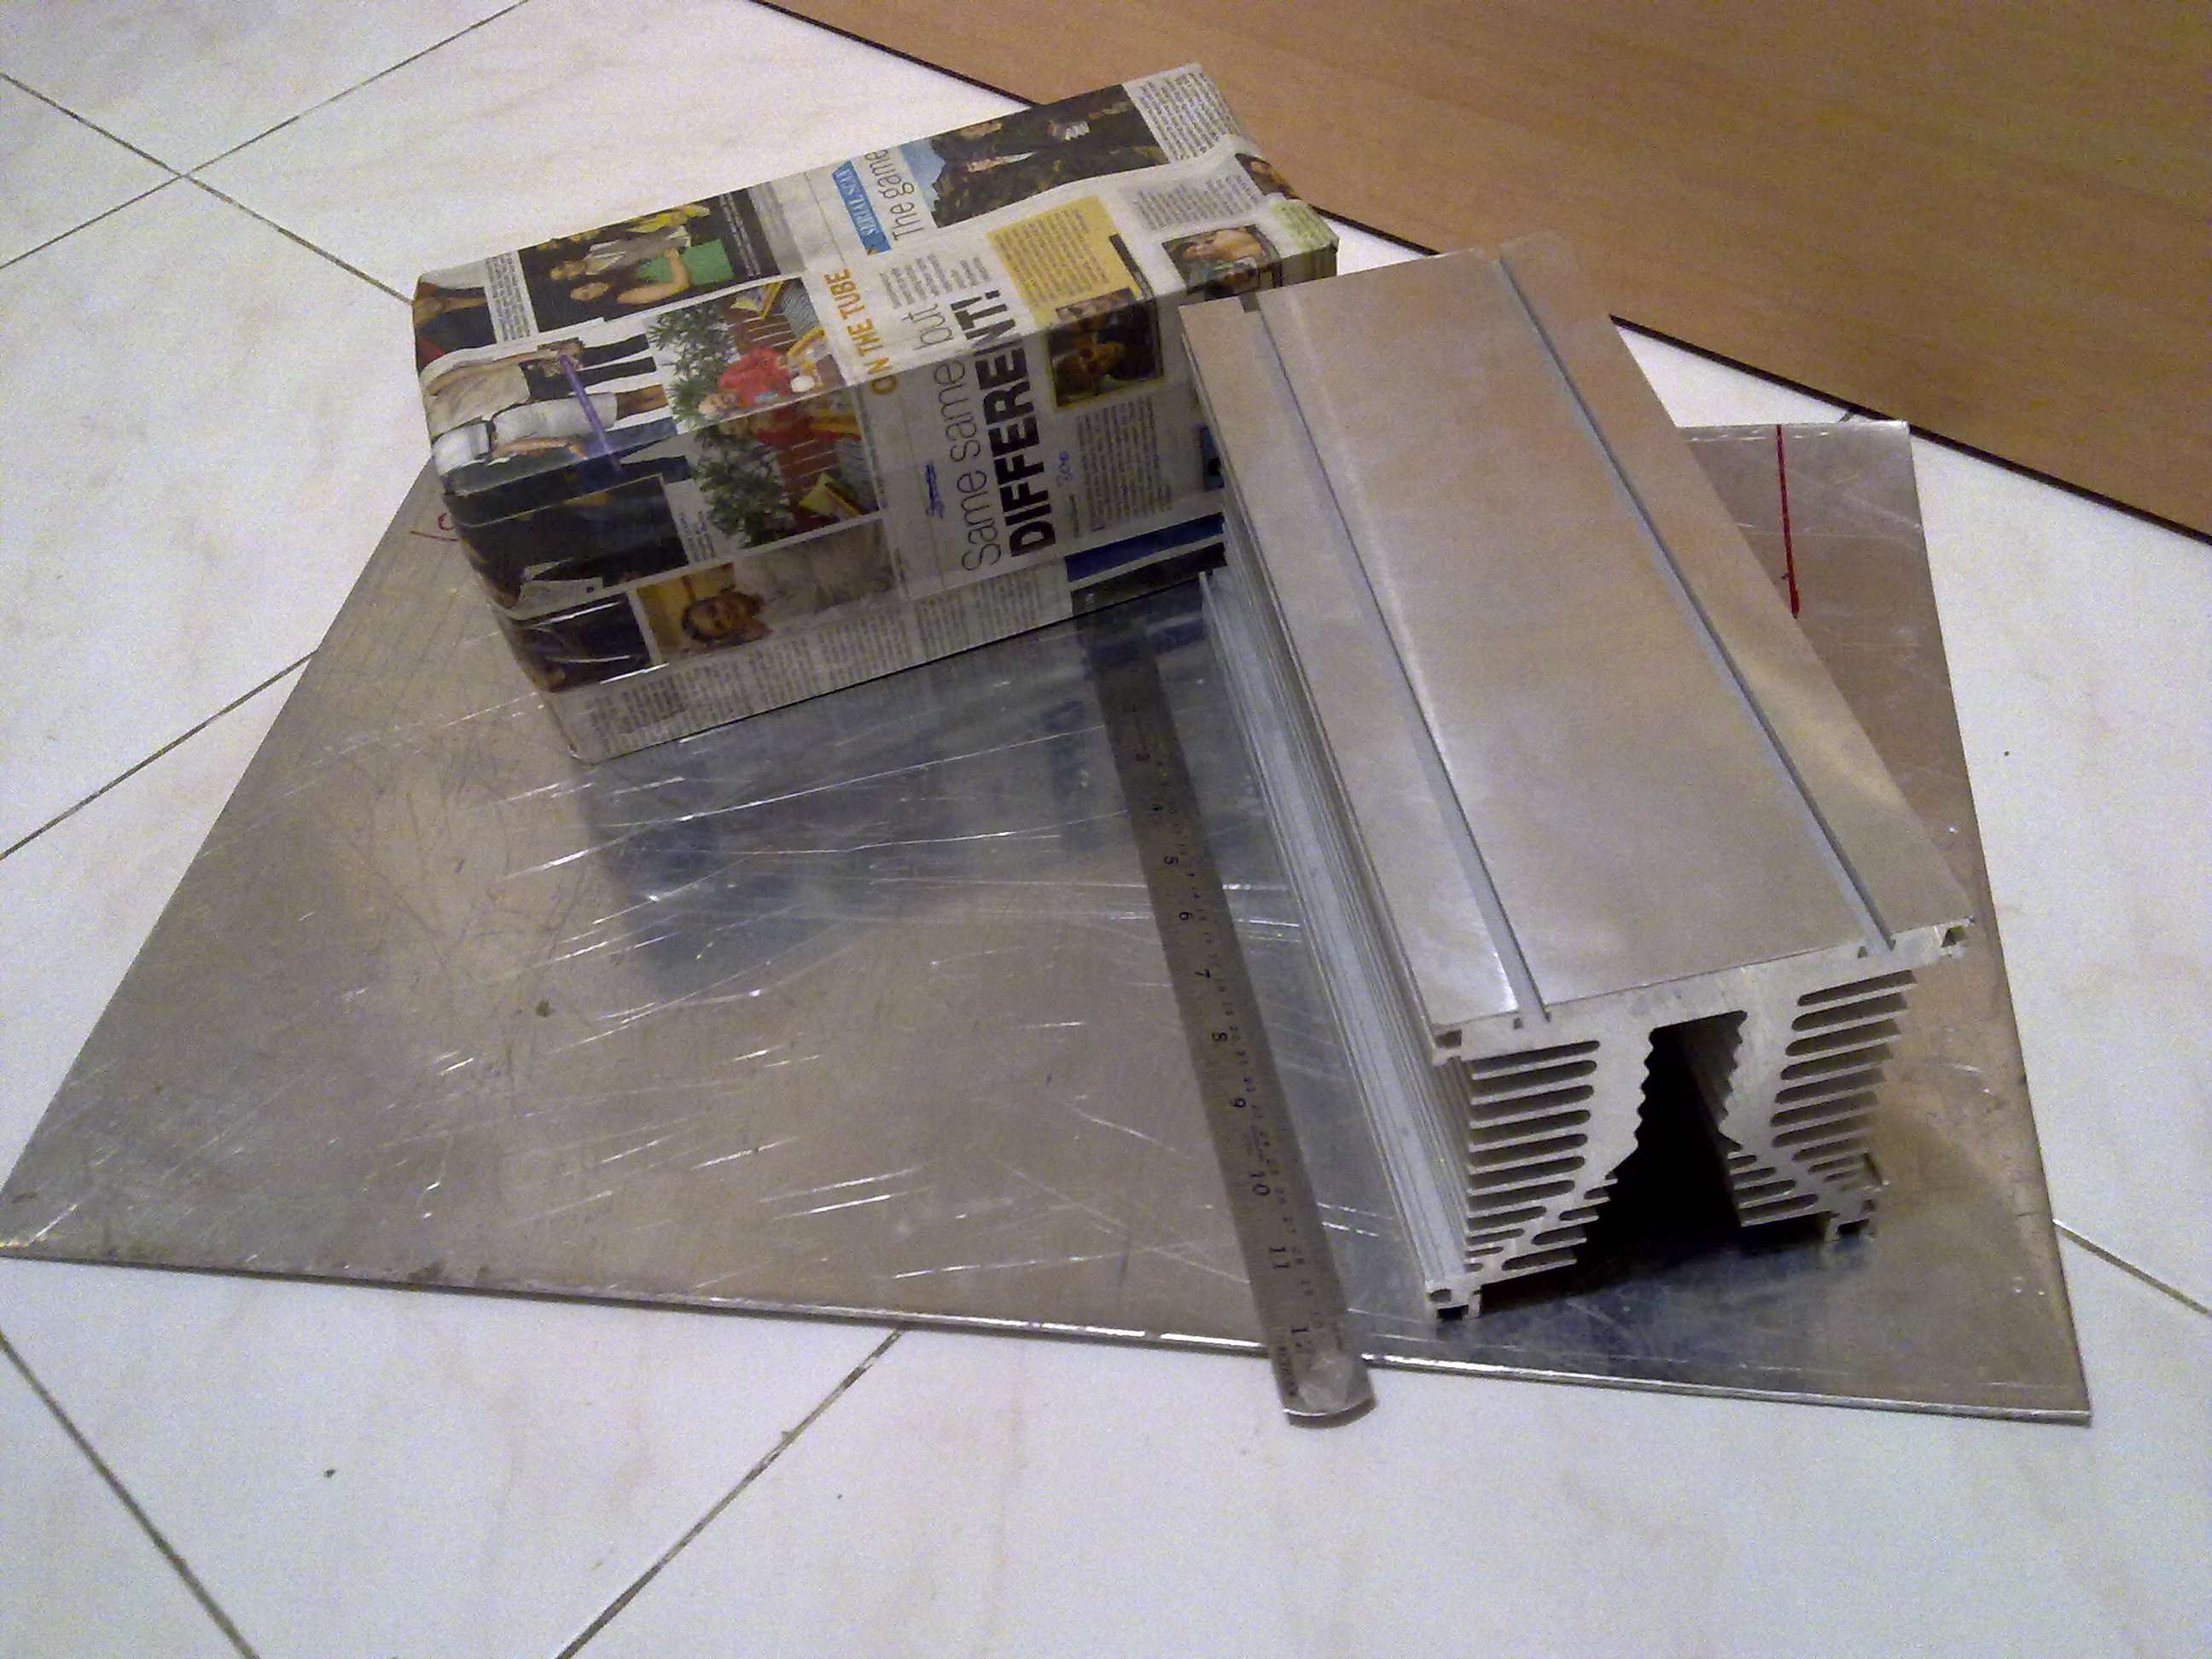
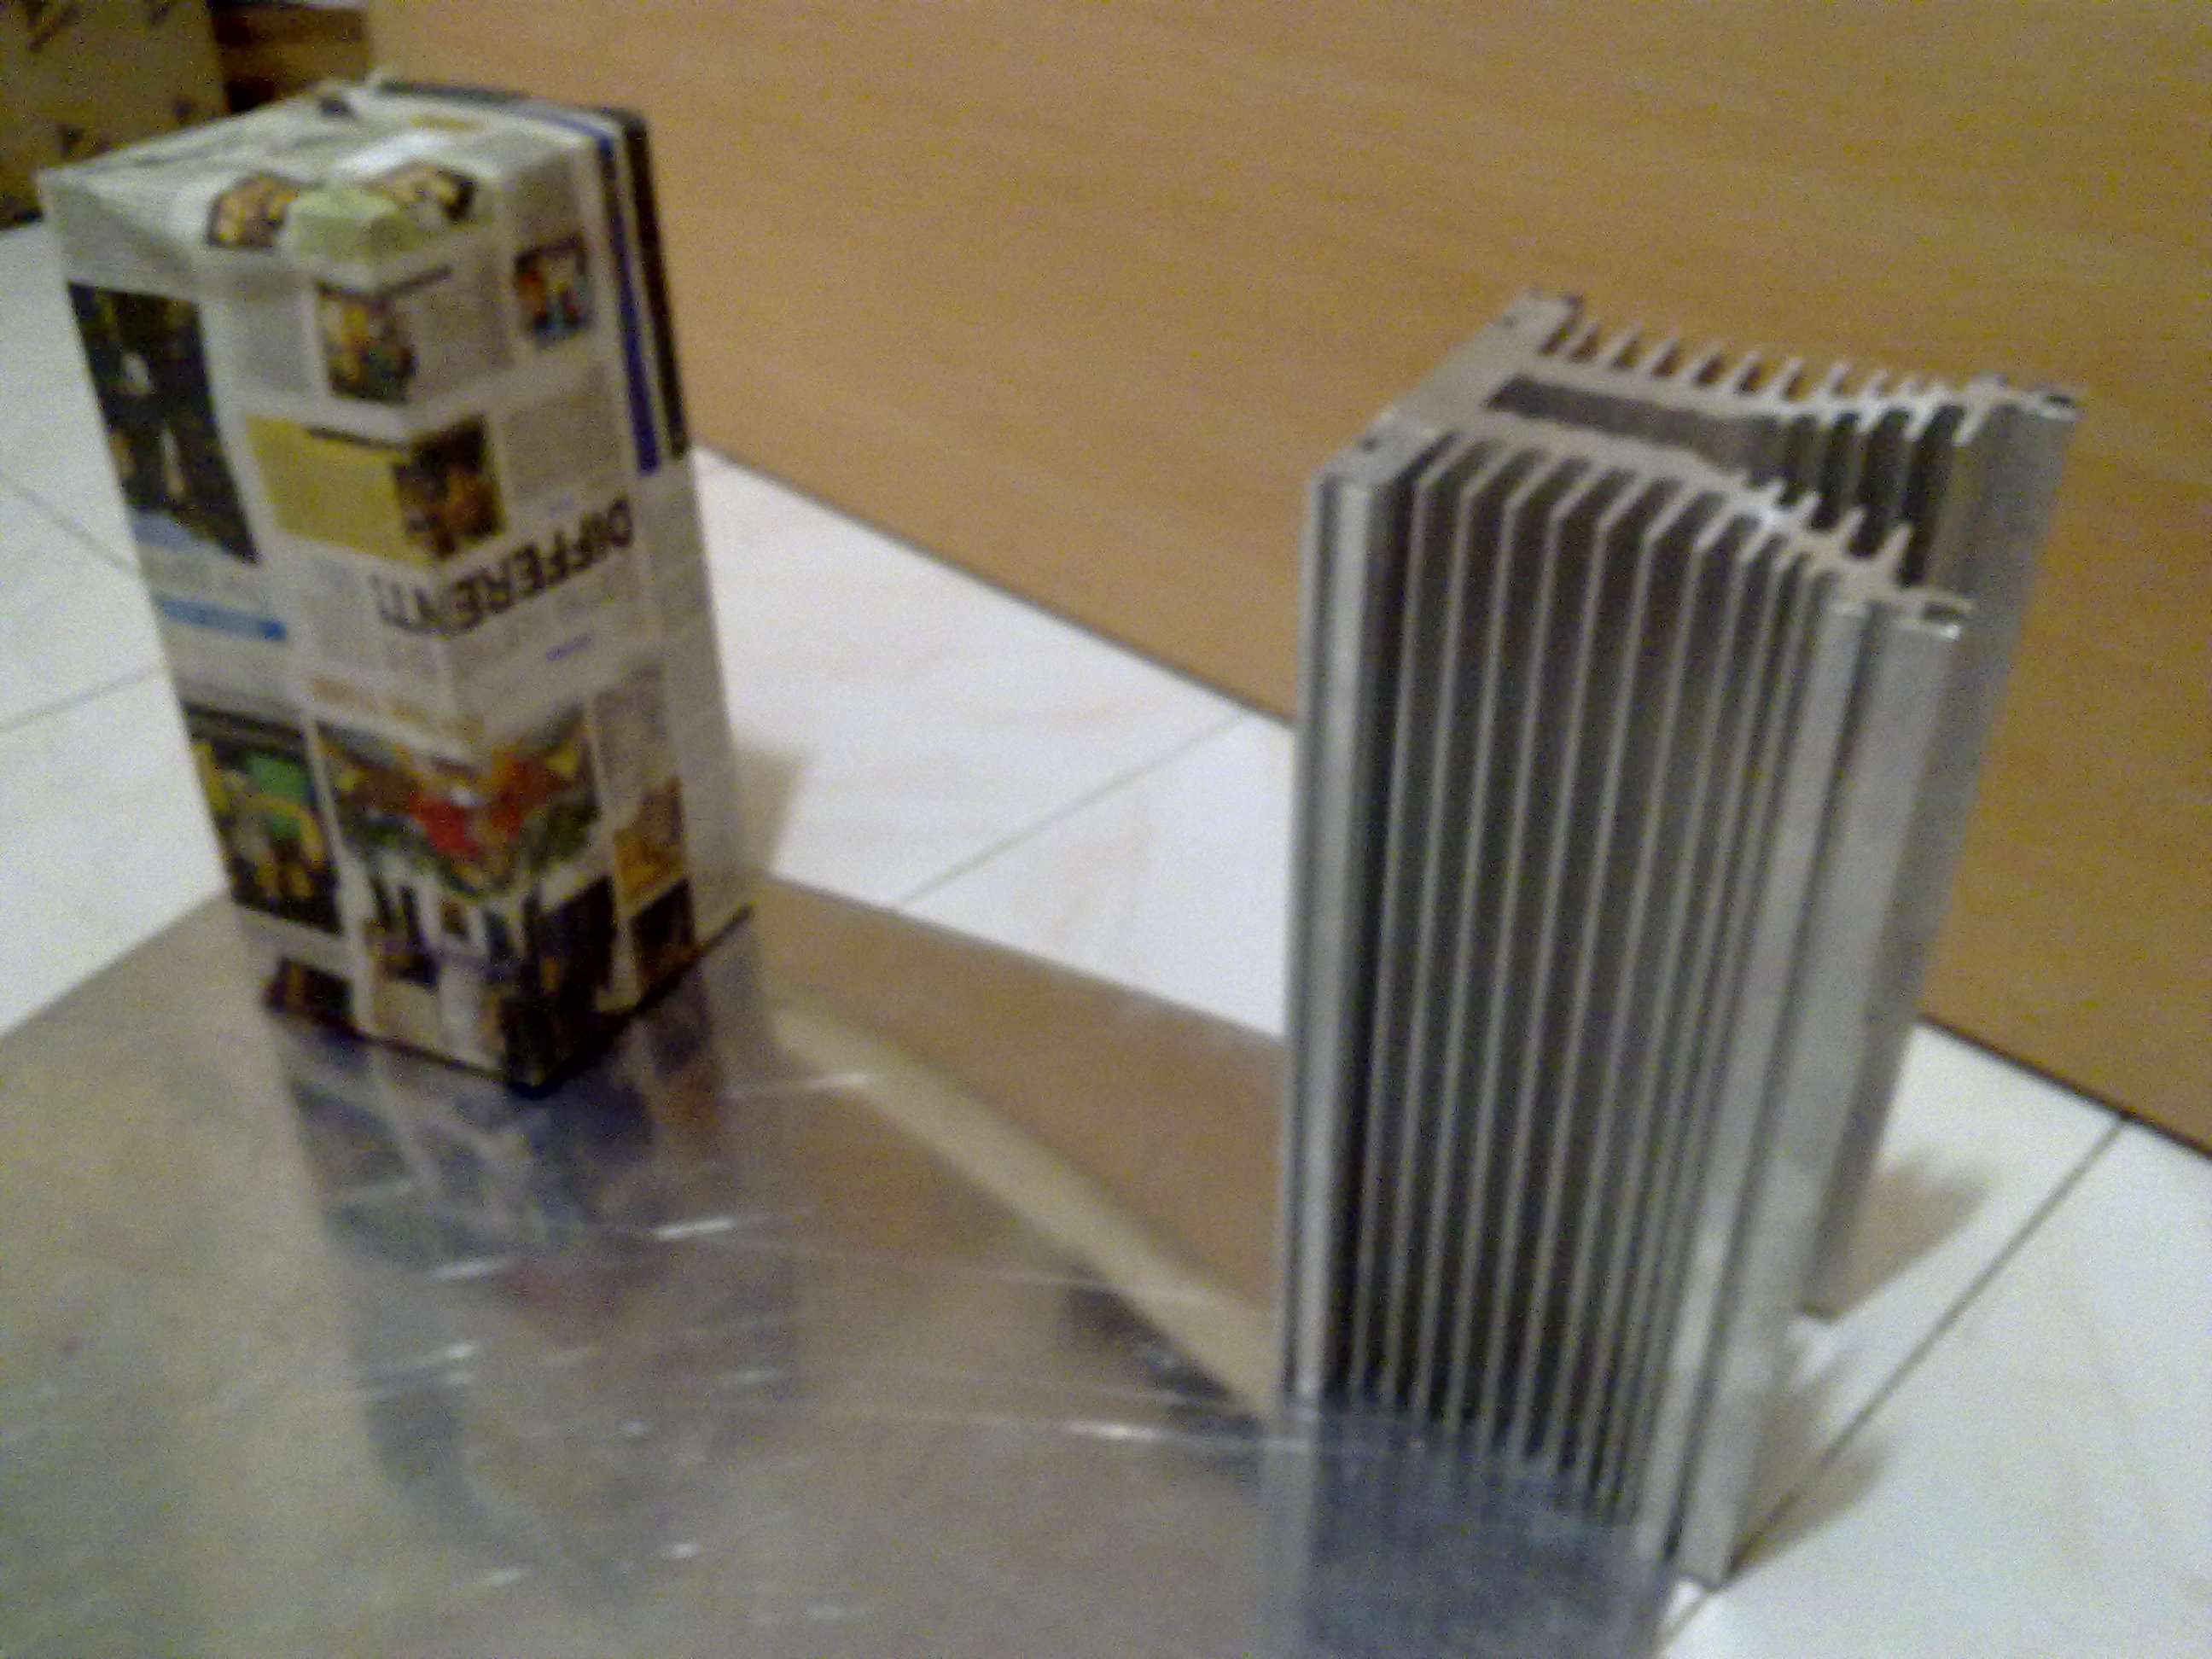
I went ahead buying PCB for my build. But unfortunately I find some issues as PCB tracks are thin as well as they are 305mm long, 5mm more than my heat sink. So I designed with following thought in mind.

1. For power and output it is both sides will be overlapping. size will be approx 295mmX42mm (subject to change)
2. All heat producing devices are equally distributed at one edge.
3. using thick copper with wider tracks on both side.
4. Avoid in-out crossing to avoid oscillation, mind this is wide band amplifier.

These are my layout with two proposals -
Proposal 1: This will have input at center and will be same layout used for left and right channel.
1fullboardver1.png

By boundry at 2012-08-17

Proposal 2: This will have input at once end and left - right will have different symmetric PCB.
2fullboardver2.png

By boundry at 2012-08-17
Let's discuss pro's and con's of these two approaches. Further story will unfold as this project make progress. ;)

Thanks,
 
Last edited:
Hi Om,you are now master of PCB layout.I request all members to provide your feedback.You may need to download pics and zoom to see them properly.

Regards,
Sachin
 
My view is that one should keep it simple. My vote is for centre input based Pcb. No point in having mirrored pcbs. Also please do not underestimate the heat produced by the outputs. It gets very very hot and requires absolutely well suited heatsink with vertical fin alignment.
 
Nice to hear that you have taken up the F5 project. I'm looking forward to you taking this to the build stage. I've subscribed to this thread.
 
Last edited:
I second Anilva's suggestion on having a single PCB. I have felt the heat that his F5 produces. In addition I am currently battling with a project having a heat sink and I am re-learning all my physics and electronics. Consider this - for F5 you would need a significantly sized heat sink, made of good quality material to absorb and dissipate the heat EVENLY, these are not very readily available. You would have to do with the ones available in the market. Their composition is not even, hence dissipation is irrregular. Hence to maintain the temperature steady would take some time. Anilva has more experience on F5 and can throw light better, but my current project, takes a long time to get up to stability and by then it is time to end my listen !!! So I have to switch on at least 30 minutes before listening time.

Of course the F5 turbo circuit may behave differently.

The second aspect is about aesthetics - the heat sink, since it is quite a large part of the amp has to be presentable. Of course here individual tastes matter, but then this is a matter to be considered.

I also would like to have an amp which I can build well, tune and forget. I dont want to monitor the bias day in and day out. It should remain rock steady. I expect others in my family to use the amp - not just me....

Ultimately I feel most of these can be achieved my making it simple.

A single PCB, devices on the edges, inputs in the center is good, but we have to make sure on the spacing.

My random thoughts....
 
Om,

Is it difficult to get the heat sinks made locally? There should be lot of small establishments who may drill aluminum piece into a heatsink of any shape and form, isnt it?

I am really looking forward to this project and hope to build F5 turbo some time in future.

Thanks
 
how to make your own heatsink - DIY Heatsink

doesnt look all that difficult. might give better results as you control everything, instead of buying whatever available from the market.
 
Talking of heat dissipation, a noob question. Why can't stuff like cooler master be used here? If they can work for gaming PCs they can work here as well.
 
Here's a crappy pic for inspiration :)
The cigarette pack is for scale & the heatsink has its brother at the back

 
Last edited:
Thanks everybody!

Yes this will be tower like 'kroyin' has made.

I was taking plunge with below heatsinks with ~300mm long, cross section is 125mm X 135mm and base thickness 16mm, secondary arm thickness of 12mm -

image759.jpg

By boundry at 2012-08-18

image760.jpg

By boundry at 2012-08-18

Somebody in DIYA used half of this /ch for F5 successfully. I am just doubling the size by length for single channel. Now I am comfortable with PCB proposal 1. I will try to finish it better.
 
Om,

I am not able to understand how the PCB and power devices will be mounted to this heatsink? I dont see any hole for mounting them. Will you be making those holes?
Any photograph to show the final mounting configuration? I think in other thread, there were some snaps posted by FMs showing various mounting configurations.

Thanks
Balaji
 
Om that's a beast of a sink :)
How much for 300mm?
Do you plan to get anodised (black) or get the baseplate polished
to mirror finish?

There is one thing about Class A that I learnt the hard way...you cannot cheap out on PSU caps & that excludes Samwha's :)..hell 90K~120k uF/channel of good electolytics
is costlycostly
 
Pls make a PCB with 12 caps/channel..12x10k is better than
33kx4 :)..

There is no harm in wishing :)
 
Om,

I am not able to understand how the PCB and power devices will be mounted to this heatsink? I dont see any hole for mounting them. Will you be making those holes?
Any photograph to show the final mounting configuration? I think in other thread, there were some snaps posted by FMs showing various mounting configurations.

Thanks
Balaji
That PCB will run along the length of the heatsink, in second snap vertical mount. Power device will be centered along the length and PCB parallel to heatsink surface. Yes I will drill and tap the holes appropriately after all parts are in hand. So far waiting for all parts.

Regarding power cap, as per Nelson Pass and Rod Elliot suggestions in various forms I settled at 8X10000uF,63V /ch, and its Nippon chemi con, 105 deg C snap in caps. Total 16 are there to help two 300VA toroidal. Each Cap is ripple current 5.49A.
 
Hope they do drill holes and explosion kills a few of them..
100$ well spent :)

You got the chemicons in pune?
 
Thanks everybody!

Yes this will be tower like 'kroyin' has made.

I was taking plunge with below heatsinks with ~300mm long, cross section is 125mm X 135mm and base thickness 16mm, secondary arm thickness of 12mm -

image759.jpg

By boundry at 2012-08-18

image760.jpg

By boundry at 2012-08-18

Somebody in DIYA used half of this /ch for F5 successfully. I am just doubling the size by length for single channel. Now I am comfortable with PCB proposal 1. I will try to finish it better.

Om,

Is there a way I can get similar heatsinks as well.

Thanks.
 
A beautiful, well-constructed speaker with class-leading soundstage, imaging and bass that is fast, deep, and precise.
Back
Top