thomacho
Active Member
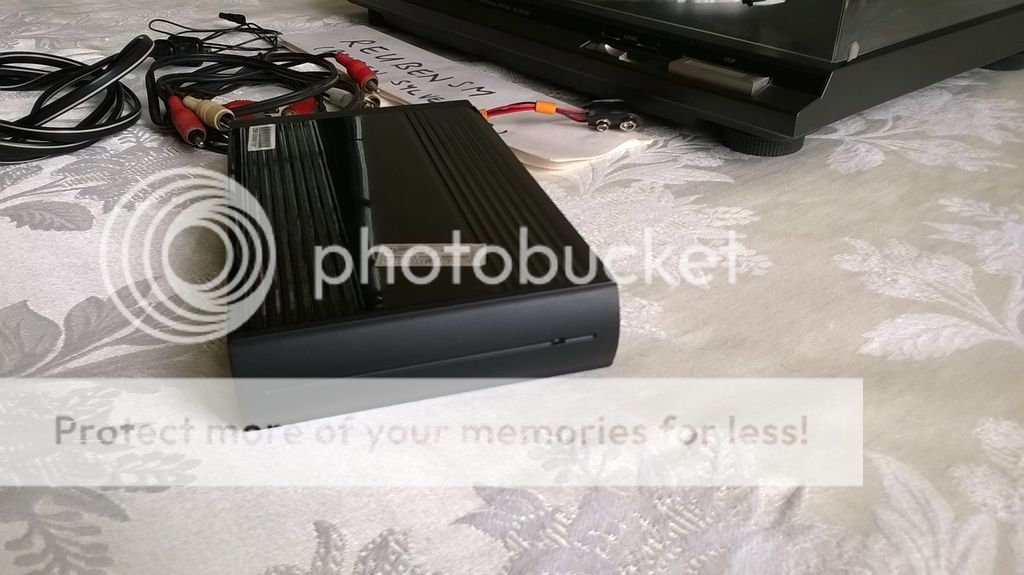
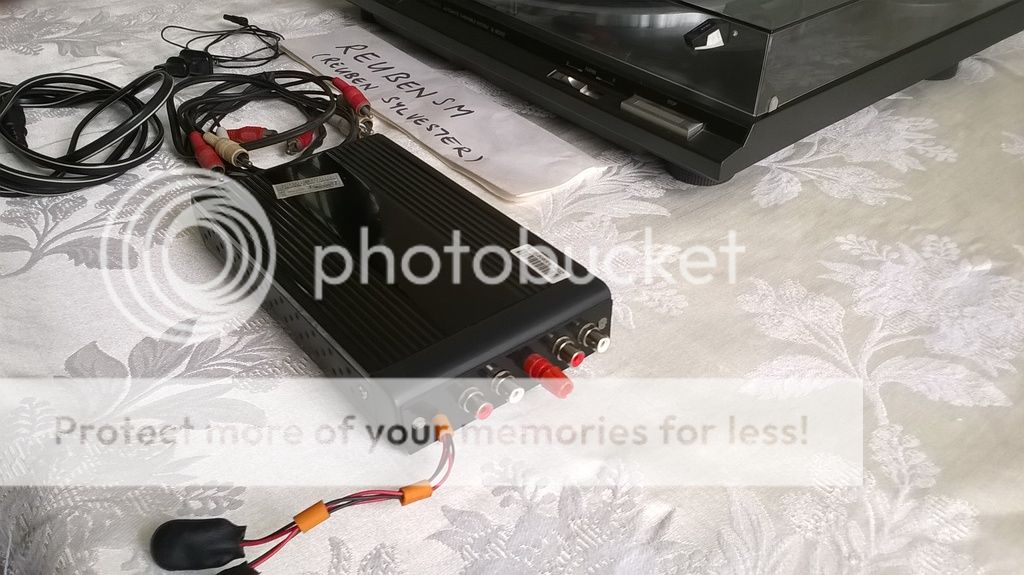
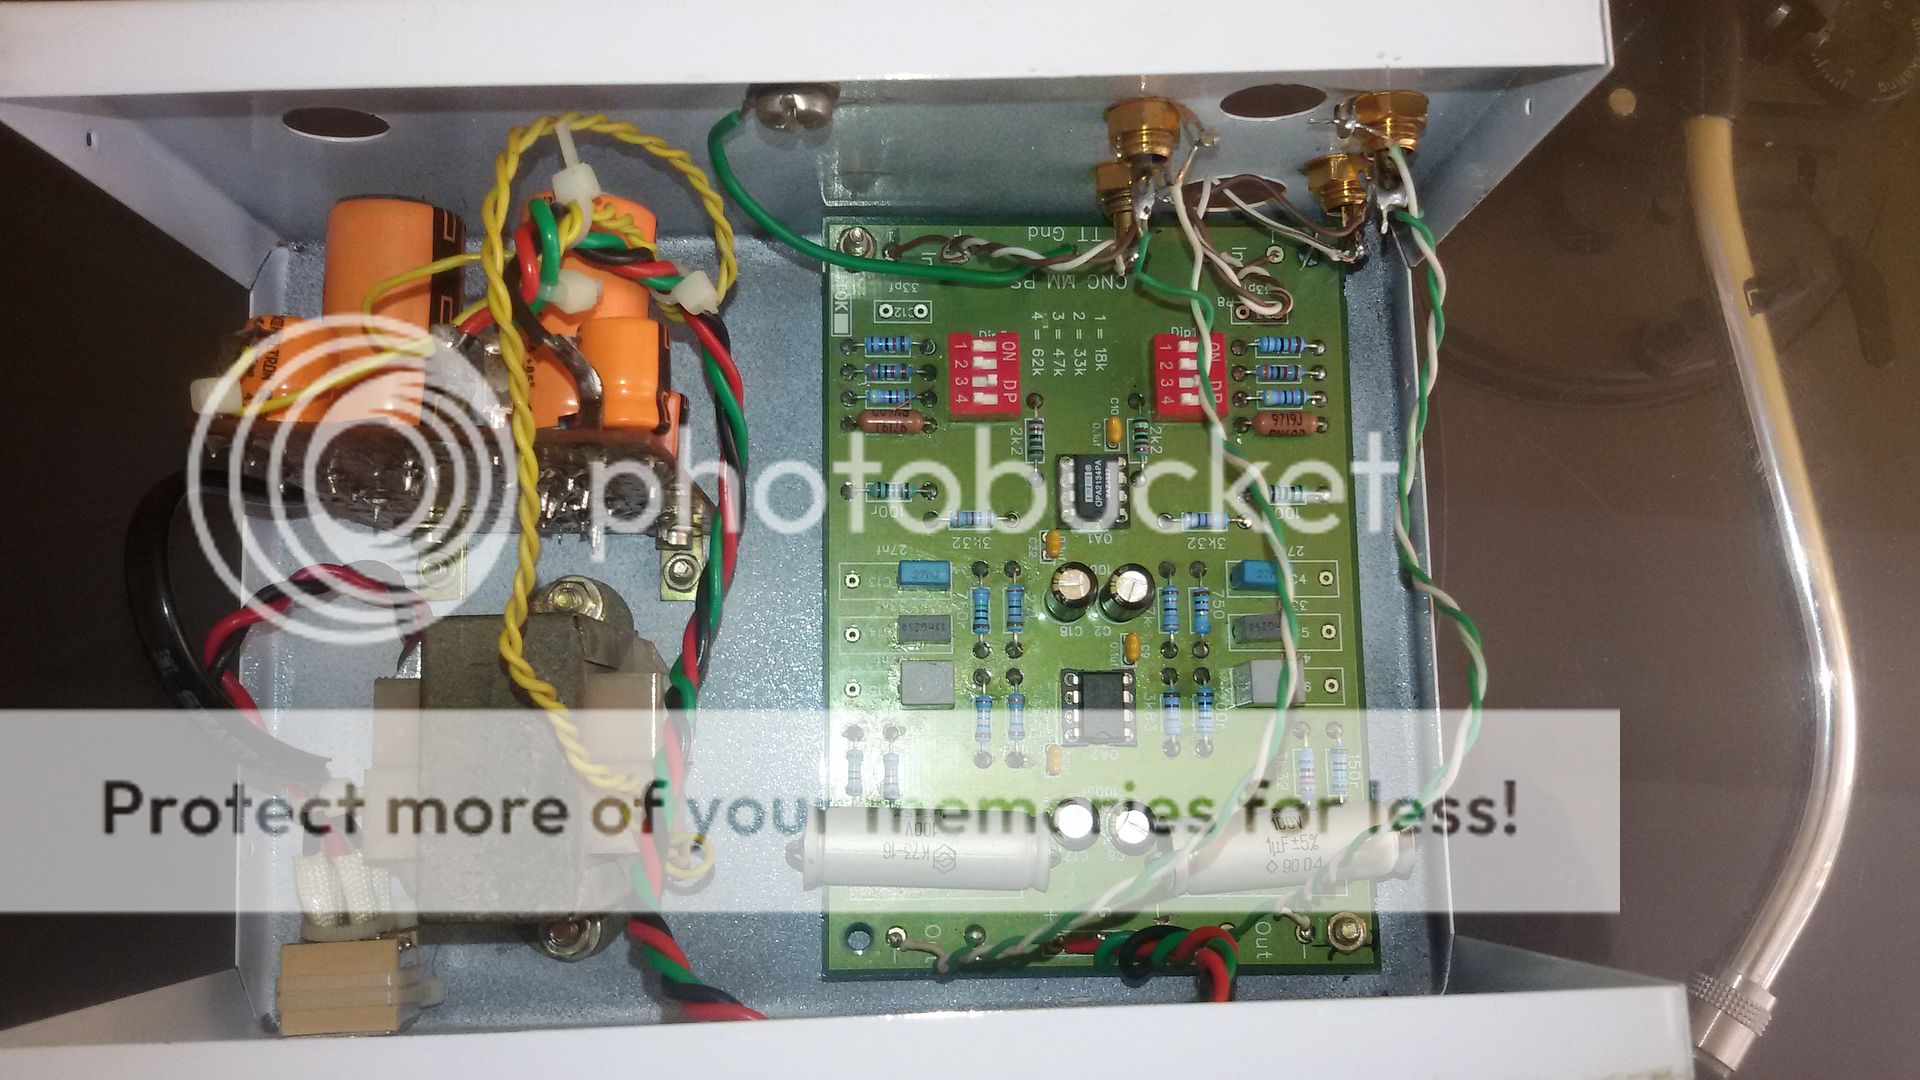
HiSince sourcing batteries to run the phono kit was becoming a headache
I ordered the Power supply KIT from Sachin.
It arrived and I got to work at once.
Since I'm almost a noob in electronics I kept bugging Sachin a lot and He always guided me through very patiently. So kudos to him once again.
I completed it and carried to a technician for adjusting the voltage, he was mighty impressed with it and exclaimed that it should provide cleanest possible power.
I finally hooked up the tranny and .....
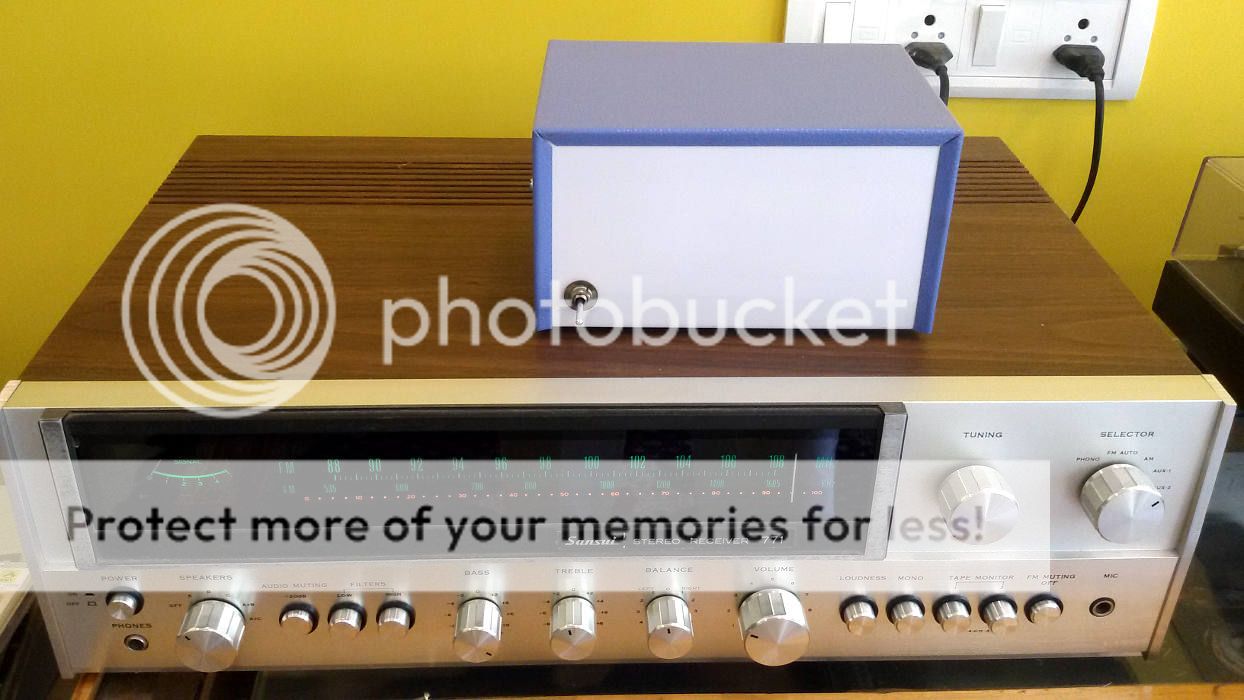
it works...such a flawless power supply.
The background it almost pitch black and I'm yet to properly ground the phono.
I'm a happy and content soul.
Thanks to Sachin for kit and Om for this great design.
Attached are pictures during the work.
[url=https://postimg.org/image/6mhk...g.org/6mhkf366v/IMG_20160627_WA0012.jpg[/img]

image hosting 5mb[/URL]
I am also interested in buying a CNC phonostage . Can you please guide me through. Also how is the listening experience ?
Thanks
Sent from my Micromax A350 using Tapatalk
 .
.
")
") )
)